I have a fondness for picking up cute pattern paper. I have it all sorted according to theme so that it's easy to find. When I decide on photos to scrapbook, I browse through whatever theme or color I'm using and narrow it down from there. Today I'm scrapbooking some photos from Valentine's Day, so I went through my love themed papers. There were several prints that appealed to me, so I decided to use a little bit of several of them and combine them on one layout.

Here's the layout we'll be creating.
If you follow these steps, yours will end up looking similar to this.
Obviously it won't be exactly the same as we'll be using different papers.:)

To make it, you'll need:
one piece of 12"x 12" pattern paper
two strips of coordinating pattern paper measuring 2"x 12" and 1"x 12"
one piece of pattern paper measuring 3"x 4"
two coordinating rolls of decorative tape
letter stickers for the title
white cardstock for journaling
optional: one embellishment (I used a heart shape cut from a punch)
adhesive
paper trimmer
3 or 4 photos
3 or 4 photos

Adhere the 2" strip of pattern paper along the left edge of the background paper and the 1" strip along the right edge of the paper.
As you can see, I chose a busy pattern for my background. It works without being distracting because it has a neutral color. My pattern paper strips coordinate with the darker color on my background paper.
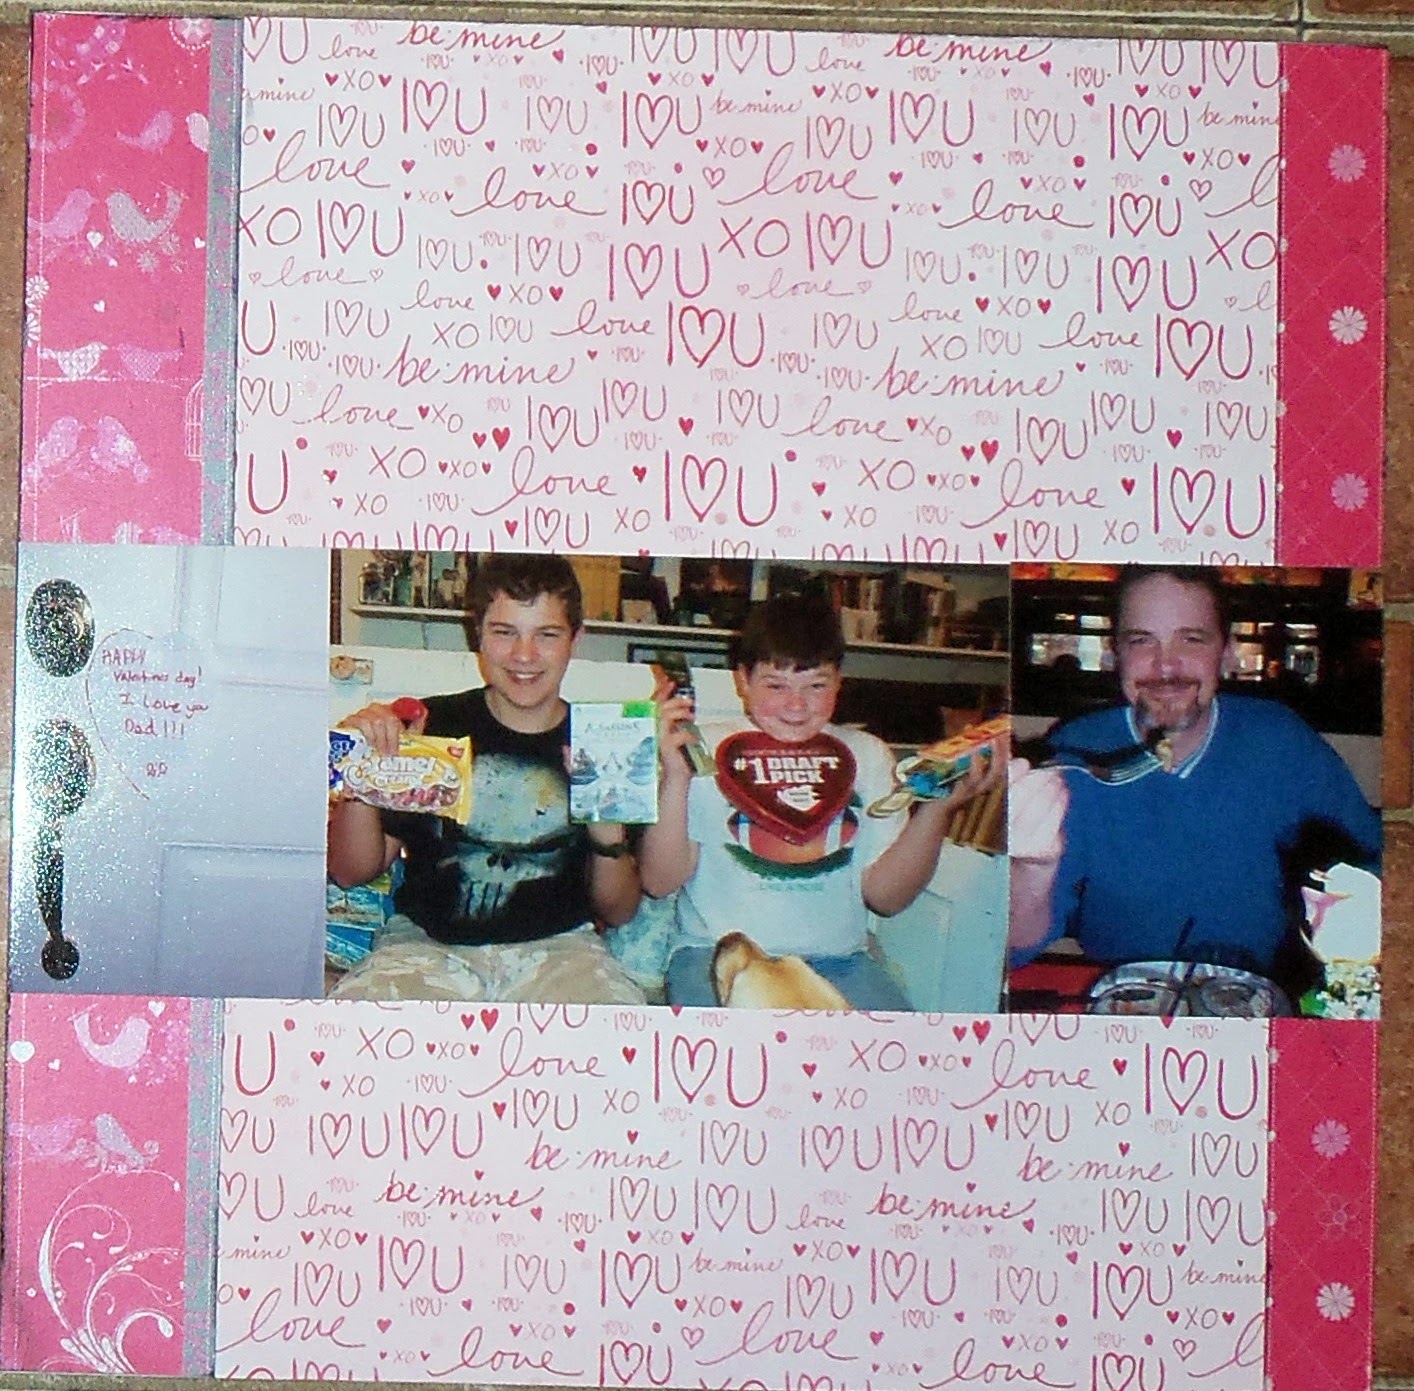
Now adhere your photos in a strip a little more than halfway down the background. I fit three photos across. They're all 4" tall, but are different widths.
Depending on how much you crop your photos will determine how many photos
you can fit across your page.

Place part of your title above the photos to the left
and part of it below the photos to the right.
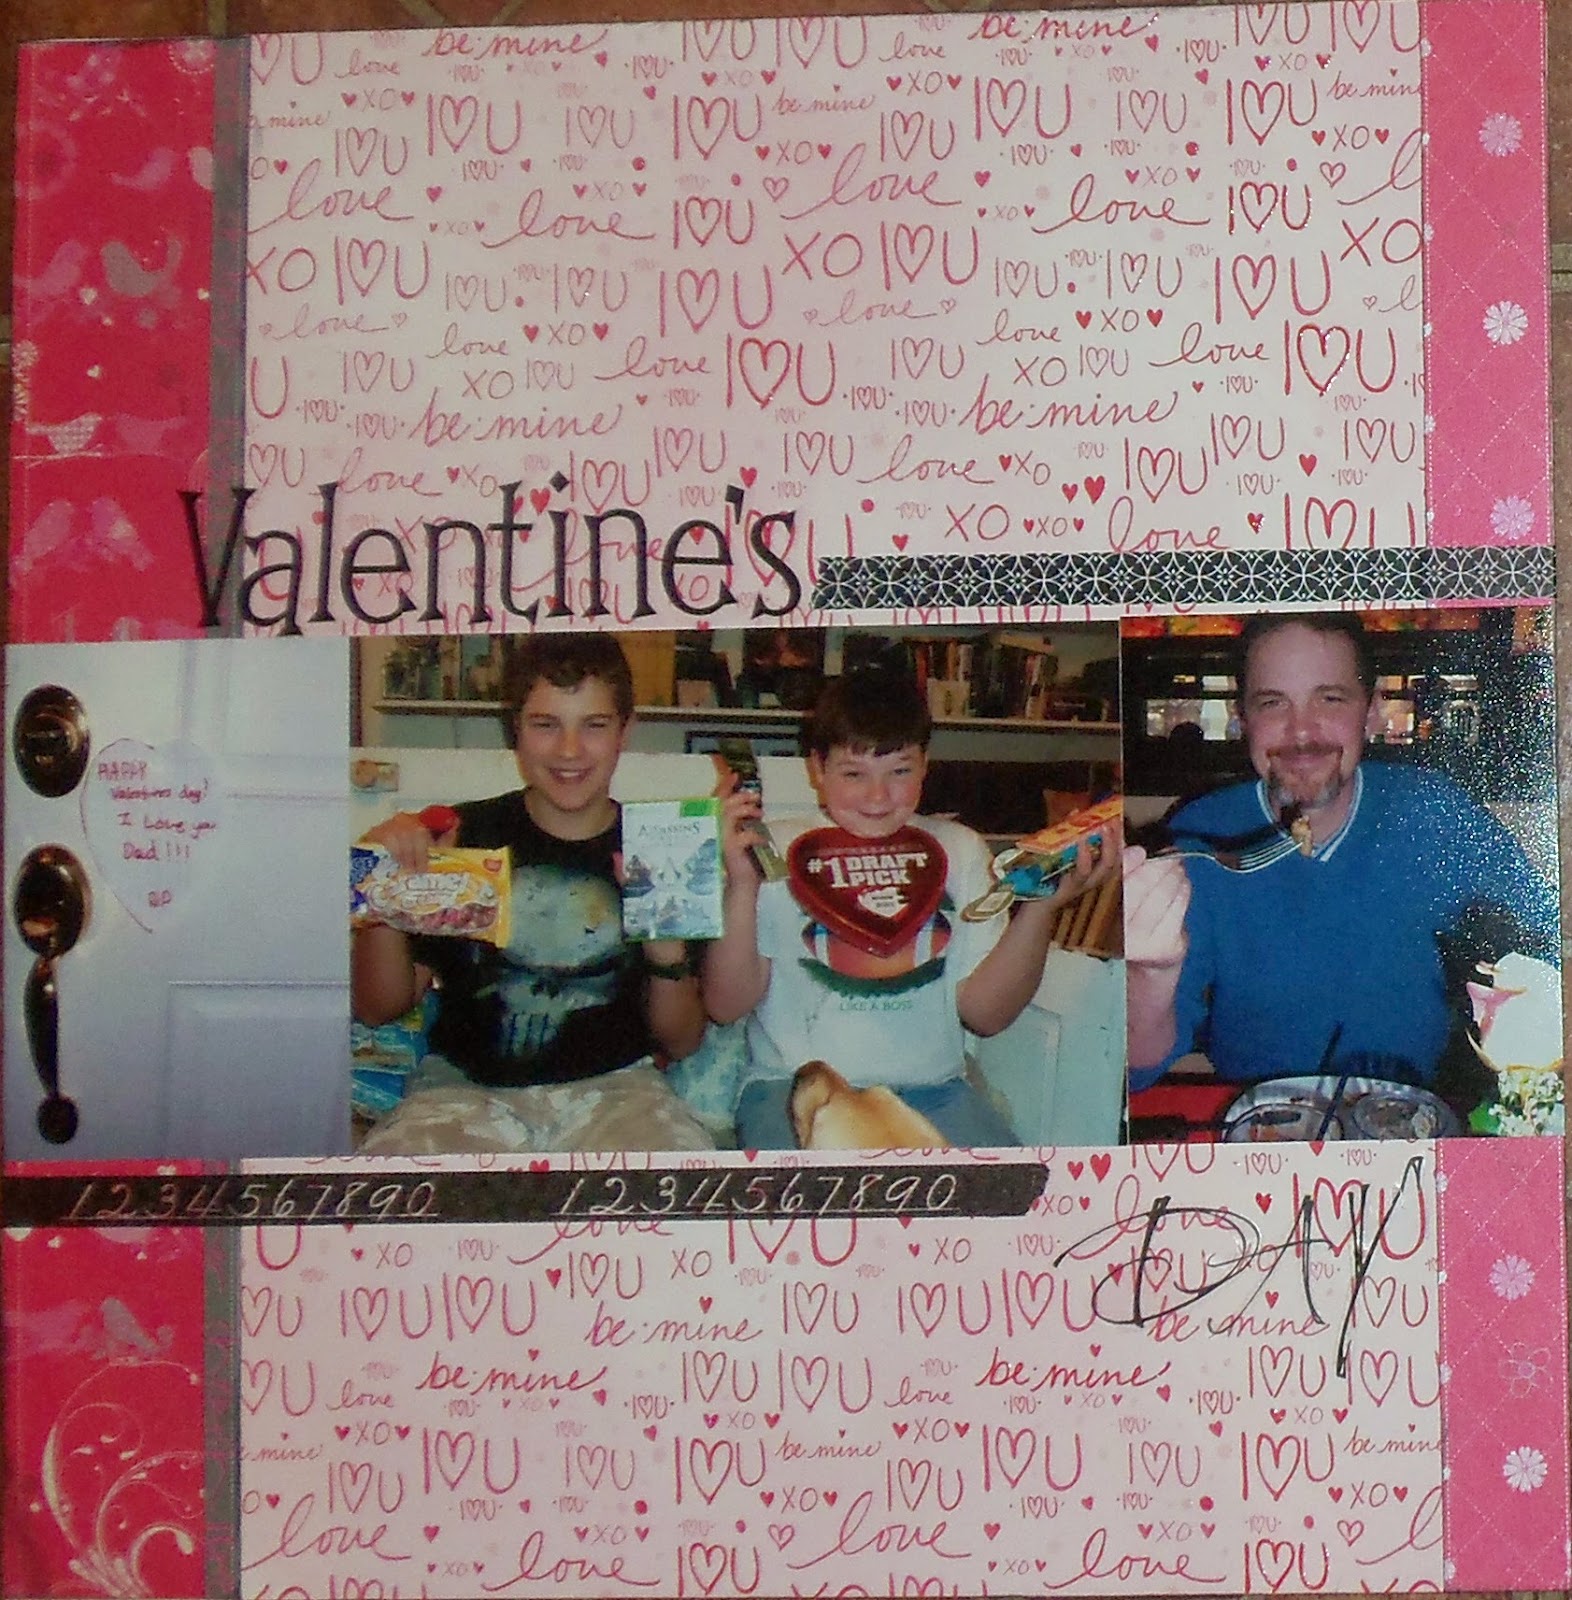
Using your decorative tape, adhere one strip to the right of the top part of your title.
Adhere a second strip below the photos to the left of the title.

Now print or hand write your journaling on white cardstock and cut it into strips.
Adhere the strips below the photos curving around your title.
Now add your small piece of pattern paper above the photos about two inches
from the right edge of the background.
Notice that I used yet another print, but this piece has both the light and dark pinks that I've already used, so it carries the color through and doesn't look too busy.
If you choose to, place one small embellishment at the bottom right corner
near your journaling strips.
near your journaling strips.
That's it! Not too hard, huh?
If you enjoy scrapbooking and would like some guidance in completing more layouts, stop by every other Wednesday for a step by step tutorial.
Thanks for stopping by and God bless.
Be of good comfort, be of one mind, live in peace;
and the God of love and peace will be with you.
2 Cor. 13:11
This post is linked to My Girlish Whims, Tater Tots and Jello, and Ivy and Elephants.
No comments:
Post a Comment