Tuesday, March 18, 2014

Recipe of the Week#110- Bacon and Egg Muffins

Bacon and Egg Muffins
1 pkg Grands biscuits
5 slices bacon, cooked and broken into pieces
4 eggs, scrambled
4 slices of cheese
1 egg yolk
1 Tbsp water
pepper to taste

Preheat oven to 350 degrees. Flatten each biscuit and add a spoonful of egg, bacon, and a 1/2 slice of cheese to each one. Then pull up the corners to form a ball, pressing at seams. Place in a greased muffin tin.
Lightly whisk water and yolk. Brush over each muffin. Top with pepper. Bake 13-25 minutes until biscuits are golden.

These are so tasty and such a fun way to make breakfast! My family loved them. We often have breakfast for dinner - I believe that's called "Brinner." :) These will be making a regular appearance around here!

Thanks for stopping by and God bless.

O Lord my God, I will give thanks to You forever.
Psalm 30:12
This post is linked to Tip Junkie, Today's Creative Blog, and Ivy and Elephants.

Monday, March 17, 2014

St. Patrick's Day Treat Bags

Happy St. Paddy's Day, my friends!
 
Here's a quick and easy treat to make for your kiddos to take to their teachers
or their fellow students.
 

The treasure at the end of the rainbow: Rainbow Twizzlers and Rolos.
 
 
All it took was placing some Rolos and Twizzlers in a baggie.
I finished it off by cutting some green and white paper to fold over the top of the bag.
 
Thanks for stopping by and God bless.
 
Be of good courage,
and He shall strengthen you heart,
all you who hope in the Lord.
Psalm 31:24
 
 This post is linked to Skip to My Lou, I Heart Naptime, and The Dedicated House.

Friday, March 14, 2014

Stamped Spoon Necklace

I love unique pieces of jewelry.
Have you noticed?:)


Check out this necklace- it's a stamped spoon.


I bought this keyring at a Gypsey Market show for $5.
It's a stamped spoon that says, "Love."

 
I took the keyring off and put it on a necklace.

 
Then I added a pearl and a heart charm.
Super easy.
I love how it turned out. Makes me want to get into stamping silverware.:)
 
Thanks for stopping by and God bless.
 
Jesus said to him, "If you can believe, all things are possible to him who believes."
Mark 9:23
 

Thursday, March 13, 2014

Thirfty Thursday #108

I had a long stretch where I hadn't been to an estate sale, and now I have a long stretch
where I've been to several. Yay, me.
Today I'm going to show you purchases from three different estate sales- all worth going to even though I only found a couple of items at each.

 
First off, isn't this bowl one of the most beautiful pieces you've ever seen?!?
It was priced $7, so I initially left it alone. Then I found out that it was the last day of the sale and everything was 25% off, so I splurged and paid $5.25 for it.
I'm so glad I did. I think it's soooooo pretty!

 
I spotted these vintage Valentines in a glass case- why they were in there, I don't know.
Anyway, I picked them up for $3 after the discount.


There were two packs, so I bought both of them.
I'm not for sure what I'm going to do with them, but I'm sure I'll come up with something
by next Valentine's Day:)

 
The next two items, I picked up when I went back on the last day to the estate sale
I talked about last week.
I liked this old camera. I got this. . .

 
and all these photos for $3.
Bargain!
My favorite photo is the one in the upper right corner of the three boys. Isn't it cute?

 
One Thursday afternoon right after my hubby got home from work, he ran me out to a nearby town to an estate sale of a collector (the ad said so).
I wasn't impressed with the prices- they were way too high.
 I picked up three expanding rulers and these old Uno scorecards for $5. I used to play Uno when I was little, and I don't remember scorecards. . .
 
How about you guys- have you been to any good estate sales lately?
 
Thanks for stopping by and God bless.
 
In You, O Lord, I put my trust; Let me never be ashamed;
deliver me in Your righteousness.
Psalm 31:1
 
 This post is linked to Simple Nature Decor, Junkin' Joe, and I Heart Naptime.

Wednesday, March 12, 2014

More Lovelies That I Love

Being a mom of two boys, I've often been on the lookout for masculine products to use when  scrapbooking about them. They provide me with endless inspiration from things they say
to the silly photos they take.
As a matter of fact, just today while I was in my Body Pump class at the Y, my younger son peeked in the room to let me know that his shirt was very wet. Apparently my older son spilled his water on the floor. Since my younger son was laying on the floor at the time, his brother and good friend decided to use him for a mop to clean up the mess. Just a short time later, the same wet child somehow accidentally threw a ball in the gym and broke a clock.
Yes, that is the story of life with boys.

Anyway, check out this cute stuff I found while "window shopping."

 
I love this boy themed paper from Crate Paper.
 

The above piece is one found in this set. I love them all. 
I especially love cute paper in a 6"x 6" pad.
 
 
These boy themed frames from Elle's Studio are simply awesome!
  
 
Aren't these buttons great? They're by A Flair for Buttons.
I love everything in that Etsy shop!
 
 
You can't go wrong with these mini gears from Tim Holtz- they'd look good on any boy themed project! Can you get any more masculine than gears? :)
 
Aren't these products great? They make me want to drag out some of my boys' photos
and get to work!
 
I am not affiliated with any of these companies, I just am a fan of their cute stuff.
 
Thanks for stopping by and God bless.
 
For You are my rock and my fortress
Psalm 31:3
 

Tuesday, March 11, 2014

Recipe of the Week#109- Skillet Chocolate Chip Cookies


Skillet Chocolate Chip Cookies
10 Tbsp butter, softened and divided
1/2 cup sugar
1/2 cup brown sugar
1 egg
2 tsp. vanilla
1 1/4 cups flour
1/2 tsp. baking soda
1/2 tsp. salt
1 cup chocolate chips
vanilla ice cream

Preheat the oven to 350 degrees and use 2 Tbsp of the butter to grease the bottom and sides of a 9-inch cast-iron skillet.
Mix the remaining 8 Tbsp of butter and the sugars until light and fluffy. Add the egg and vanilla and beat until combined. Add the flour, baking soda, and salt mixing on low. Lastly, fold in the chocolate chips. Press the cookie dough into the greased skillet and bake for 20 to 25 minutes, until the edges are crisp and the cookie is golden and cooked through. Serve warm topped with vanilla ice cream.

I was intrigued by this recipe because my hubby is hooked on cast iron skillets. Which is kind of funny because he rarely cooks. :) We have three nice cast iron skillets, so I figured they better get some use.

This recipe was amazingly good. The ice cream really upped the "good" factor. My family loved this! My cast iron skillet will be seeing this recipe again!

Thanks for stopping by and God bless.

The Lord lift up His countenance upon you, and give you peace.
Numbers 6:26

This post is linked to Tip Junkie, Between Naps on the Porch, Cheerios and Lattes,
and The Dedicated House.

Monday, March 10, 2014

Mini Album Monday #25-Lucky Album

St. Patrick's Day is right around the corner, so I thought I'd show you a Lucky themed album
that I made in honor of this holiday.

I started by using a tin to keep the album in. The tin measures 3"x 4 1/4".
I covered it with four leaf clover paper (attached with a Tombow glue stick)
and added a charm that says Lucky.
It's held closed with a green ribbon.


The ribbon slides off and so the lid can be removed. Inside is this little album.
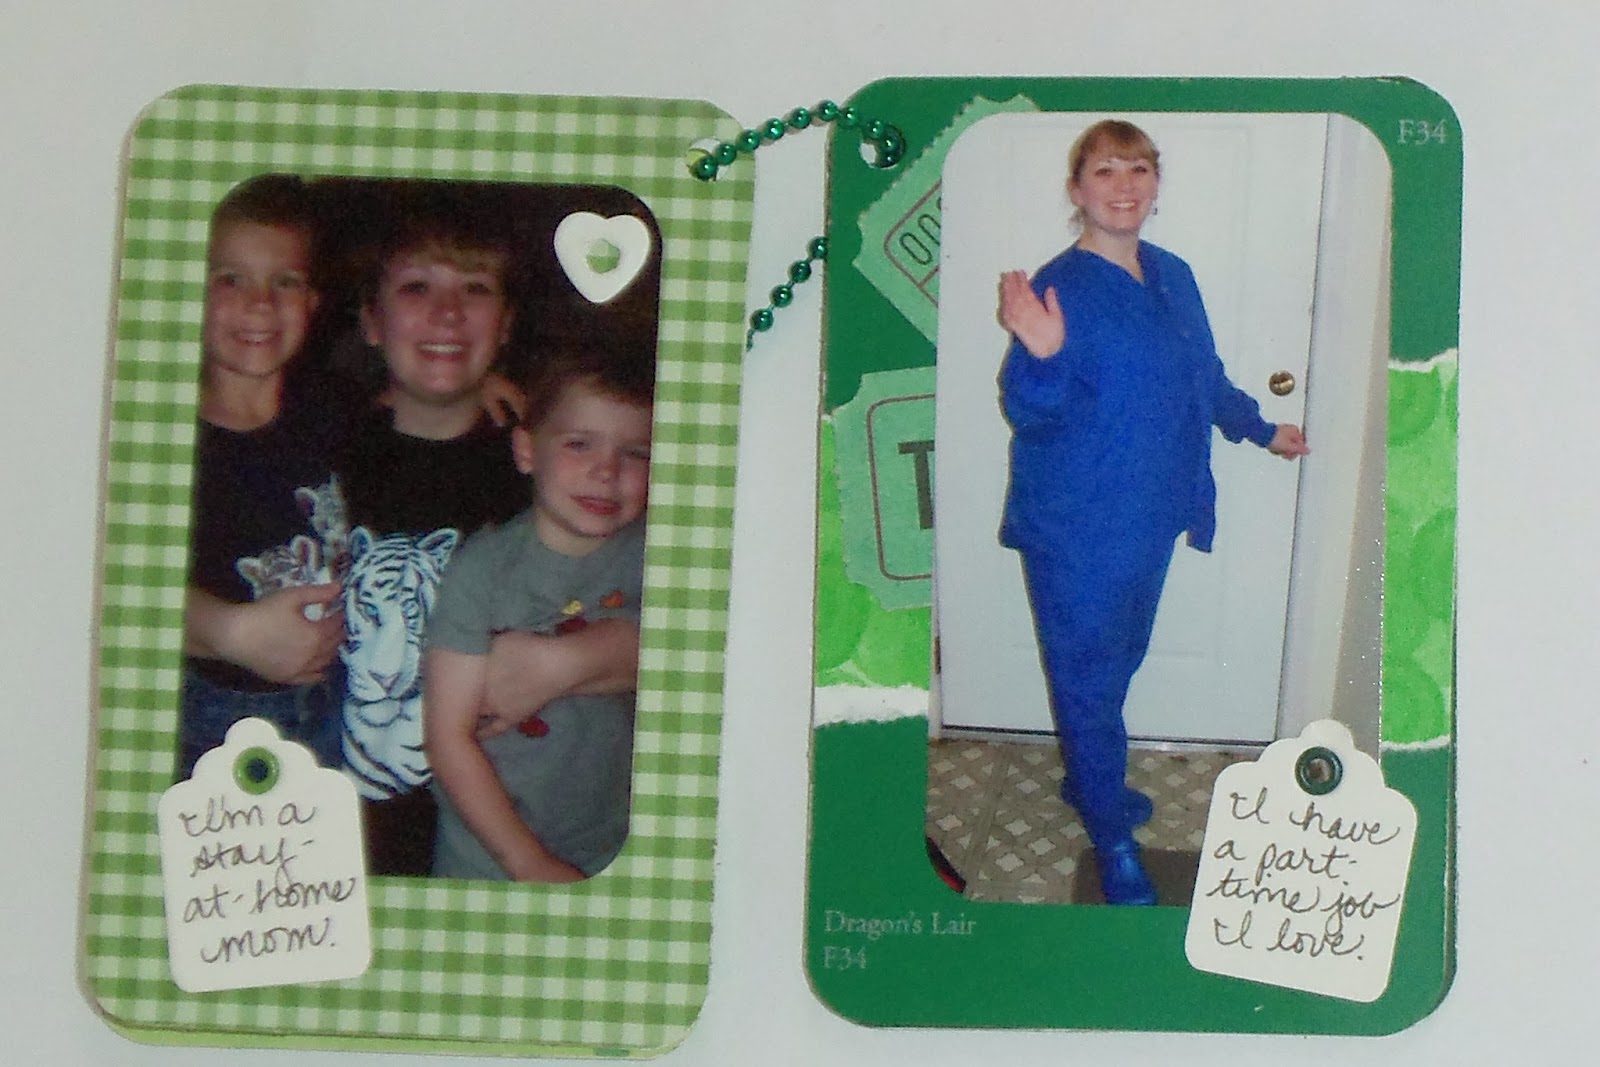
For the pages, I used five paint chips in different shades of green.
The paint chips measure 2 3/4" x 4".
I rounded the corners so they would fit smoothly in the tin.

On each paint chip, I adhered a small strip of green pattern paper.


On each page, I enclosed a photo along with a small tag stating why I'm lucky.


I used a few small embellishments, mostly in green.


I used a hole punch in the upper left corner of each paint chip and used a
small green ball and chain to bind the pages.


The final page has a large tag that says, "For all these reasons and so many more,
I thank God that I'm such a lucky girl!"


The back is covered with green pattern paper and a clover that I cut out of mulberry paper.

If you'd like to make a mini album, this one is an easy one to make.
The pages are paint chips. All you need to do is cover the backs of them with pattern paper.
Then add a small strip along the center of the front of each paint chip.
Add your photos with a little tag.
Embellishments are optional.
Even the journaling is easy because you're just listing things that make you lucky.
You can even skip the tin to store it in.
Doesn't that sound easy?!?
Makes you want to swing by the nearest Home Depot paint counter, huh?

Thanks so much for stopping by and God bless.

The Lord make His face shine upon you, and be gracious to you
Num. 6:25