Showing posts with label paper crafting. Show all posts

Wednesday, March 25, 2015

Lovelies That I Love

This week's Lovelies That I Love features new paper products.
You can use them for all sorts of crafting projects- especially for my favorite. . . scrapbooking!

Take a look at what I found.


I love this paper by Websters Pages.
It's called Dream In Color.
It looks like a real photograph- and an awesome one at that.
Think about what you could do with it- frame it or print a quote on it.


How about these rockin' stamps from Tim Holtz?
Love them. Actually I love anything by him.
He seems to have the Midas touch in the paper crafting world. All his stuff is awesome.


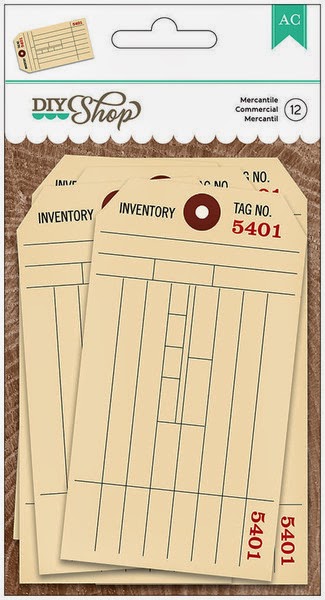
Check out these tags from American Crafts.
I am a huge fan of tags- any size and shape.
Don't ask me why. .  .


This is a kit that comes with everything you need to make a mini album.
Love it.
Quick and easy- totally my style!


I love this set of word stickers by Authentique.
One of my go-to products on nearly every paper project I do is word stickers.
They're so versatile.
Even if you don't paper craft, you could use these on gift tags- perhaps even the above tags:)

There now. Wasn't that fun?
Don't you just want to get your hands busy now?

Thanks so much for stopping by and God bless.


I will praise You, for You have answered me
 and become my salvation.
Psalm 118:21

Monday, January 26, 2015

Cards Made From Paper Sacks

I get a kick out of repurposing items and using them for something other than
their original intended purpose.
Today's project does just that.

I used paper lunch sacks and turned them into cards.
In this day and age, sending cards in the mail is rarely done.
I love when I go out to the mail and get something other than junk mail or bills.
This is a great way to use up your paper scraps and make somebody's day all at once!


For this card, I used a white sack.
To make it, I just laid the sack facing me so that the flap was facing up and on the right side. Then I folded the two inner corners on the flap. I brought the open end of the sack to tuck under that flap then and folded it.
All that left was covering the front panels with some pattern paper
and adding your greeting.
For most of my greetings, I printed the sentiments out from my computer.
This one says, "For Our Anniversary"


The inside reads, "There are times we must ask ourselves how much do I love this person and my answer- words could not explain just how much."

I printed this on white cardstock, adhered it to the inside, then added two photo corners.
Easy-peasy.

Sometimes you can even find stickers or stamps that already have messages like this.


This card is a brown paper bag folded in half.
I added a piece of pattern paper,
then used a large stencil letter with different pattern paper behind it.
Then I added letter stickers to finish off the words, "Thank you."
The last thing I did was add a ribbon and tie it on the front.


To simplify it even futher, you could eliminate the stencil letter and just use stickers for the words.


On the inside, I used a stamp to add a message that says,
"Just wanted to thank you with all my heart."

The beauty of using the paper bag this way is the flap can be used as a gift card holder.
All you would need to do is place the message below the flap and tuck the card into the opening.


This is another trifold card folded the same way as the first.
I used a brown paper bag for this one.
The tag on the outside says, "True Friends."


On the inside, I placed a pre-prnted tag that says,
"True friendship is seen through the heart, not the eyes."


This card was made with the flap facing up on the left side.
I folded it at the edge of the flap, then brought the other side to meet the first side
which made a gate fold.
Then I placed a tag on the left side.
It overlaps the right side without attaching (that way the card will still open.)


The inside has pattern paper just on the middle panel with a message printed on white cardstock
that says, "I'm so lucky to have a friend like you."


For this card, the flap was facing up on the right side.
I folded it over, then folded the left side of the bag on top of that so it didn't quite go all the way to the right edge.
 I covered the front with a piece of pattern paper and added a Birthday Wishes sticker.


Then I covered the right flap with paper.


And printed a message on a pattern paper and adhered it to the center panel.
It says, "May all your dreams come true. Happy Birthday!"


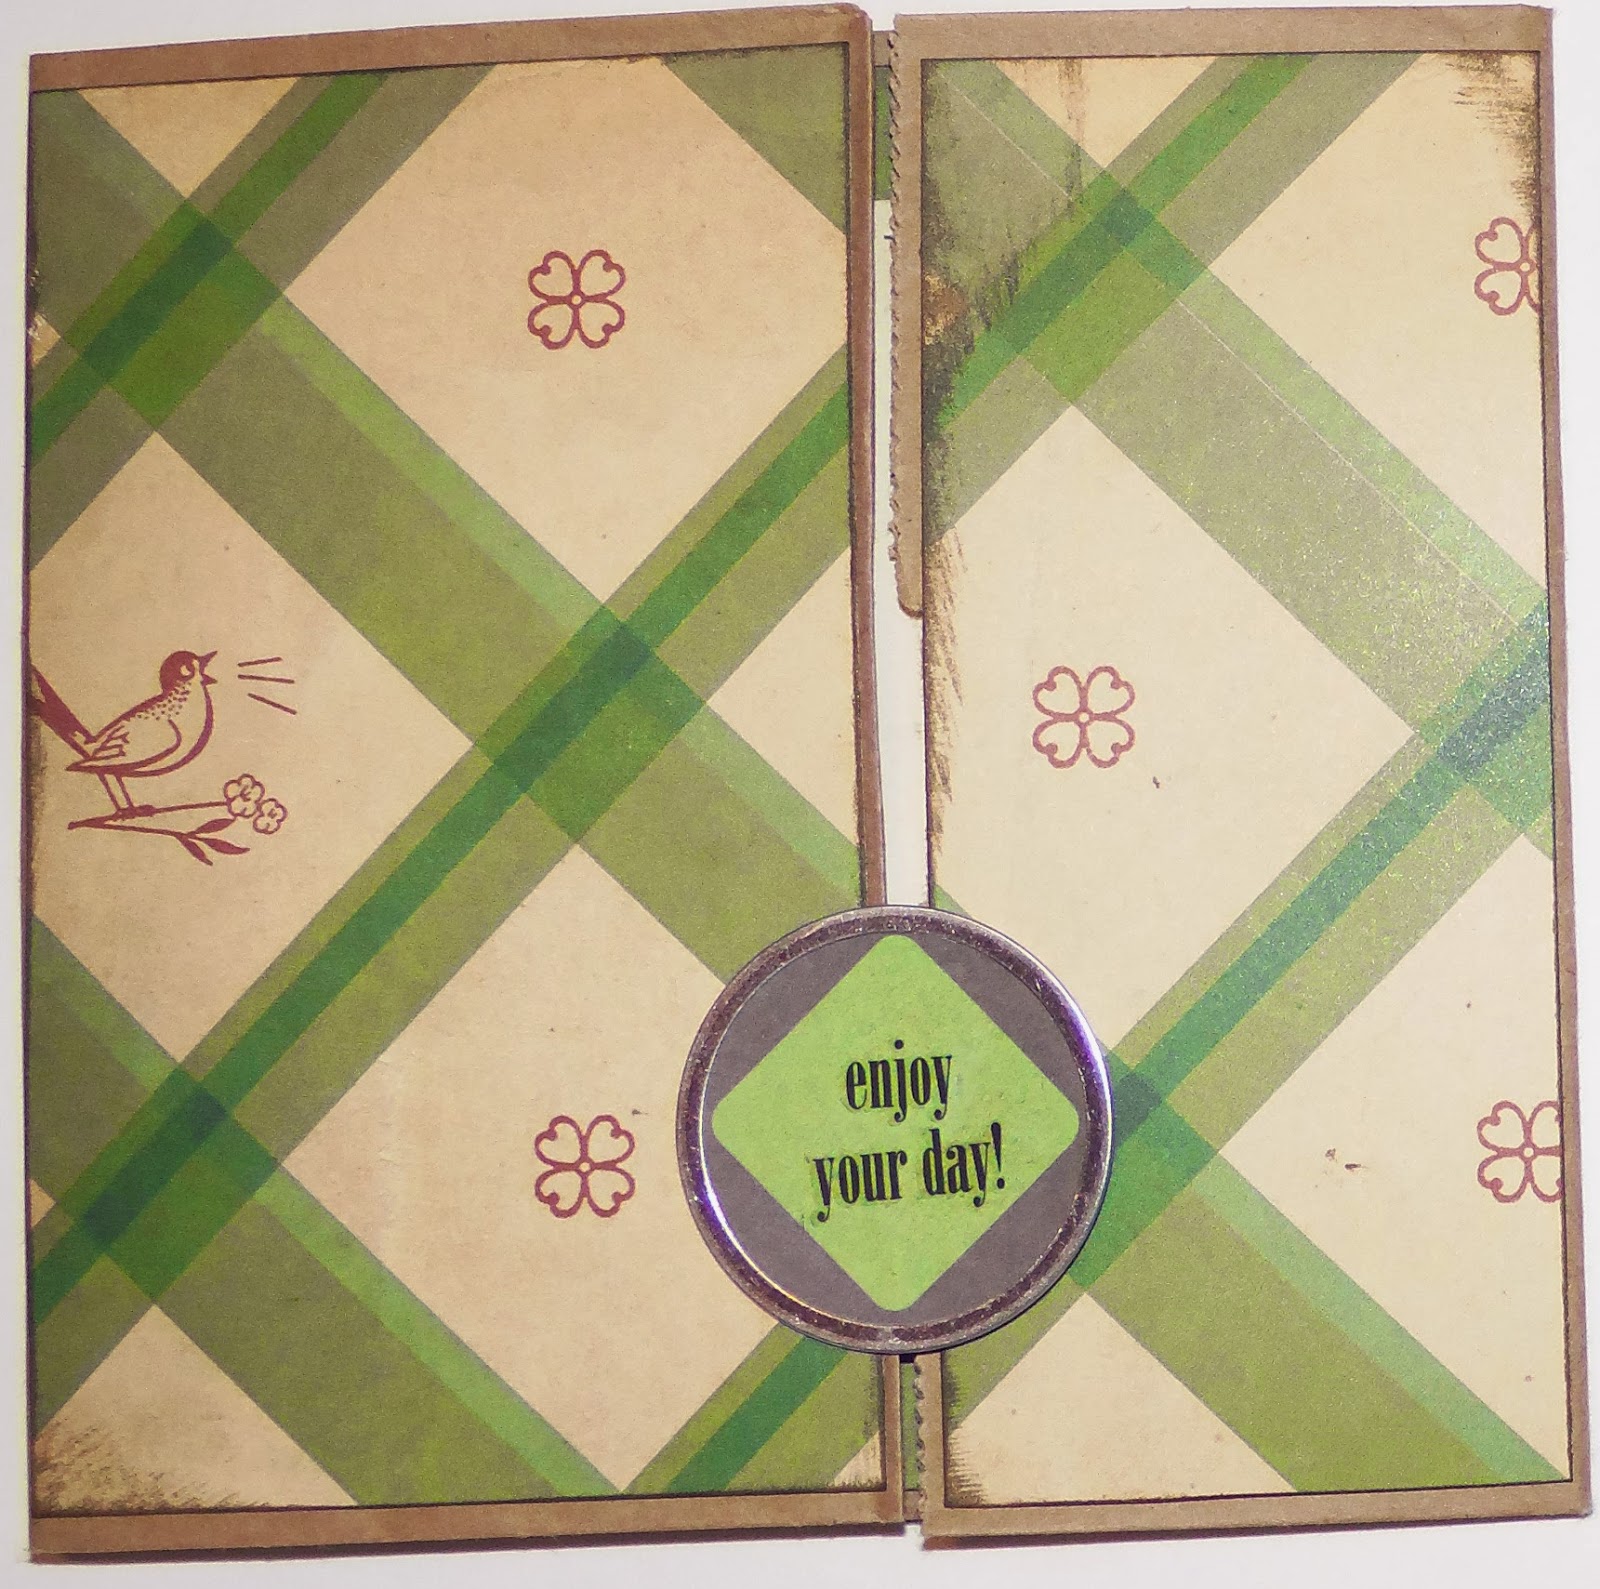
This one is folded like the previous pink and brown gate fold card.
The tag on this one says, "Enjoy your day!"


All I did was put a piece of plain cardstock on the middle panel,
then added a smaller piece of beige cardstock for a note to be written.


This card is a paper bag folded in half with pattern paper added to the front.


On the inside is another pre-printed tag taht says, "May you and your little darling be blessed always with love and joy in your hearts."

See how easily you can whip up a card like this?
Who doesn't have lunch sacks sitting around unused in their kitchen?


To store all of my paper bag cards, I used a slightly larger sack and trimmed off the bottom 4".
Then I covered each side with pattern paper and added a tag to the front that says, "Cards."

To make it sturdy enough, I trimmed cardstock to fit along the inner walls.
Then I added a strip of ribbon along the outside.


Ta-da!
So easy that you could keep a few on hand for card giving occasions.
Easy enough that you can whip one up in a few minutes when you need one.
Even easy enough, your kids could make them!

Thanks so much for stopping by and God bless.

He has made His wonderful works to be remembered
Psalm 111:4

 This post is linked to Too Much Time On My Hands, I Heart NaptimeSkip to My Lou
 and Daisy Cottage Designs.

Wednesday, February 26, 2014

More Lovelies That I Love

I love, love, love tickets.
Whenever I attend a function where I have to have one to enter or when I buy a raffle ticket, I always keep the ticket- even if it's just a stub. I'm not kidding. I don't know what my facination is with them.
Today I'm going to show you some awesome ticket themed products I've found.


Check out this cute paper by Maggie Holmes. . . covered in tickets!
Love it!


How awesome is this ticket themed Washi tape?
So awesome!


How about a ticket punch so you can make your own? Here's one by EK Success.


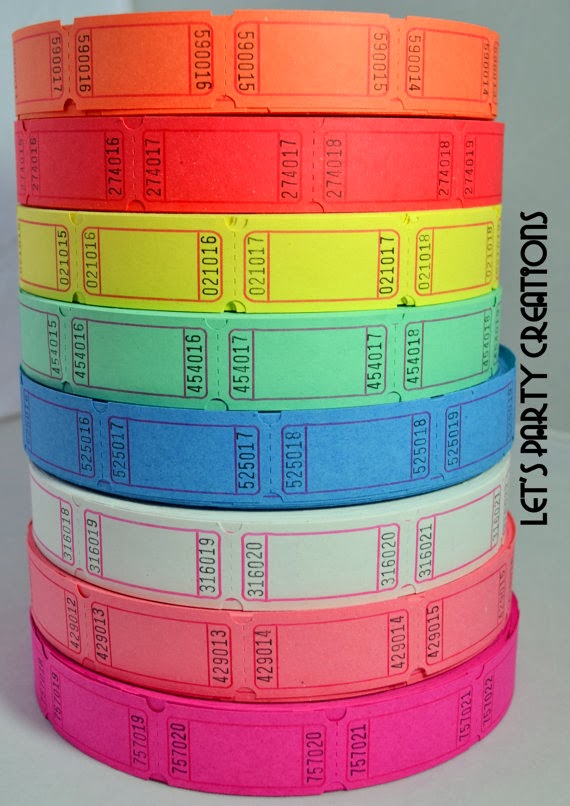
Or, if you want the real deal, here's a roll of vintage carnival tickets that I found on Etsy. Swoon!
I was so taken with these, I nearly ordered them on the spot!


This style of ticket is great because you can personalize them with stamps
or use them as  journaling tags.
There are a variety of colors to choose from at this Etsy store.
I've been known to use these as tags on gifts.

What do you think? Have I won you over?

Thanks for stopping by and God bless.

But You, O Lord, are a shield for me.
Psalm 3:3

 This post is linked to My Girlish Whims and Ivy and Elephants.

Wednesday, February 12, 2014

More Lovelies That I Love

There are so many cute new products out there that I'd love to buy.
Unfortunately, I have reigned myself in until I use up some of my current supply.
That doesn't stop me from window shopping, though. . .

I absolutely love this paper by My Mind's Eye.
I am a huge fan of wood grain paper, and the flowers on this just really finish it off.


These journaling tags from Elle's Studio are too cute.
I'm a sucker for cute journaling cards.
It's nice when they have prompts printed on them- that makes journaling a no-brainer:)


You could slip one of the above journaling tags into one of these glassine bags.
I just love little bags. . .


This pennant punch by EK Success could be used on so many projects- cards, scrapbook pages, even as a little pennant cake topper.


How cute are these decorative paper clips? They're called Typewriter Keys and they're by Prima.
Wouldn't one of these look pretty cute as a closure for a glassine bag? :)

It's so much fun to look at cute new stuff! I'm thinking all these products could be used together and make one rockin' project!

By the way, I am not affiliated with any of the above companies- I'm just a fan of their cute products.

Thanks so much for stopping by and God bless.

For everyone who asks receives, and he who seeks finds,
and to him who knocks it will be opened.
Mat. 7:8


Monday, December 30, 2013

Keep All Those Christmas Cards You Got This Year!

I just love getting Christmas cards in the mail. I'm glad people still do this. So many old traditions have gone by the wayside as our society get more tech-y, and it will be a sad time when this one does.
 
I have a super easy idea on what you can do with those cards now that Christmas has passed.
Bind them all together to make a Christmas card book!

 
Last year I showed you how to do this using either an old book as your cover
or creating a cover out of pattern paper and cardstock.
 I tried to make it even simpler this year by using a card as the cover of the card book.

 
Gather together all the cards you received this year.

 
Choose a large one that will become your cover.

 
Cut it in half.

 
Add the year somewhere on the front using stickers, stamps, or your own handwriting.
This is important - you may think you'll remember what year you got these, but several years down the road, the details will get fuzzy. Trust me.

 
Mark out two spots with a ruler about 1 1/2" from the top and from the bottom.

 
Punch holes on your marks. 
Use this card as a guide to punch holes in the rest of your cards.

 
Bind them with office rings.
You can get these at any office supply store and even in the office supply section at Walmart.


Ta-da! Wasn't that easy?
Now you can place this bundle in a basket and put it out every Christmas to look at the years gone by. I've done this for the last three years, and it is amazing to look back over these card photos and see how much everybody has changed.
 
P.S. This would be a great idea to do with your birthday cards, too.
You could bind one year by itself or several years together.
 
Please stop back by on Friday as I'm going to go back over this year and
look at my top 10 DIY projects.
 
Thanks for stopping by and God bless.

You open Your hand and satisfy the desire of every living thing.
Psalm 145:16

This post is linked to Skip to My Lou, Too Much Time On My Hands, and Between Naps on the Porch.

Friday, September 6, 2013

Check Out These Darling Bookends

A few weeks ago I found an old set of bookends at the thrift store
and picked them up intending to re-do them.
 
 
I used this darling scrapbook paper, and I'm really happy with how they turned out.

 
All I did was trace around the edges, cut out the paper, and glue it to the bookends with Mod Podge.
Then I sanded around the edges to make sure the paper was flush with the bookend edge.
It literally took me five minutes (once I decided on the paper).
 
You can go here and see how they looked before. In that picture, they're sitting wrong side up. This is how I found them in the thrift store, so it's how I thought they were supposed to be used. Then when I started my project, I thought that if I turned them around, I could use more of my cute paper. After doing that, I realized that that's how they're supposed to be used! :)

 
I enjoyed this project so much that when I happened across another set of bookends, I bought them.
You can go here to see what they looked like before.
 
 
Now I have two sets of cute bookends.
I only spent $1.50 on both sets. Boom!
 
Wouldn't these make nice gifts for a teacher or a book lover?
How about for the school librarian on Librarian's Day?!?
 
Thanks for stopping by and God bless.
 
May the glory of the Lord endure forever;
may the Lord rejoice in His works.
Psalm 104:31
 

Friday, May 10, 2013

Cupcake Toppers

     Just last week, one of my co-workers asked if I could find pink cowboy boot cupcake toppers for an upcoming baby shower. I was stumped. I mean, I bake and craft, but I don't usually combine the two.
     After racking my brain for some kind of idea, I decided to Google it, and I found the perfect toppers.

 
I ordered a digital set from this Etsy site for only $3.
It's a great shop- they have all kinds of different themed sets.

 
I downloaded the file and printed it on photo paper.
Then I used my 1 7/8"circle punch to punch them out.
I also cut out 2"pink circles to use as mats. Once I glued the images to mats, I used hot glue to attach them to lollipop sticks (that I got from Hobby Lobby for $2).
 
The toppers looked so cute sticking out of the pink and brown cupcakes.
They really complemented the girly western theme.
 
This is a super easy and affordable way to dress up a party.
So, even if you're not a crafty food kind of gal, you can still create darling treats for a party.
 
Thanks for stopping by and God bless.
 
I will instruct you and teach you in the way you should go;
 I will guide you with My eye.
Psalm 32:8