Monday, April 30, 2012

Homemade Organizer

     When I find a unique cup or bowl for a good price, I pick it up. I usually just wash them and place them in a cabinet until I have a use for them. I finally figured out what to do with them! Take a look:


     One day, I got all my containers out of the cabinet and noticed that they matched. So I got to thinking about how I could use them. How about to organize my craft supplies?! And if I put them on a platter with a lazy susan, they'll all be convenient and easy to use. Voila! My plan was born.
     So I found this platter and had my hubby attach a lazy susan contraption to the bottom of it.
     I was so excited about it that I had to make a second one for a friend.


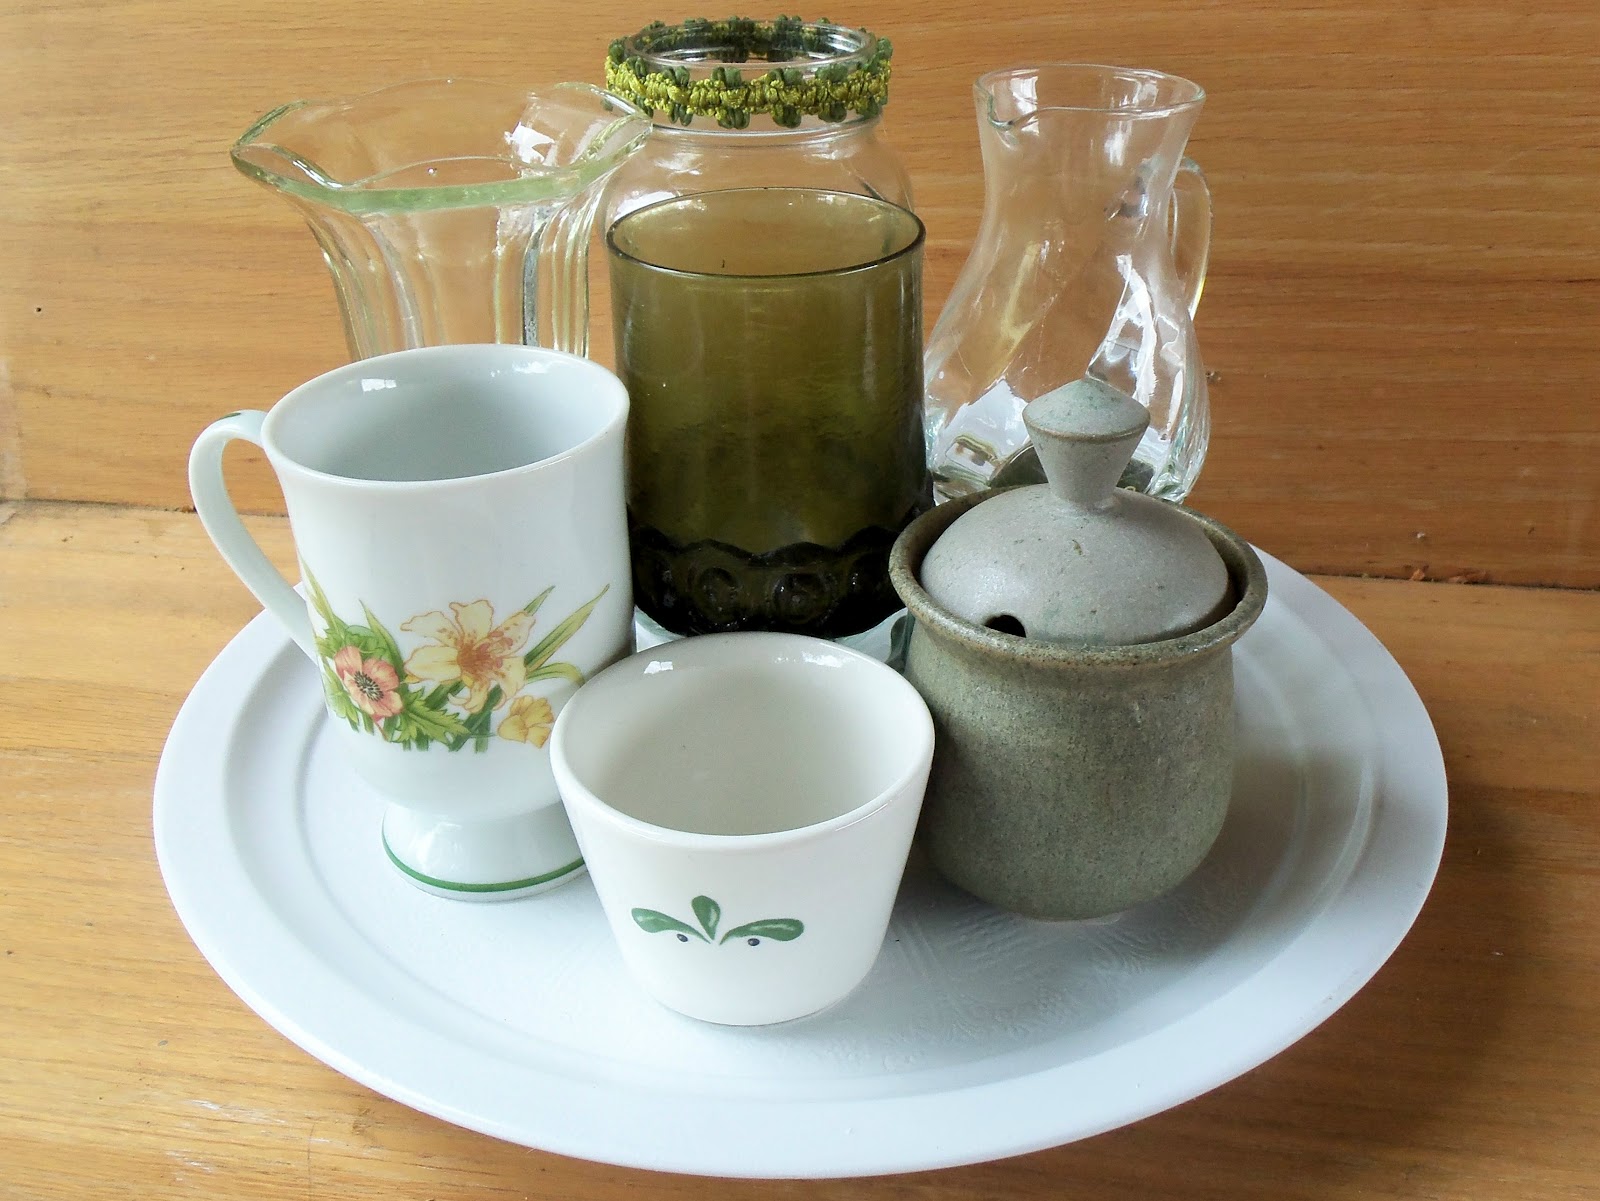
     I had already found this tea cup with green flowers above. That got me looking for other green containers. I also got some clear ones- I loved this ice cream sunday glass (on the left), the Mason jar with measurements on it, and this small clear pitcher (on the right).
     I bought a gold tray that I primed and spray painted white to be the base.


     Here's a picture from the back. I wanted to raise the small clear pitcher up, so I took this small plastic green bowl, turned it upside down, then placed the pitcher on top. Since the back three containers were clear, I added a little green trim to the mouth of the Mason jar.

     If you'd like to make on of your own, you need
7-8 different size containers (cups, jars, bowls, or small pitchers)
a tray
E-6000 glue
a lazy susan contraption (bought mine at Home Depot for $5)
a wooden base to put at the bottom of the lazy susan  (For my base, I picked up a cheap rectangle wooden plaque-can be found at Hobby Lobby or Michaels)


Decide which piece you want to be the main one. It will go in the center. I chose this blue pitcher, but it wasn't very tall, so I raised it up by sitting it on this upside down dish.

Now you'll start placing the rest of the pieces. My next 2 were matching blue cups, so I placed them on opposite sides of the platter. I suggest laying everything out before gluing to get the spacing correct.

My next 2 pieces matched as well, so they were placed opposite one another.
(I loved these handmade bowls- they look like they were made by a child then glazed.)
Now just add the rest of the pieces.

This is a view from the back.
I love this white cup- it says Lake City, Iowa and I was born in Iowa. This piece has been sitting in my cabinet for a couple of years! So glad I found a place for it!

Ta-da! A unique organizer for office supplies or craft supplies! All these pieces were found at the thrift store. This is going on a table in my craft room- as soon as I clean, I'll post photos!
     Thanks for stopping by and God bless.
     This post is linked to Brassy Apple, It's OverflowingFunky Junk, Glitter, Glue, and Paint, and Craft-O-Maniac
I Heart Nap Time


toomuchtime
MakingToday's Creative Blog


Tip Junkie handmade projects


52 Mantels

Friday, April 27, 2012

I'm Learning to Crochet!

     For years, I've wanted to learn to crochet. When my boys were babies, my grandma tried to teach me and I made one long chain! Since she was only visting, I didn't get the hang of it.
     Recently, I took a class at Joann's -actually it was 2 classes: Crocheting 100 and Crocheting 101. Even after the first class, I still wasn't getting it. I like things to come quickly and easily and this wasn't. So I just kept plugging away at it (just like I tell my 10 year old when he wants to quit something because it's hard). After my second class- with a different instructor- I finally got it! I really enjoy it! We started this scarf in the second class and it is nearly done.
     Now I've got a new hobby, I just need to find the time to do it!


     Thanks for stopping by and God bless.

Thursday, April 26, 2012

Thrifty Thursday #14

     Well, I spotted an estate sale on my way to pick up my hubby from work last Sunday. So on our way home, we stopped. Since it was the last day, everything was half off. Score!
     The house wasn't in the best condition, but the estate sale company had organized quite a bit of stuff and put it on display. One room had a long counter FULL of old magazines for only $1 each (before the discount). The previous owner was quite a pack rat.
     I picked out these five. Two of them are from the forties, two from the fifties, and one from the sixties. I would have loved to bring home more, but I don't even know what I'll do with these. They're sure fun to look through, and the ads are amazing!


     I also found this old nursery rhyme book with a copyright of 1944.
     Got it for fifty cents- I simply cannot pass up a book with illustrations like this! If I ever get to design my own line of scrapbooking papers (ha ha), I'd like to incorporate these somehow.


     I also saw a box of tickets from football games in the fifties! That's right! They were in fantastic shape! Even with the discount, they were $1.50 a piece. But I didn't want just one, I wanted the whole box. I sure could not have justified that purchase to my hubby. So I didn't get any- not even one. After I left, I wished I had offered a price for the whole box- the sale was only going for another thirty minutes and they may have worked with me. Lesson learned- won't miss a chance like that again.

     Hope you all have a super weekend. Happy thrifting!
     Thanks for stopping by and God bless.


Wednesday, April 25, 2012

Layout of the Week #10- Using Fabric to Scrapbook

     Greetings, my paper loving friends! I hope you're all having a good day. I thought we'd step outside the box this week and incorporate fabric into our layouts. So get out your fabric scraps and let's scrap with them!


The supplies you'll need:
one piece of 12"x12" card stock
one coordinating piece of pattern paper (only need about a 2"x10" strip)
4 pieces of coordinating fabric scraps (the largest piece is 10" x 6"- the rest can be smaller)
letter stickers for your title
journaling block (something to write your journaling on)
photos
adhesive
scissors
optional: envelope (mine is 6 1/2" x 9 1/2")


This is the optional step: Take your envelope and measure what you're going to put inside of it. I wanted to place cards from my kids in there, so I laid the cards on the outside of the envelope to see how long it needed to be. I trimmed about an inch off the bottom of the envelope.
Then I adhered it sideways to the cardstock with double sided tape. The end that I trimmed is open, so I used regular Scotch tape to tape it to the card stock which closed the open side (the left edge) so my stuff would stay inside.

Now you'll cut the main fabric to 10"x6" long and adhere it over the envelope. It's ok if the bottom edge shows because we'll be covering it in the next step.
Make sure you leave the open side of the envelope to the right edge and don't cover it with the fabric or you won't be able to use the envelope.
If you're making this without the envelope, just adhere the fabric to the bottom portion of the card stock leaving a little border around the edges. I used Mod Podge to adhere my fabric.


Cut a wavy edge in your strip of pattern paper. The scallop does not have to be perfect. I just started cutting. It is about 1 1/2" x 10".

Adhere it to the bottom edge of the fabric while overlapping the fabric a little. Once again, don't cover the open edge of your envelope.

To make the fabric bunting, we'll make a pattern so the pieces will be the same. I used a piece of stiff paper (from a file folder) and cut a 2 1/2" x 1 1/2" strip. Then I placed one of the short ends into a square punch. This gives you an evenly cut "V."

Like this.
(You can keep this as a pattern to use on later projects.)

Now you use this pattern to cut out this shape out of fabric. If you take a piece of fabric and fold it in half, you will cut two pieces out at once. Use your other three fabrics and cut two flags out of each fabric. 

Take each fabric flag and fold the top edge over a piece of twine and staple it. Do that with all the fabric flags and make two sets of three flags. Tie a knot in the twine at the ends. Adhere these to the top two corners of the cardstock. 

Add your photos to the right side of the layout. They should overlap the scallop paper. I used two 4"x6' photos, but you could use a 5"x7" photo instead.
Place your title at the bottom edge of the bottom photo.


To finish it off, just add a journaling block on the left edge of the fabric. I chose a circle, but a square or rectangle would work just as well. Stop here if you want to keep your layout simple.


If not, you can add a few embellilshments to jazz it up. I placed a flower with a quote in the center on the photos, then placed little butterflies with jewel centers throughout the layout.


Here is another example- I started with a heart cut out of fabric, then added a fabric tie to the bottom of the layout. Also, the three tabs at the top left corner and top right corner are just rectangles cut from fabric, folded in half, and stapled to the background paper.

Thanks so much for stopping by and God bless.

This post is linked to Blue Cricket Designs, Be Different. . . Act Normal,  and


Photobucket


Tuesday, April 24, 2012

Recipe of the Week #14- Sausage and Egg Breakfast


Sausage and Egg Breakfast
1 (8 oz) package crescent dinner rolls
1 pound pork sausage, cooked and drained
5 eggs, beaten
3/4 cup milk
1/2 tsp salt
1/4 tsp black pepper
1 (8 oz) package shredded mozzarella cheese

Line a 13"x9" baking dish with crescent rolls, pressing seams together. Cover with sausage. In a medium bowl, combine remaining ingredients and pour over sausage. Bake at 350 degrees for 30 minutes. Let stand for 5 minutes before serving.

One night a week we have breakfast night and this is a favorite dish at our house! It's quick and easy and so yummy!
Pictured above is the my hubby's half of the pan- with green onions and green bell peppers.


Tip Junkie handmade projects

Today's Creative Blog


Photobucket

Monday, April 23, 2012

Tiny Tile Photo Holder

     Here's an easy idea if you need a whole lot of gifts, but don't have much time or money to spend. I've made these twice for such occasions- Mother's Day gifts for the ladies of our church (they were gifts from the church, not from me:) and also Christmas gifts for my co-workers. I plan to make another batch before school is out for my son's teachers. He is in fifth grade, so this is the last year he'll be at this school. This way he can give all his teachers, including Art, Music, and P.E., a little something without us having to break the bank!
     All you need is a sheet of the mini tiles from a home improvement store like Lowe's. My tiles were 1 3/4" x 1 3/4". They come on a sheet of 20 or more for $5 or less. You'll also need clothes pins (think the dollar store), a glue gun, some stamps (check out the Target $1 section), and some Staz On ink (Hobby Lobby- use a coupon!).
     Now you just use your Staz On ink- this particular type of ink will not smear as opposed to other inks- to stamp an image on each tile. Once the ink is dry, you just glue a clothespin to the back of the tile with the clamping end upwards. Leave a little space between the bottom of the clothespin and the bottom of the tile so it will be able to stay propped up. (On my first attempt, I glued the clothespin even with the bottom of the tile, and it wouldn't stand up by itself.)
     If you like, you can tie a piece of ribbon to one leg of the clothespin (if you tie it around the whole clamp, the clothespin can't open).
     Voila! Place a photo in the clothespin and you have a cute little photo holder.


     Thanks for stopping by and God bless.
     This post is linked to It's Overflowing and

Making


Today's Creative Blog
52 Mantels