Showing posts with label jewelry making. Show all posts

Monday, August 8, 2016

Repurposed Bracelets: Belts to Cuffs

I've had this project in mind for awhile.
I've been collecting leather belts to turn them into bracelet cuffs.

It's actually been on my to-do list for about three months.
Do you ever have something that you want to do, 
but you're just afraid to start it because you don't know if you can do it? 
That was this project for me.

Then I finally told myself, "Just cut the belt. What's the worst that can happen?"
 I'd just mess up a yard sale belt.

 Crazily enough, that first cut was super easy.:)


Once I got started, I couldn't stop.


I cut off between 6 1/2" and 7" for each cuff.


Then I punched two small holes on each end.
I used my Crop-A-Dile to make the holes, but there are special leather tools made for doing this too.
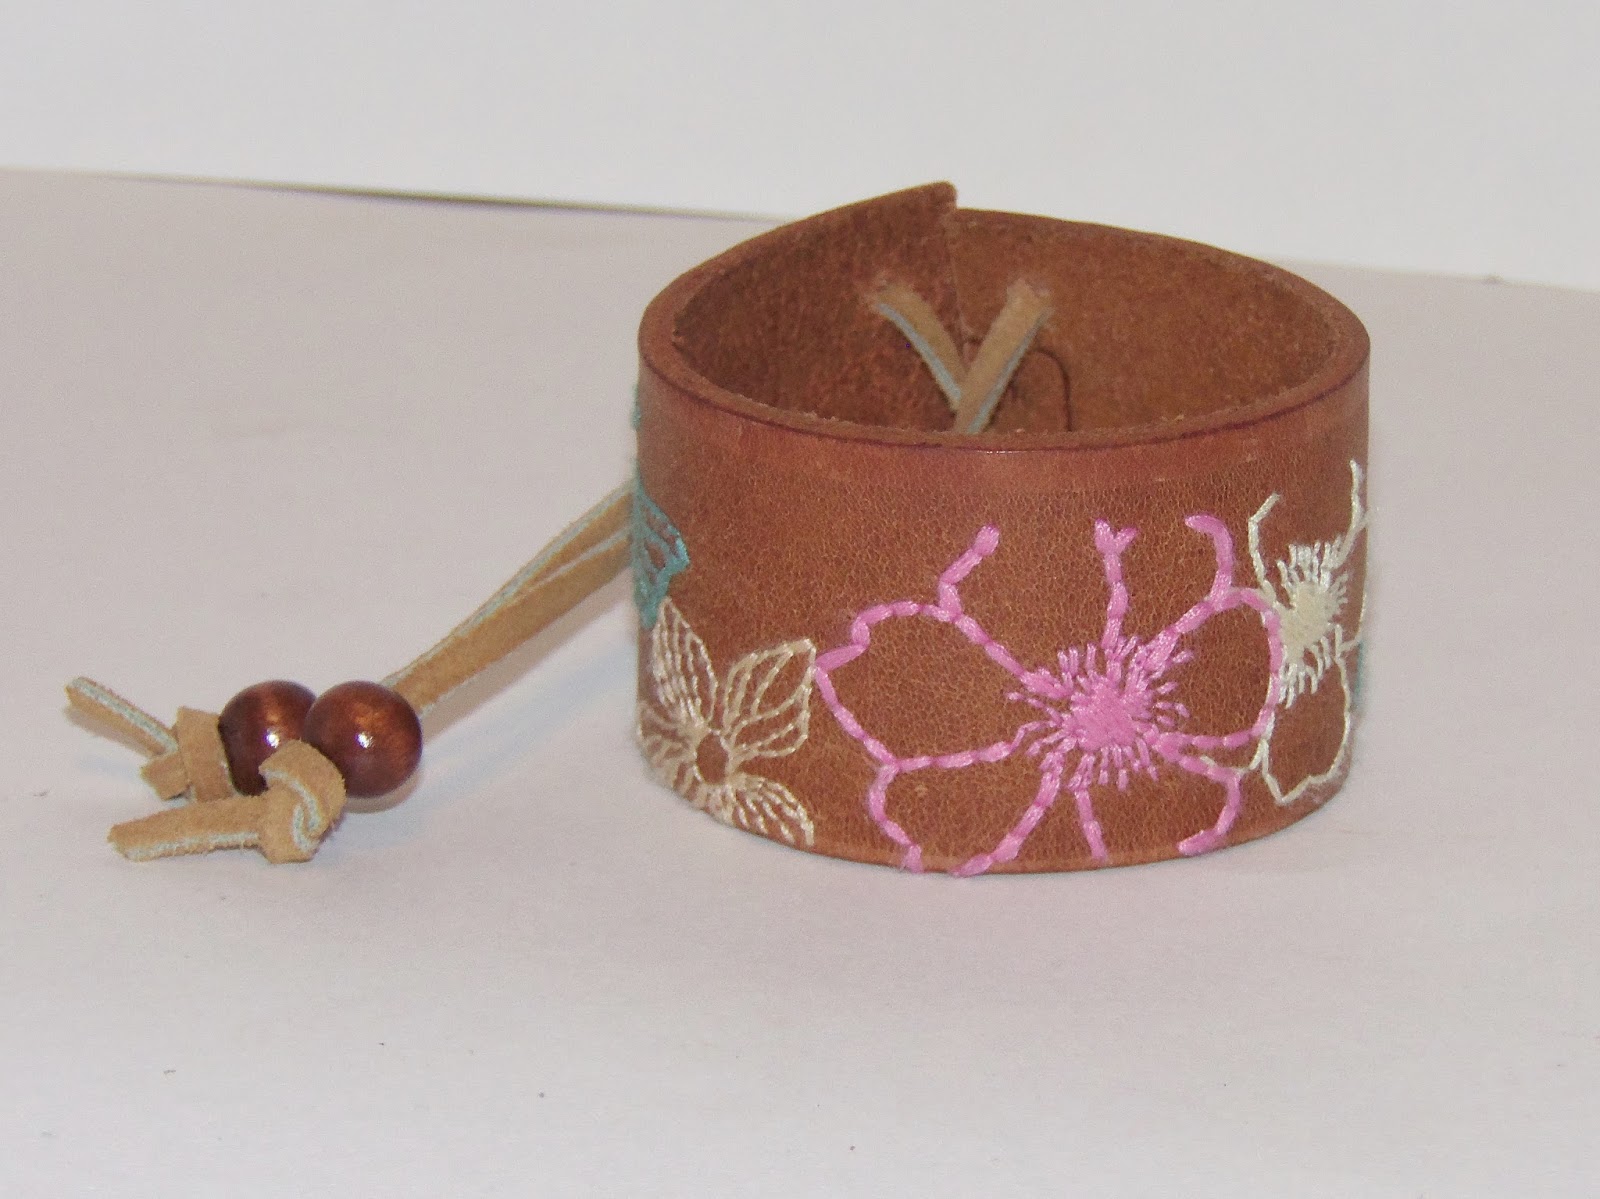

 Finally I threaded narrow leather string through the holes.
I added wooden beads at the end of each strap just above the knots.


On this cuff, I added a metal quote band.


For these, I used some fabric as ties.
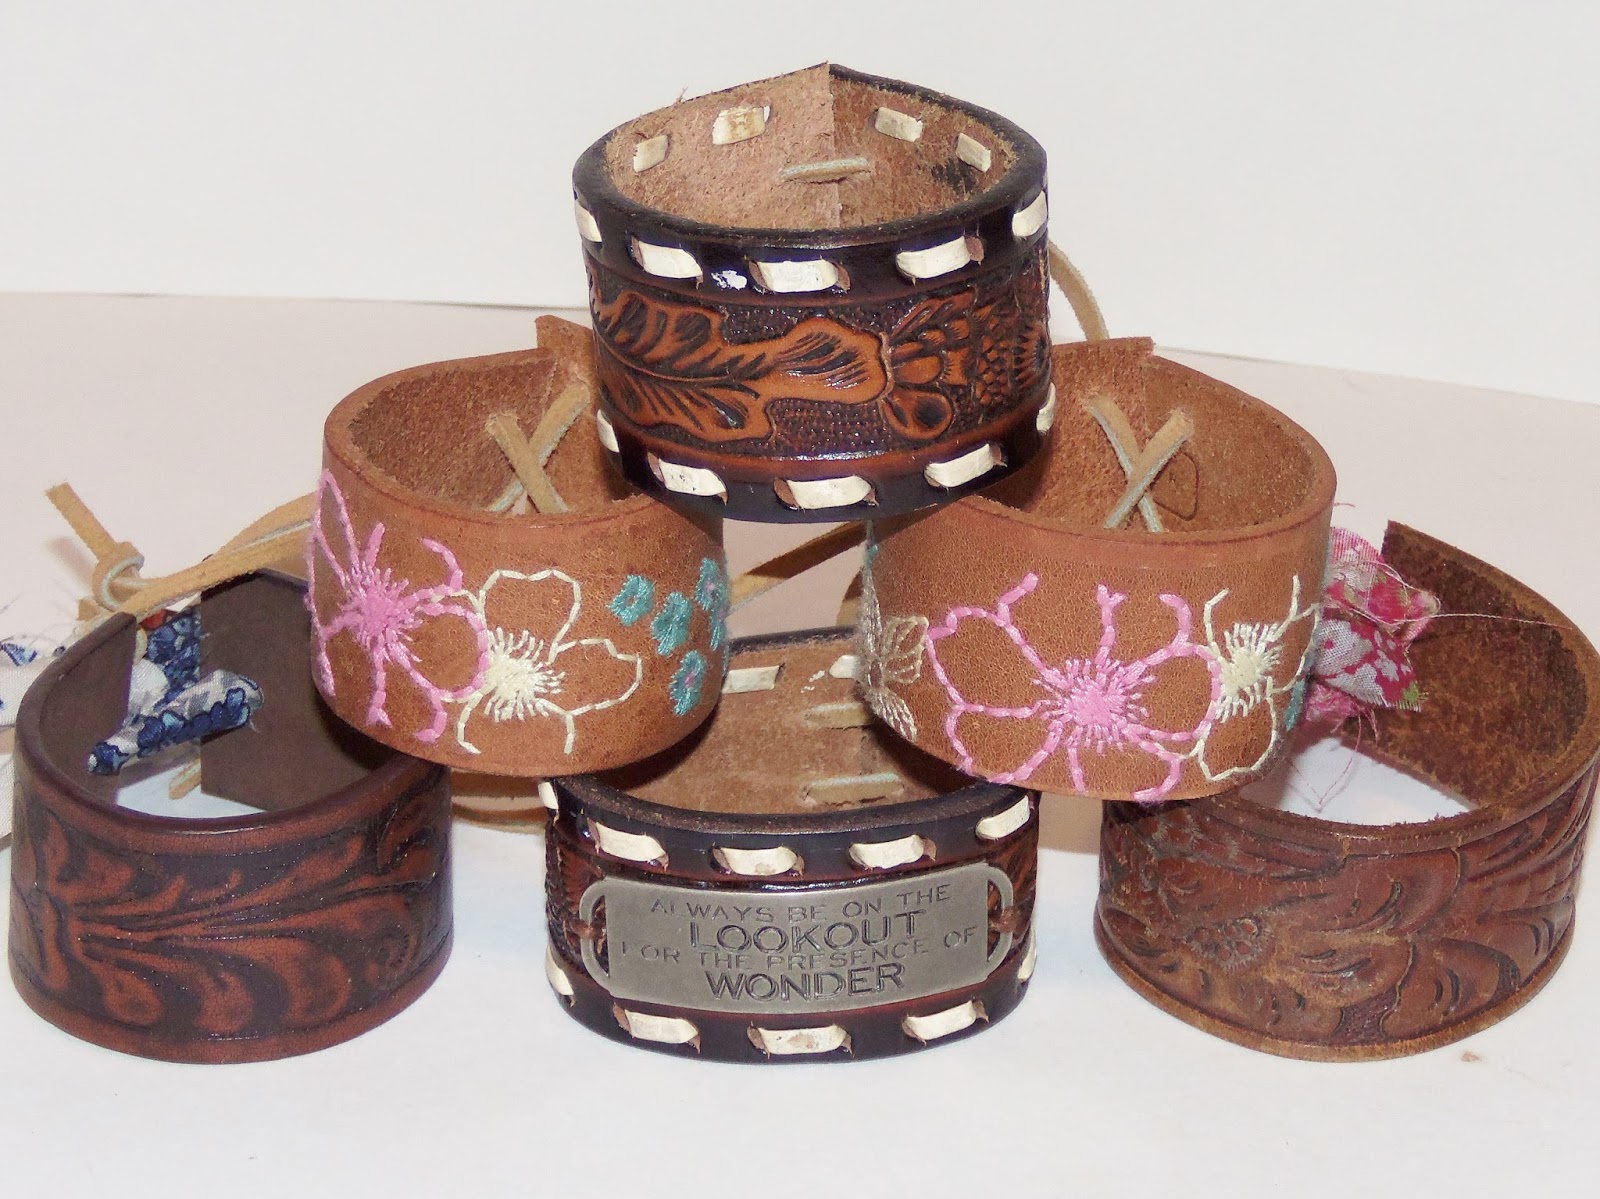
 

I got all these belts at yard sales and/or thrift stores.
I still have quite a bit of the belts left. I think I'm going to have to make some more. 
One belt even has the words rodeo queen engraved on it. Won't that make a cute bracelet?

If you are dealing with something in your life right now that you're not sure how to handle,
just take that first step. Stop dreading it. "Just cut the belt." 
You'll find that it wasn't worth the worry that you put into it.

Thanks for stopping by and God bless.

Rejoice always,
 pray without ceasing, 
in everything give thanks; 
for this is the will of God in Christ Jesus for you.
1 Thes. 5: 16-18

Friday, June 10, 2016

Two Step Feather Earring DIY

Here's how to make a cute pair of earrings in just two steps. . . 
 

Here are the earrings: dangly feathers in a hoop.


I started with these feather charms,
a set of 45 mm teardrop hoops,
and two earring hooks.


First, I attached the earring hooks to the hoops.
I used two pairs of jewelry pliers to open the loop at the bottom of the earring hook,
then I slid the hoop on and closed the loop.


Then I attached the feathers to the insides of the hoops by opening the small jump ring at the top of the charm, hooking it on, then closing it again.
That's it! Two easy steps- can you believe it?
Thanks for stopping by and God bless.

Blessed is the man who fears the Lord,
 who delights greatly in His commandments.
Psalm 112:1

 This post is linked to The Crafted Sparrow, Too Much Time, Embracing Change, and Indie Crafts.

Friday, January 22, 2016

Easy Necklace DIY

Today I've got an easy necklace DIY.


Here's the necklace we'll be making.


To make one, you'll need:
Tim Holtz Typed Tokens
small resin flowers
small circle blanks
ball chain
jump rings
E-6000 glue
two pairs of jewelry pliers


First, you need to glue a flower to the circle blank using E-6000 glue.
Allow to dry for 24 hours


Using two pairs of jewelry pliers, open a jump ring.
Don't pull it apart; instead twist it to open it.
This way it will close properly without leaving a gap.


Place a jump ring on the flower piece.


Close the jump ring.


Apply a jump ring to a Tim Holtz token as well.


Cut a length of ball chain to 20".
Place both the flower and the token onto the chain.
Attach a ball chain closure at the end.


Ta-da!


I made twenty of them to take to work and give to my co-workers as Christmas gifts.


I think they're pretty cute!

If you like this, but don't want to make one, you can get one here.

Thanks for stopping by and God bless.

Come and hear, all you who fear God, 
and I will declare what He has done for my soul.
Psalm 66:16

Friday, June 26, 2015

Colorful Bracelet DIY

 Have you ever tried to make a bracelet?
It's not too hard.
Here's how I made this one.


I just love all the colors.


I started with these two items from Hobby Lobby.
I also used some silver beads and elastic jewelry cord.
 On the back of the elastic cord package are directions on how to tie knots for jewelry.


It's a bit hard to see in this photo, but I started by tying the elastic to one edge of the jewelry plate.
(I use thin elastic, so I usually use two strands to make the bracelet stronger.)


Then I alternated colorful beads with silver beads.
I think the silver beads seem to dress it up.


I kept adding beads until the bracelet was long enough to go around my wrist.
Then I tied the elastic cord off on the other side of the jewelry plate.

This is my new favorite piece.
With all those colors, it goes with nearly everything!

Thanks for stopping by and God bless.

And this is His commandment: 
that we should believe on the name of His Son Jesus Christ
 and love one another, as He gave us commandment.
1 John 3:23

Friday, June 12, 2015

Wood Beads with a Pop of Color

The other day, my sister came over and needed me to repair a bracelet of hers,
 so while I had my supplies out, I whipped up a few new ones.


 I thought the colorful crosses would be just the right pop of color for these wooden beads.


I alternated silver beads with the wooden beads to dress them up a bit.


I think they look cute individually


or even doubled up.

Have a wonderful weekend!
Thanks for stopping by and God bless.

Humble yourselves in the sight of the Lord,
 and He will lift you up.
James 4:10

This post is linked to Life with Lorelai, My Repurposed Life, and I Heart Naptime.

Monday, April 13, 2015

Badge Holder DIY

Does anybody else have to wear a badge for work?
When I go into work on Fridays (I home school my boys the other four days of the week),
I have to wear a badge at the medical clinic where I'm a nurse.

Recently, my work issued badge holder bit the dust, so I decided to come up with my own.


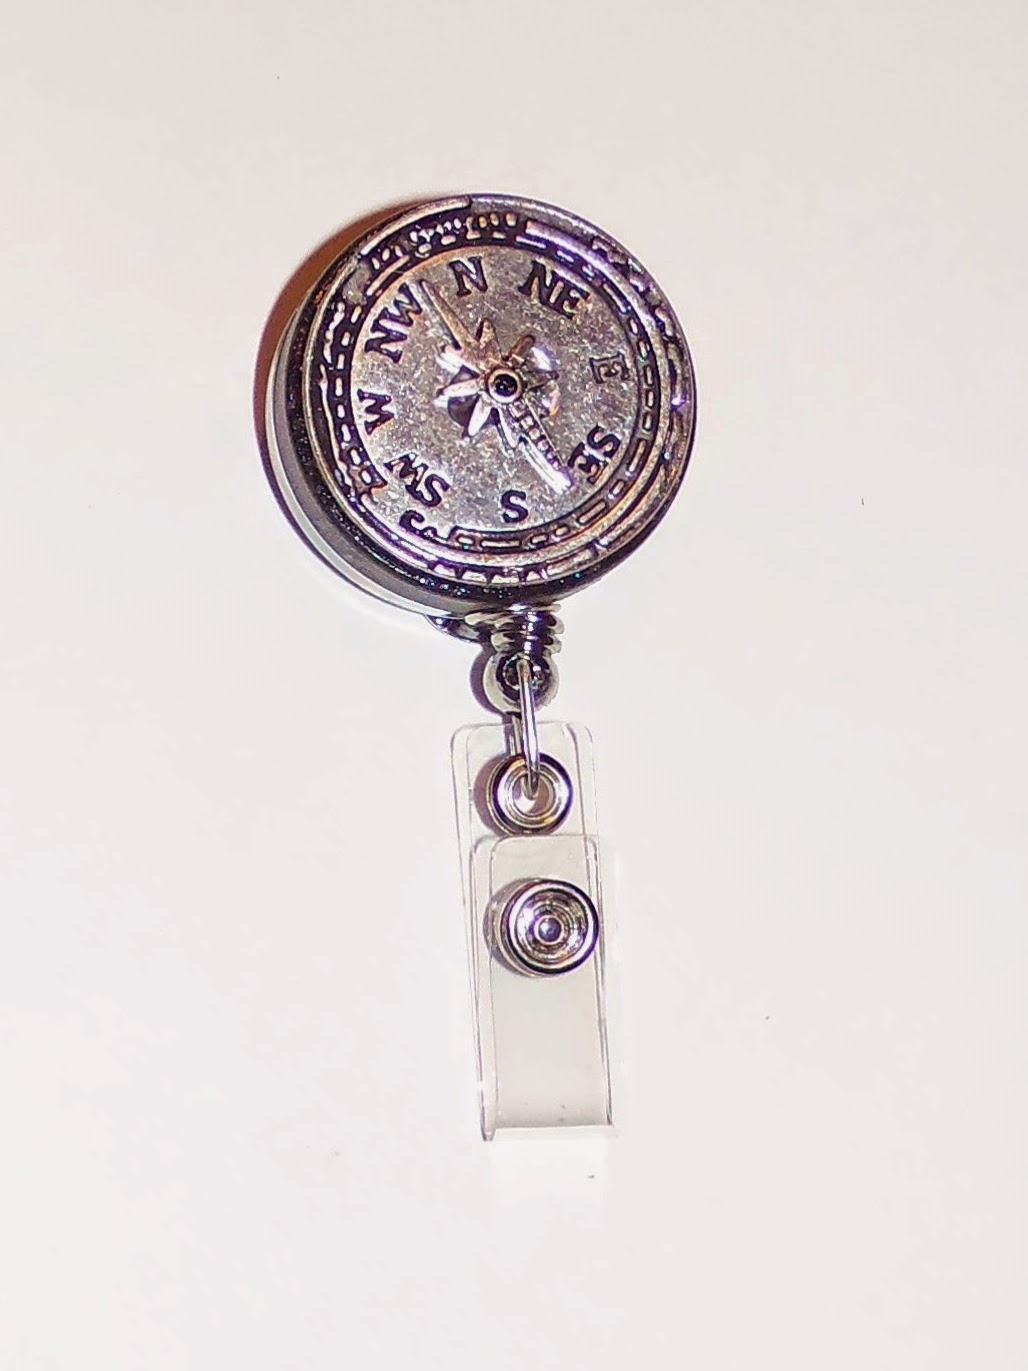
Here's my new badge holder.
I wanted something that would match any color.


It was super easy to make.

If you'd like to make one, all you need is:
a badge reel (I got mine at Hobby Lobby)
a pendant that is big enough to cover the front of the reel
wire cutter
E-6000 glue


First, you'll want to cut the loop off of the pendant.
I used my Tim Holtz scissors, but wire cutters will do the trick as well.


Then just place some E-6000 glue on the back of the pendant and center it onto the reel.


Give it 24 hours to dry, and you're ready to go!
I chose a solid silver pendant, but you could go as wild and colorful as you like.

Thanks so much for stopping by and God bless.

Rejoice always, pray without ceasing, in everything give thanks; 
for this is the will of God in Christ Jesus for you.
Psalm 119:16-18

This post is linked to What's on the List, Tatertots and Jello, and Skip to My Lou.

Friday, April 10, 2015

Pink Roses and Pearls

Every so often, I feel like making some jewelry. . .
usually after walking through the bead section of a craft store:)

Last Friday night on date night, my hubby and I took a swing through Michaels.
They had a sale on beads, so I had to pick some up.


I just fell in love with these pink roses. 
I figured what goes better with pink roses than pearls?

So I picked up some of both and took them home.


Here's what I used for this project:
Stretch Magic elastic string 0.5mm
pearls
pink roses
ring blank
E-6000 glue


I put one pearl between each of the three roses,
 then strung several more around the back of the bracelet.


On the back of the package, there are instructions for how to tie off the string.
It's basically two square knots.
Tip: to make the bracelet extra sturdy, I used two strands of the elastic string.


I had one rose left over, so I made a ring.
I used some E-6000 glue to adhere the rose bead to a ring blank.
Then I let it sit for 24 hours.


I think they turned out pretty and girl-y.
I don't get enough pink around my house, so I really like this set!

I hope you all have a delightful weekend!
Thanks so much for stopping by and God bless.

I will delight myself in Your statutes;
 I will not forget Your word.
Psalm 119:16

This post is linked to Simple Nature Decor, Too Much Time on My Hands, My Repurposed Life,
and Today's Creative Blog.

Friday, February 27, 2015

Recycled Bracelets

Boy, do I have something fun to show you today. . . 

Check out these bracelets-
can you tell what they are?


Locker numbers!
What do you think?
I only wish I had the old lockers they came from!

Kind of fun, huh?
I hope you have a wonderful weekend!

Thanks for stopping by and God bless.

I love the Lord, 
because He has heard my voice and my supplications.
Psalm 116:1

Monday, November 3, 2014

5 Minute Flower Cuff DIY

I love when Hobby Lobby and Michaels have sales on their different lines
of jewelry making products
 (the reason I mention these two stores is because I live within 5 minutes of each of them).
Darling jewelry can be made in just a few steps,
like this flower cuff.


To make this, I used this cuff bracelet and flower pendant- both purchased on sale at Michaels-
and some E-6000 glue.

I love how the flower looks hand painted.


All I did was apply some E-6000 glue to the top part of the bracelet.
Then I placed it onto the back of the flower making sure that I centered it.
I held it for several minutes before setting it down.


I let it sit upside down for 24 hours to make sure the glue was completely dry,
then I had this fantastic, very Junk Gypsy looking flower cuff to wear.
Woo-hoo!

Thanks so much for stopping by and God bless.

Owe no one anything except to love one another,
for he who loves another has fulfilled the law.
Romans 13:8

Friday, September 19, 2014

5 Minute Ring DIY

Would you like to make a piece of jewelry in five minutes?
Well, follow me and you'll have a new ring before you know it. :)
 
 
Here's the ring I made.
Yours will look like whichever pendant you choose.

 
To make one you need a ring blank,
a necklace pendant,
and E-6000 glue.
 
Using wire cutters, cut the necklace loop off the pendant.
Then apply E600 glue to the ring blank and place it directly on the
center of the backside of the pendant.
Allow to dry for 24 hours.

 
Voila! A brand new ring!
 
Wouldn't these make great gifts?
 
Thanks so much for stopping by and God bless.
Have a great weekend!
 
 
He who follows righteousness and mercy
finds life, righteousness and honor.
Proverbs 21:21