Thursday, April 14, 2016

Thrifty Thursday #211

There are a few secondhand items that I have dreams of finding
 like a card catalog, an old dress form, and a pull-down school map.
I guess you could call it a thrifter's bucket list.:)
Today, my friends, I have of those items to show you.
Yep. I got a bucket list item.


Behold: a set of old lockers!
I can't tell you how thrilled I am to finally have my own set.
I had to scrub them clean, but they are all in great shape.


I also got this set of locker fronts.
The lady selling them said that the backs of the lockers were damaged, but this part could still be used for a magnet board. Well, she had me there. I couldn't very well pass it up.

For the set of six lockers and two locker fronts, I paid $108. 
It was a splurge purchase for me, but I couldn't pass up such a great price on lockers.
I've looked at lockers before, but they always cost way more than this.
I plan to put the lockers themselves in my son's room,
 but the locker fronts will look quite cute sitting behind a vintage desk in my living room.

What do you think?
What's on your thrifter's bucket list?

Thanks for stopping by and God bless.

Serve the Lord with gladness; 
come before His presence with singing.
Psalm 100:2

Wednesday, April 13, 2016

Lovelies That I Love

I am a huge fan of Etsy.
When I need to buy a gift, this is the first place I go to look.
I love all the unique things I can find there.
Like some of these things for instance. . .
I totally love this print.
.
This mug can be personalized.
What a great idea.
I love the font.
I can't get over how stinkin' cute this t-shirt is.
It, too, can be customized with your name.
Love it!
The name says it all for this rockin' find: gypsy grain bag boho apron.
It's a thing of beauty.
I think this locket is adorable!
I love anything with a vintage bike on it.
What do you think?
Makes you want to buzz over and buy something, huh?
Me too:)
I'm not affiliated with any of these companies, I just like their stuff.
Thanks for stopping by and God bless.
Serve the Lord with gladness;
come before His presence with singing.
Psalm 100:2

Tuesday, April 12, 2016

Recipe of the Week #216- Wiener Winks


Wiener Winks
8 hot dogs
8 pieces of bread
8 pieces sliced American cheese
4-5 Tbsp butter
16 toothpicks

Preheat oven to 350 degrees. Butter all eight pieces of bread and place them butter side down on a cookie sheet. Place one piece of cheese on each piece of bread. Place the hot dogs diagonally across each piece of bread. Fold up the two corners opposite the hot dogs and lay them across holding them with two toothpicks. Bake until the bread is golden and the cheese is melted.

This is such an easy and fun meal. I first ate these back in elementary school in Iowa. I loved them then, and I love them still. These are always a hit with my family.

Thanks for stopping by and God bless.

Stand still and consider the wondrous works of God.
Job 37:14

Monday, April 11, 2016

Burlap Banner

I love making banners.
Sometimes I make them with pretty paper,
but my favorite ones have been made from burlap.


I made this one for my friend's baby shower.
The shower had a moustache theme and the color was turquoise.


I started by deciding what size triangle I wanted the letter panels to be.
I cut a triangle out of cardstock and used it as a pattern.
Using a Sharpie marker, I traced around the template for a total of six burlap triangles.


Then I cut out along the inside of my lines (that way the lines wouldn't be visible).
I used foam stamps and black paint for my letters.
On two triangles, I used a heart stamp.
To keep it with the moustache theme, I added moustache stickers to the hearts.
(I liked that they were stickers- that way my friend can peel them off
and use the banner in the nursery if she decides to.)


Then I glued the burlap triangles to a long piece of twine leaving just a little space in between them.
My final step was to add pieces of turquoise ribbon in those spaces.

Easy and cute.
You could make a personalized banner like this for any celebration.

Thanks for stopping by and God bless.

Be still and know that I am God
Psalm 46:10

 This post is linked to USS CraftyGingersnap Crafts, I Gotta Create, and Wow Me Wednesday.  

Friday, April 8, 2016

Beach Shadowbox DIY

My brother visits family in Fort Lauderdale three or four times a year.
It feels like a second home to him.
The first time he visited, he brought back lots of seashells and quite a bit of sand.
I thought I'd make him something to remind him of the place he so loves. 


I started with a 5"x 7" shadowbox.


I removed the backside and poured sand into the bottom 2/3 of the frame.
Then I filled the rest of the space with small seashells.
 

I added a tag that I stamped with "My own piece of Ft. Lauderdale Beach."
 
I sure wish I had collected sand and shells from all the places we've been.
Wouldn't several of these look cute on a wall with vacation photos?
 

The weather is getting nicer- it's been in the 80's all week here.
We're heading out for a three day camping trip this coming Sunday, so the weather will be perfect.
Our boys are 16 and 14. I was just telling my hubby that we need to enjoy what few family vacations we have left before they leave home!
I hope you all enjoy your weekend.

Thanks for stopping by and God bless.

Stand still and consider the wondrous works of God.
Job 37:14

 This post is linked to Embracing Change, Life With Lorelai, Artsy Fartsy Mama,
Tatertots and Jello, and Pretty Handy Girl.

Thursday, April 7, 2016

Thrifty Thursday #210

My thrift store run this week provided three great vintage finds and one fun (not vintage) find.


I was tickled pink when I spotted these flour sacks.
Are they old? I'm not sure, but they have a vintage look.
Believe it or not, they let out a poof of flour when I set them on my table at home.
Two of them were fifty cents and one was seventy-five cents (not sure why they weren't all the same).
Any ideas about what I can do with them?


I love using paint chips in different projects.
I got this pack of them for fifty cents.
Score.


I picked up this old children's Golden Encyclopedia for fifty cents.


It has a copyright of 1960.
How about those graphics?


I also got this big ol' children's book (published in 1955) for fifty cents.


Here's what the hardcover looks like.


This is the inside cover.
Cute, huh?


More awesome graphics.

That's it, my friends.
What did you come across this week?

Thanks for stopping by and God bless.

But I know that when I come to you,
 I shall come in the fullness of the blessing 
of the gospel of Christ.
Romans 15:29

This post is linked to Blue Willow House, That DIY Party, Too Much Time,
and The Crafty Blog Stalker.

Wednesday, April 6, 2016

Layout of the Week #128


It's been awhile, but I got back into the scrapping mode today. :)
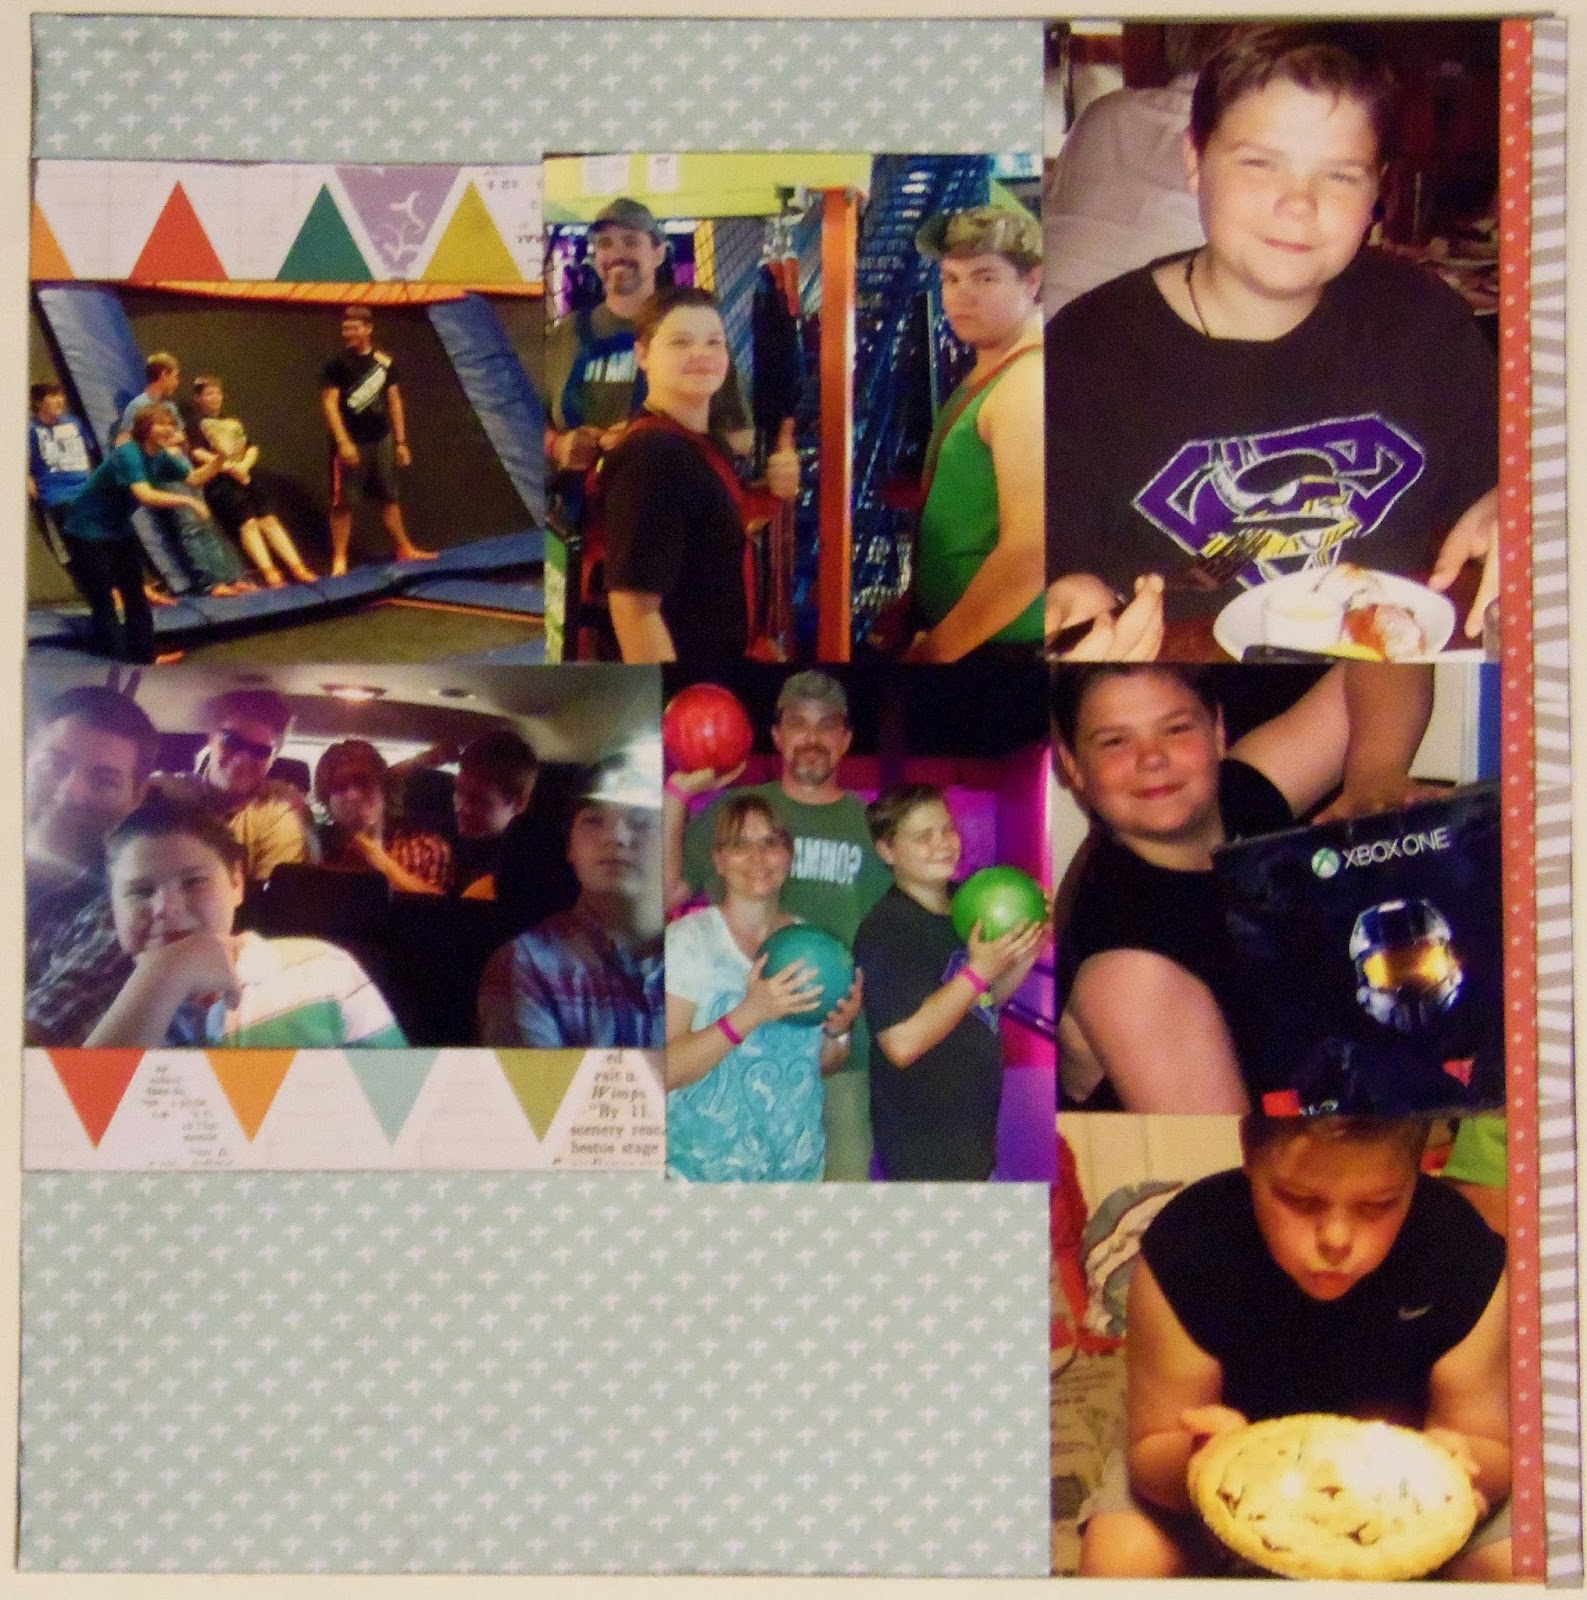
I grabbed a few pieces of pattern paper and a handful of photos and came up with this layout.
Follow along to see how to make it.

To create it, you'll need:
one piece of 12"x 12" pattern paper
two strips of pattern paper measuring 1/4"x 12" (or you can use decorative tape)
one strip of pattern paper measuring 1/2" x 12" (or you can use decorative tape)
two strips of pattern paper measuring 1"x 6"
one journaling card (an index card will work if you don't have one)
letter stickers for title
embellishments in your theme 
6-7 photos
paper trimmer
adhesive


Place 2 or 3 vertical photos along the right side of the 12"x 12" pattern paper making a photo column.
Two will fit without trimming, but if you use three, you'll have to crop them to fit.


Place your 1/2" x 12" strip of pattern paper along the right edge of the paper overlapping the photos.
Place one strip of pattern paper measuring 1/4" x 12" along the outer right edge 
overlapping the first strip.


Now we're going to make two rows of photos that will butt up to the column of photos.
You'll want to figure out what size to trim your photos to to make them fit.
(Mine measure 4"x 4" and 4" x 3".)
Place your two taller photos in the center of the page next to the first photos. 

For the top photo, I only placed adhesive along the bottom edge with two mini Glue Dots in the upper corners. That way I can hide my journaling card behind the photo. If you'd rather place your journaling card here instead of using a photo, that will work, too.


Place your final two photos along the left edge of the background paper. You'll want to use your shorter pictures here. 
They should butt up to the middle photos. 
(My photos measure 3"x 4" and 3"x 5".)


Now place your 1"x 6" paper strips above and below the photos on the left.
My strips were a bit long for the space, so I trimmed off the excess.


Place your final strip measuring 1/4"x 12" along the bottom edge of the photos.
Trim off the excess.


Place three embellishments in the upper left corner in the space above the photos. 
Tuck your journaling card behind the top center photo.


Using your letter stickers, place your title in the space below the middle photos.
I used three stickers for my title.
Place an embellishment along the right edge of the vertical photo strip
and one more along the bottom left photo.
That's it!

I think it's a fun layout, and I love that it features quite a few photos.

If you enjoyed this, stop by every other Wednesday and complete a new layout with me.

Thanks for stopping by and God bless.

So then each of us shall give account of himself to God.
Romans 14:12

This post is linked to Gingersnap Crafts, Between Naps on the Porch, A Morning Cup of Joe,
I Heart Naptime, and I Gotta Create.