Friday, March 8, 2013

Chunky Green Bead and Chain Necklace

     I found a new line of beads at Michaels that just shouted out to me- they're big, chunky, and beautiful! They're called Color Splash Beads. You can see them here.
     I picked up a green set because I wanted to make a necklace to layer the beautiful one that I got for my birthday.
     Then I found this tutorial and made this necklace.

 
Some of the beads have gold hues and I wasn't for sure how they would look with silver accents. They look great together! Very classy.
 
 
Here is is paired up with the other necklace. What do you think?
I can't wait to wear them!!
 
Thanks for stopping by and God bless.
 
But as for me, I trust in You, O Lord;
I say, "You are my God."
Psalm 31:14


Thursday, March 7, 2013

Thrifty Thursday #58

     This past weekend my hubby and I went to an estate sale with some friends. They had been wanting to go to one and we just so happened to know where one was.

     It was the last hour of the last day of the sale. Prime time for deal making!

 
I found these two mini teacups- one with a saucer.
Each piece was marked fifty cents, but the lady let me have them all for a dollar.
These will get washed up and given to my friend who has me looking for teacups for a project she plans to do.

 
I loved the look of this old worn out cigar box. I think I paid $1 for it.
I plan to store my washi tape collection in it.

 
Love these spoons with the flower cut outs! They're perfect for serving spoons.
I got the whole set for $2.

 
I cannot pass up embroidery hoops. I like to keep them on hand for projects.
Got all these for one dollar!

 
If you stopped by last week, you saw that I came by an old record player. I'll probably give these records a spin before turning them into party decor.
I paid four dollars for all of these.
 
     As usual, my hubby and I had a great time browsing the estate sale. I think our friends did, too. I explained to them that sometimes you find awesome stuff and sometimes you strike out. You just never know til you go!
 
     I hope you have good luck with your yard sale shopping this week. Thanks for stopping by and God bless.
 
Wait on the Lord; Be of good courage,
and He shall strengthen your heart;
Wait, I say, on the Lord!
Psalm 27:14
 
This post is linked to Apron Thrift Girl. 
 

Wednesday, March 6, 2013

Layout of the Week #45- Using Decorative Sacks

     Do you ever just walk the aisles of Michaels or Hobby Lobby- even if you don't need anything? Then you find something because you've walked down aisles you don't usually look at. Well, I did just that. And I found the cutest little white paper bags with pink polka dots. So this week, we're going to use a decorative sack on our layouts.
     Now, usually I tell you that when I create these tutorials, I intend for you to use supplies you already have. So don't go out and buy a cute little white sack with pink polka dots. You can use any little decorative bag. If you don't have one, you can use a regular brown lunch sack and cover it with  pattern paper.

 
Here's the layout we're going to create.

 
To make it, you'll need:
one piece of 12"x12" cardstock plus a couple small pieces for photo mats
one piece of 12"x12" decorative pattern paper
one piece of pattern paper measuring 6"x 7 1/2" (I used a page out of an old encyclopedia)
small decorative bag
letter stickers for the title
a couple of embellishments to match you theme (I used three tickets, one sticker, and a crocheted flower)
paper trimmer
adhesive

 
First trim off 1/4" from the bottom and the right side of the pattern paper. Then adhere it to the 12"x12" cardstock. Ink the edges if you'd like. 
 
 
Now take the piece of pattern paper measuring 6"x 7 1/2' and adhere it to the top of the cardstock about two inches from the left side.
The decorative elements on the bottom left corner and top right corner are printed on my pattern paper. This is a good project to use a piece with decorative elements along the edges.

 
Now turn your sack with the opening facing the left side. Adhere it on top of the second pattern paper about one inch from the top of the layout.
I used a circle punch to cut out the rounded opening. To do that, you only need to cut out half of a circle.

 
Now take your main photo and mat it. Adhere it on top of the paper bag. This will work with a vertical photo or a horizontal photo. If your photo is 4"x6", trim the mat to 4 1/2" x 6 1/2".

 
Since you will have a sack on the layout, you'll have room to put extra photos, journaling or other memento. I added a photo, used a notecard for journaling, and even folded up a picture my son drew for me. I placed all this into my paper sack behind the main photo. 

 
Now trim down 2-3 more photos and arrange them like this in the lower right corner.

 
Add your title across the bottom of the small piece of pattern paper. It's hard to read mine, but it says, "My Sweet Valentines."
Feel free to add embellishments.
I placed a crocheted flower at the bottom right corner of the main photo, then placed a ticket and a sticker at the top left corner of the same photo.
I also stapled two tickets to the edges of the items in my sack to make them easier to pull out.
If you don't have access to tickets, you can just use a rectangle of cardstock or pattern paper, fold it in half and attach it to your memento.

 
Here's a look with the items pulled out of the paper sack.
 
I hope you are able to follow these instructions and create a layout of your own! Thanks for stopping by and God bless.
 
Into Your hand I commit my spirit;
You have redeemed me,
O Lord God of truth.
Psalm 31:5


This post is linked to Embracing Change and Shabby Creek Cottage. 

Check This Out!

     Does this make anybody but me giddy? I sure hope it's good!
 
 
I love junk!
 
     If you live around the Houston area, come and check it out!
(I am not associated with it in any way, but I think it looks like my kind of thing!)

Tuesday, March 5, 2013

Recipe of the Week #57- Molasses Ginger Cookies

 
Molasses Ginger Cookies
2 1/4 cup flour
2 tsp baking soda
1/4 tsp salt
1 tsp ground cinnamon
1 tsp ground ginger
1/2 tsp ground cloves
1 1/2 sticks butter, room temperature
1 cup dark brown sugar
1 egg
1/4 cup molasses
 
Preheat oven to 350 degrees. In a medium bowl, whisk together flour, baking soda, salt, cinnamon, ginger, and cloves. Set aside.
In another bowl, cream together butter and brown sugar until creamy and fluffy. Add in the the egg and molasses. Beat until incorporated.
Slowly add in the dry ingredients until just combined. Roll dough into balls and roll through sugar.
Bake for 12-14 minutes.

Note: I made my first dozen without rolling through the sugar. They were good, but not great. So I added that step and it made a lovely difference! This is a new favorite at our house!

I found this recipe here.
 
Thanks for stopping by and God bless.
 
I have set the Lord  always before me;
because He is at my right hand I shall not be moved.
Psalm 16:8
 
 This post is linked to Sassy Little Lady.

Monday, March 4, 2013

Liebster Award

     At the end of last week, I was nominated by Curiositaelly for the Liebster Award and  I am tickled pink about it! Thanks so much Curiostitaellya!!


The Liebster award is given to up and coming bloggers who have less than 200 followers.


What is a Liebster?

The meaning: Liebster is a German word and means sweetest, kindest, nicest, dearest, beloved, lovely, kind, pleasant, valued, cute, endearing, and welcome.
 
Here are the rules for receiving this award:* Tell 11 random facts about yourself
* Answer the 11 questions the nominator has asked you.
* Choose 11 new bloggers (with less than 200 followers) to pass
the award to and link them in your post.
*Create 11 new questions for the bloggers you pass the award to.
*Go back to their page and tell them about the award.
*No tag backs.


11 Random Facts About Me
1. I love Diet Coke- especially filled with crushed ice and in a styrofoam cup. Don't know why, but I
   think it tastes better that way!
2. I love to drive fast (not with my kids in the car, though:)
3. I get excited about office supplies.
4. I love dogs.
5. I met my hubby in the Army.
6. I cannot sing or whistle in tune.
7. I have visited 14 countries in Europe.
8. I am afraid of heights.
9. My hubby and I were married in Denmark.
10. I hate to be the center of attention.
11. My boys are my greatest treasure.


11 Questions from Curiositaellya
1. Who would you want to be with on a desert island?
      My hubby
2. If you could join any music group which would you join?
     Hmm. . . that's a tough one. I don't like to be in front of crowds, so I'd have to be one of the stage
    helpers. I guess either Tim McGraw or Pink.
3. If you had to describe yourself as a flavour, what would it be?
    Vanilla- with gummy bears
4. Have you ever cried at a film? Which one?
    Yes, any film that is really emotional- whether it's very happy or heartbreaking. I will especially
    cry if the character has a pet that dies.
5. Do you keep a diary/journal?
      No, I 've tried several times. I seem to lack the commitment it takes to keep one.
6. What's your favorite flower?
    Tulips, daisies, and sunflowers (can't narrow it down:)
7. Do you believe in ghosts?
    Yes
8. What was the last film you saw?
     A Good Day to Die Hard
9. What three things do you think of most each day?
    Praying, my hubby and my boys, and my to-do list
10. What's your favorite precious stone?
     I'm not really into precious stones- however, I do enjoy a piece of unique jewelry. . .
11. What was your last dream about?
     I usually have weird, nonsensical dreams. In my last dream, I met up with my hubby in the wild. 
    He had just gotten away from somebody by jumping in a river and riding the current.
 
 
Now I get to nominate 11 bloggers.
I choose:
2. Shelly at Dolen Diaries
4. Dori at Bell Jar Vintage
6. Marium at Decorate Vintage
7. Joy at A Vintage Green
8. Jo-Ann at Growing In Grace
9. Megan at I Craft With Love
10. Geri at Sister #5 Designs
11. Kirsti at Hello Kirsti
 
Questions for those I'm nominating:
1. What's your favorite book?
2. What do you do for fun?
3. Do you have a nickname, and if you do, what is it?
4. What is your most treasured possession?
5. What do you do to unwind?
6. What comes easy to you?
7. Early bird or night owl?
8. What is your dream job?
9. What makes you laugh?
10. What is the best birthday gift you could receive?
11. Who has most influenced your life?
 
     Thanks again Curiositaellya for this honor! Thanks for stopping by and God bless.
 
 
Be devoted to one another in love.
Honor one another above yourselves.
 Romans 12:10
 
 This post is linked to Craft-O-Maniac.


Friday, March 1, 2013

Do You Smash?

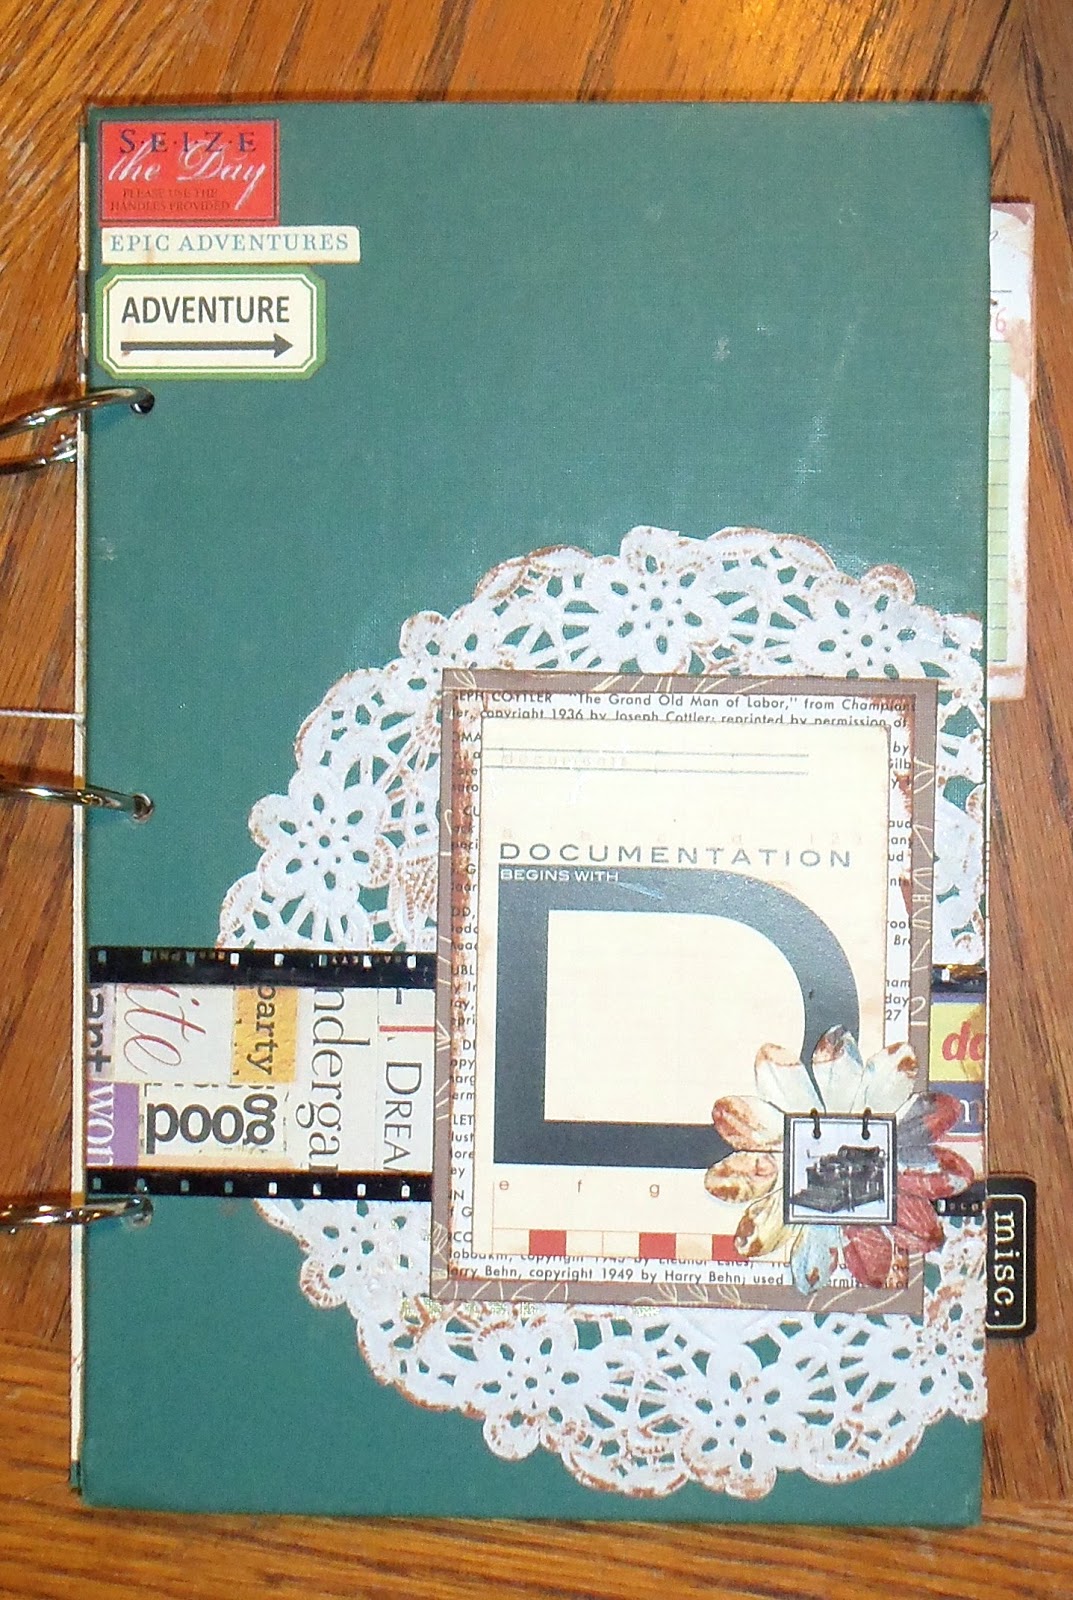
     From the first time I saw a Smash album, I was in love! I love how every page is different and random and so cute. . . but as I flipped through all the different styles of books, I kept thinking, Hey, I can make one of these! Certainly not to the quality of K and Company, but almost as cute. I can't justify buying something that I can make. After all, I am very frugal and a DIY-er at heart.:)

 
You can go here to see what the inside pages of my book look like.

    (For those of you who don't know what a Smash album is, it's a premade mini scrapbook with lots of different pages where you can just add photos, notes, receipts, tickets. . . pretty much anything. It's really a cool idea.You can go here and see the K and Company Smash albums I'm talking about.)

     So anyway, I showed you awhile back my version of a Smash album- to avoid stepping on any toes, I call mine my Stash album. (get it?- it's a place to stash my stuff:)

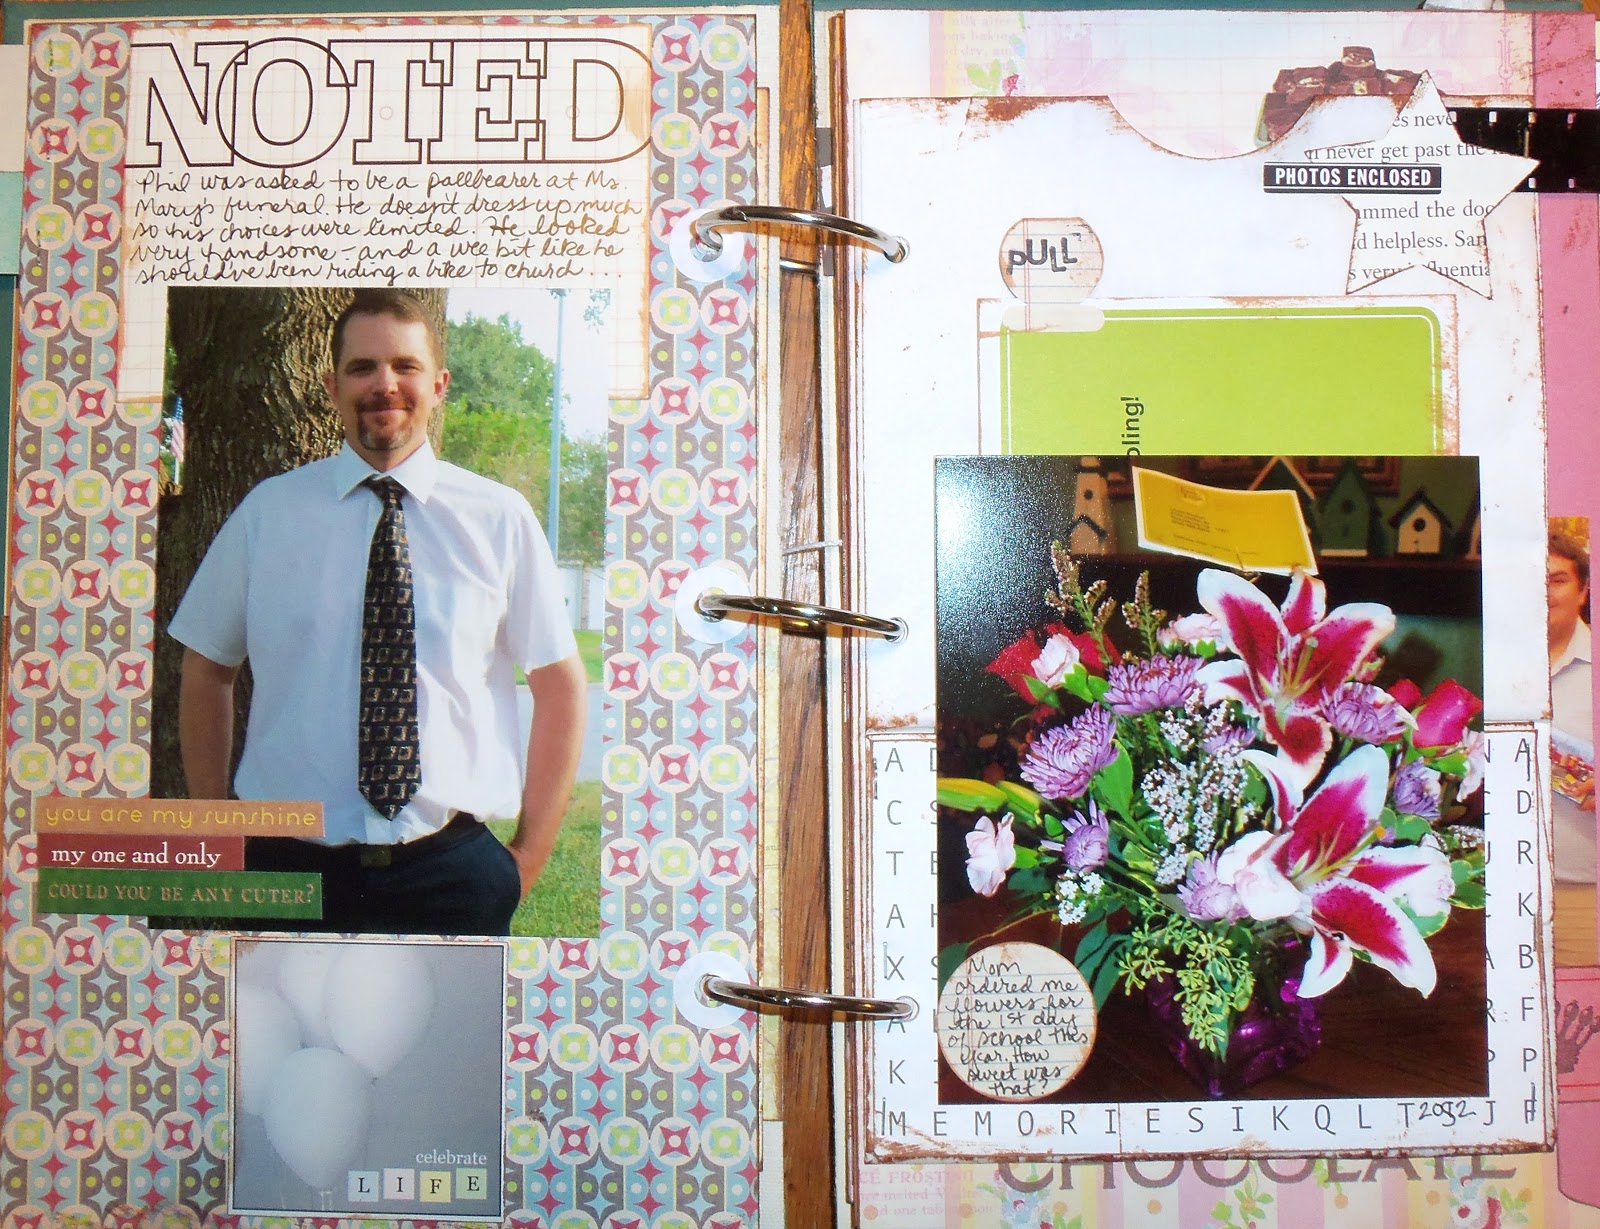
     Here's a quick update to show you a few of the pages that I've completed.

 
Here are two pics of my boys being silly along with little stories about them. I used some washi tape and a couple of stickers.
What makes this so easy is that I already had the book prepared with pages and embellishments. All I have to do is just add photos and any extras that I feel like.

 
The photo on the left is a goofy photo of my hubby- not one that I would scrapbook. But the picture makes me laugh, so this is the perfect place to put it!

 
The photo on the right is adhered to a page made from a paper sack. I put a note behind the photo in a pocket.

 
I find this style of scrapbooking very freeing. I can scrap photos that have nothing to do with one another. I get to write down cute little stories. Each page is it's own unique story.

     If you've never Smashed before, you should give it a try. Either buy a pre-made book or make your own. I think you'll find it quite smashing!

     I hope you all have a fantastic weekend! Thanks for stopping by and God bless.

All Scripture is God-breathed and is useful for
teaching, rebuking, correcting and training
in righteousness, so that the man of God may be
thoroughly equipped for every good work.
2 Timothy 3:16-17

This post is linked to My Girlish Whims, Shabby Creek Cottage, Embracing Change,