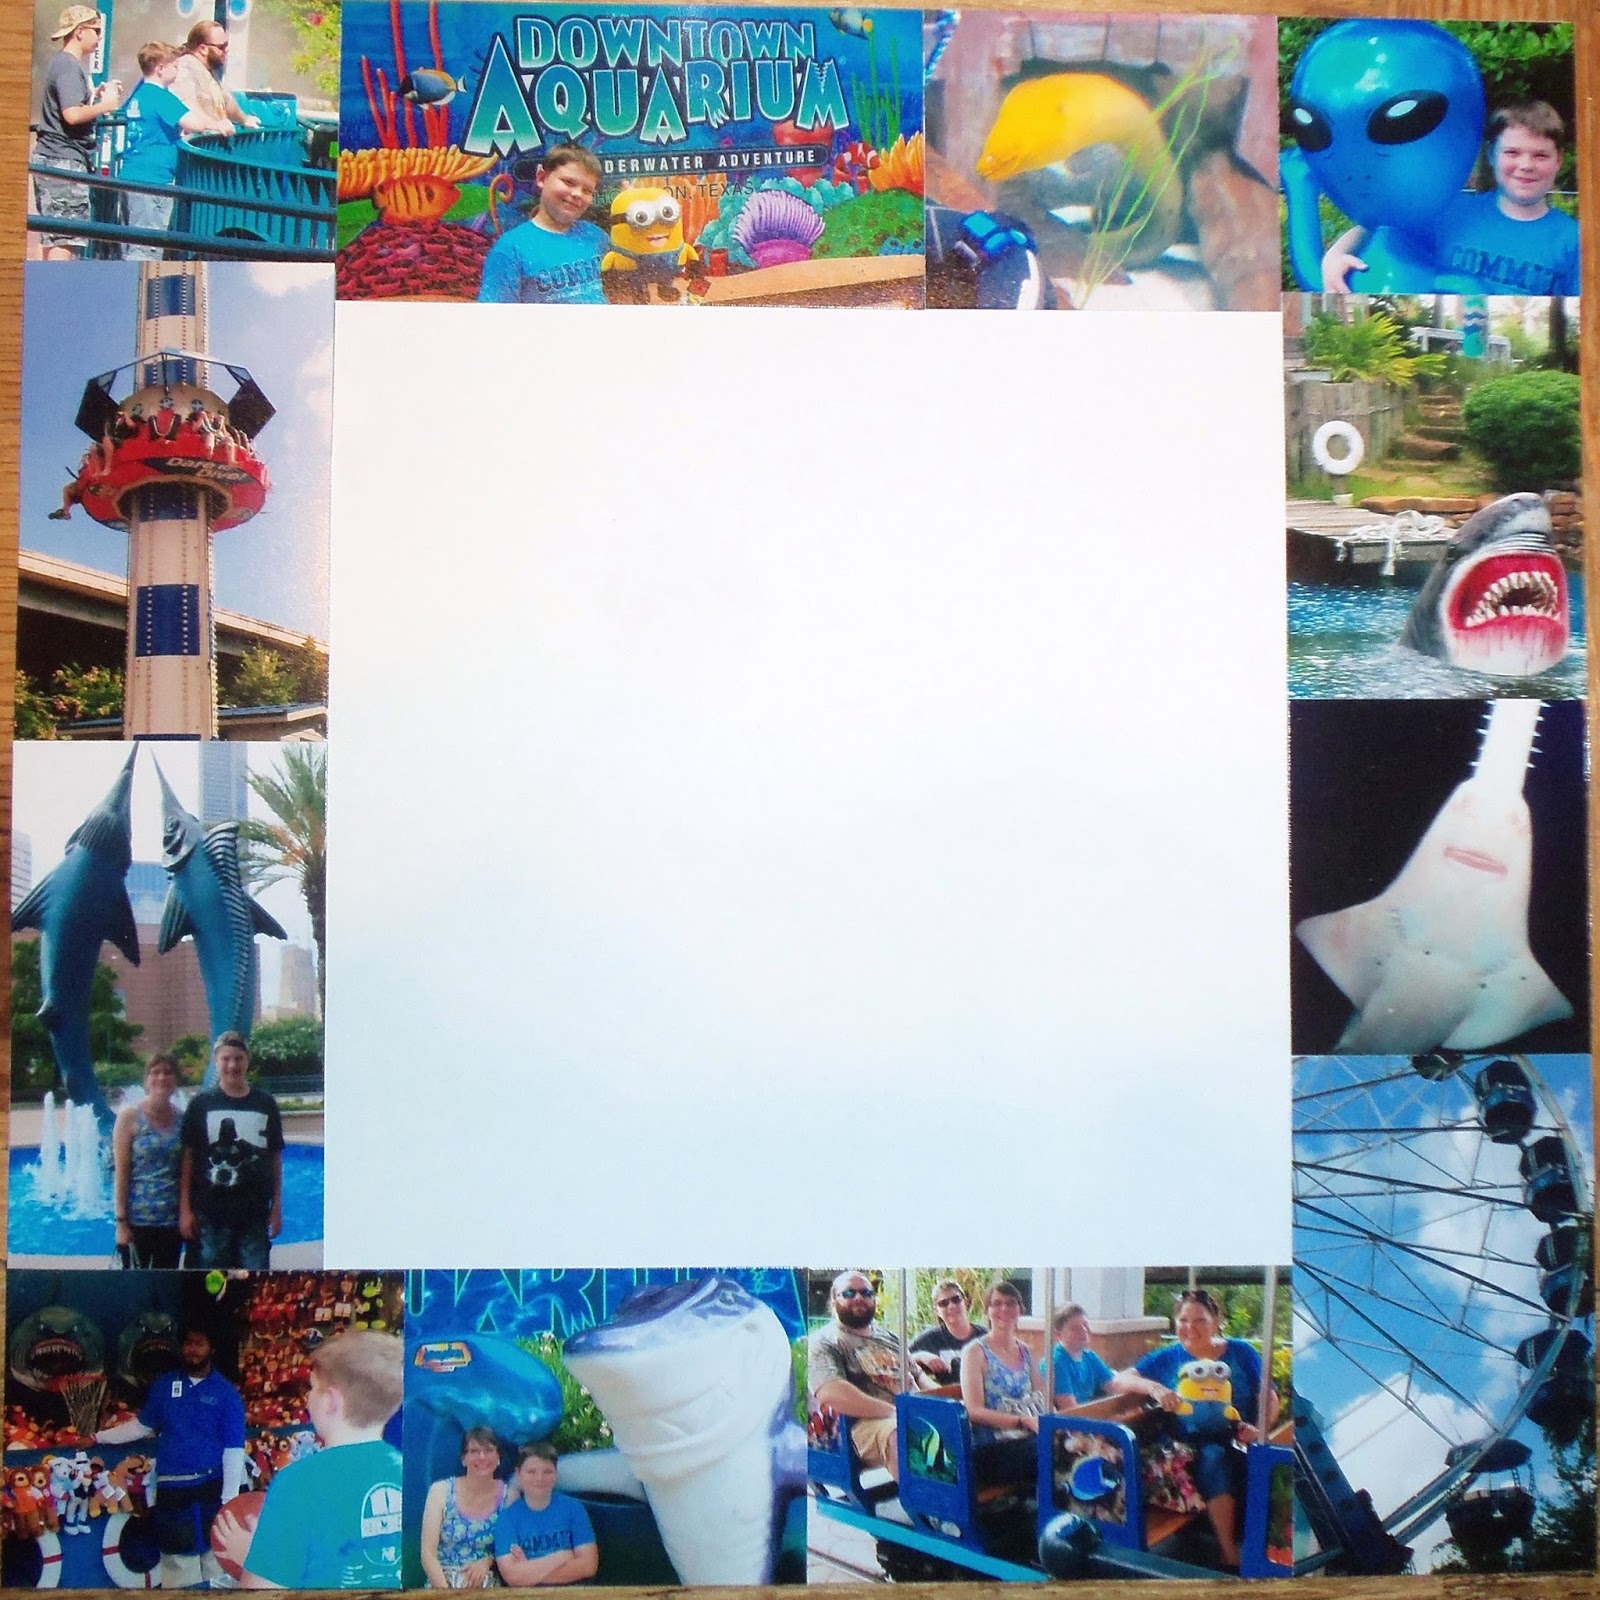
Here's the layout we'll be creating.
Yours will look similar, but not identical as you'll hopefully be using supplies
that you have on hand.
Just follow these
simple steps.
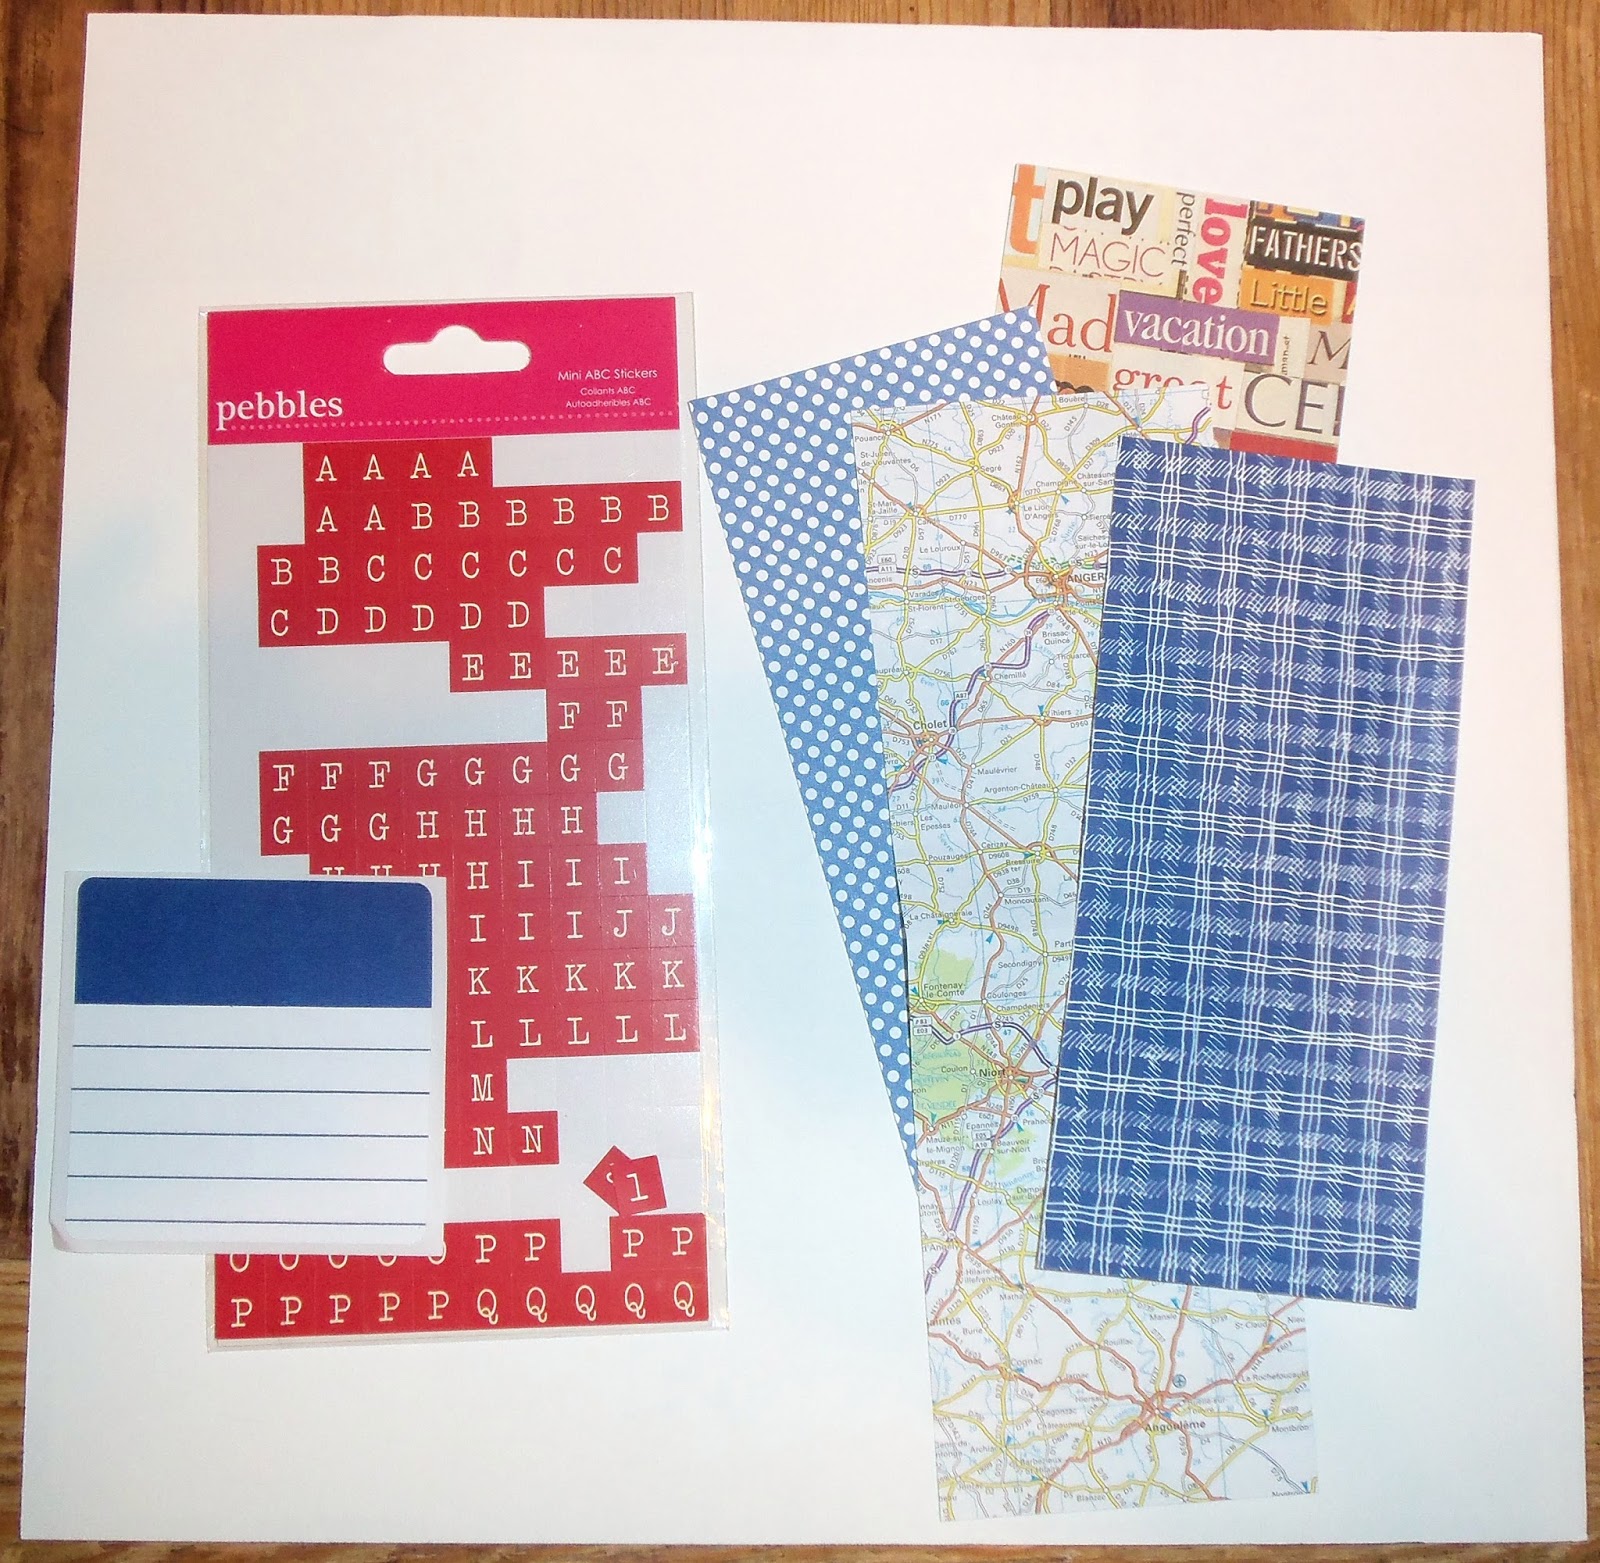
Here's what you need to make it:
one piece of 12"x12" cardstock
four pieces of coordinating pattern paper
letter stickers for the title
journaling card- I used an old label for a computer disc
small envelope
vellum
pencil
scissors
adhesive
paper trimmer

Trim the four pieces of coordinating paper to 2 7/8 " x 5 1/2".
Adhere them along the bottom of the cardstock leaving about 1/4" border along the bottom and sides of the cardstock.

Place two vertical photos along the right and left sides. Line them up along the top of the pattern paper. My photos measure "3 1/4x 4 1/4".

Now place two horizontal photos in between the vertical photos.
Mine measure 5"x 3" and 5"x 3 1/2".
The bottom photo will overlap some of your pattern paper.

Next, you need a small envelope which we're going to use for
a pattern to make a vellum envelope.

You'll need to open it up by carefully tearing it apart at the seams.

Trace around it with a pencil, then cut it out.
I trimmed slightly on the inside of my lines so you the pencil markings wouldn't be visible.

Fold the flaps. Use adhesive to seal the edges.

There's your vellum envelope!
If you don't care for this technique, you can find tutorials online for envelope patterns.

Place your envelope in the bottom right corner.
I placed my envelope sideways, so once the ends were sealed, I trimmed along one side. That way I had an open side to act as a pocket.

Place your journaling card so it overlaps the envelope .
Using letter stickers, place your title across the top of your journaling card.
My vellum envelope acts as a pocket to hold the gift cards that my hubby got for Father's Day.
I hope you enjoyed this tutorial. You can use this method to make envelopes out of
anything-scrapbook paper, dictionary pages, sheet music. . .
I do a Layout of the Week
every Wednesday. Feel free to stop by and give it a whirl! I intend for the
layout to be simple and easy to follow. I also encourage you to use supplies you
all ready have rather than having to go out and buy something new. If I'm using
an item that you don't have, replace it with something else. I intend
for my tutorials to be generic enough that you can use them for any topic or
theme. I'm hoping this feature helps you to get some of your photos scrapbooked
and to use up supplies that you have.
If there is some topic that I
haven't covered that you'd like to see, please leave me a comment letting me
know. If I'm not explaining it well enough, please let me know.
Thanks so much
for stopping by and God bless.
For I am not ashamed of the gospel of Christ,
for it is the power of God to salvation for everyone who believes
Romans 1:16
This post is linked to Ivy and Elephants, My Girlish Whims, Too Much Time On My Hands, and Balancing Home.