Showing posts with label clipboards. Show all posts

Thursday, May 26, 2016

Thrifty Thursday #217

Usually when I go to the thrift stores, I just go to browse and see what I can find.
This time I went with a mission in mind.
I wanted three glass bowls in which to display some cards.
I found just what I was looking for at my first stop.
What are the odds of that happening?


I paid less than two dollars for all of them.
I have coupon cards for an upcoming show The Vintage Market Days
that I am supposed to share with the nurses at work.
I thought it would be fitting to display them in a cute dish.


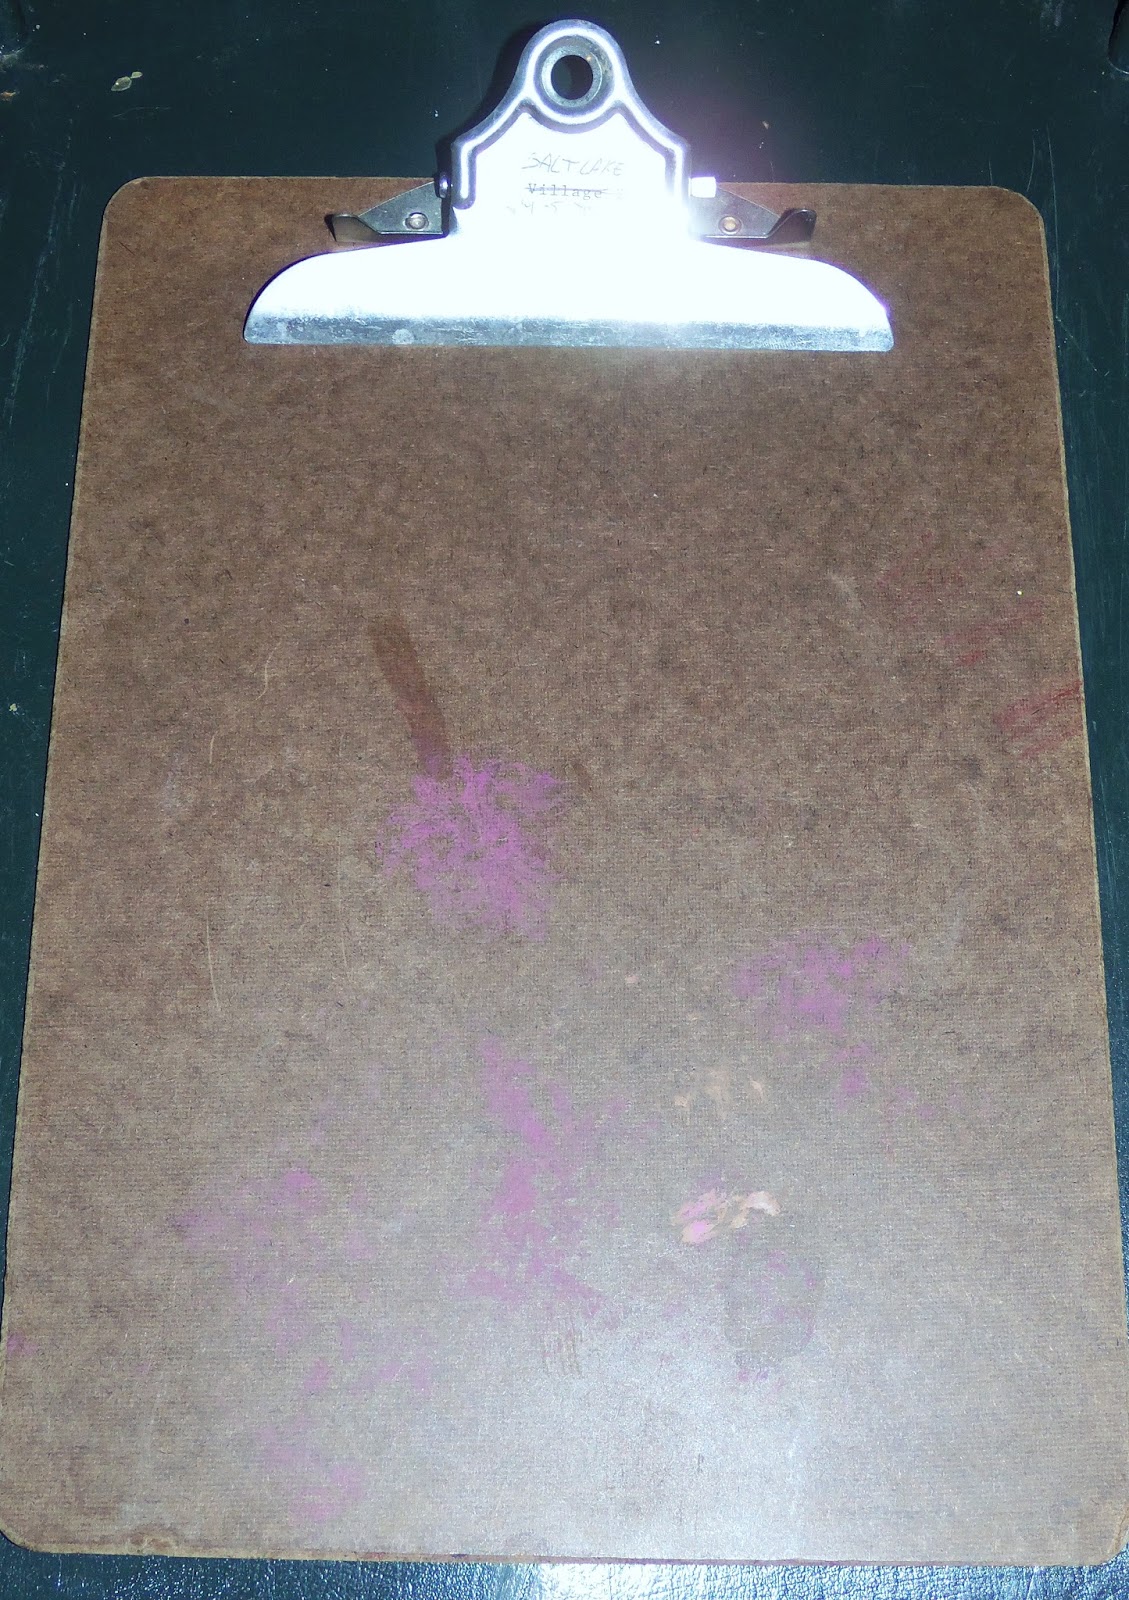
This was my bonus find: two old style clipboards. And they're longer than the standard size.
Fifty cents apiece, Baby!

So I spent just three dollars and about thirty minutes and came away with these gems.
Gosh, I love thrift stores!

Thanks for stopping by and God bless.

If anyone wants to be first, 
he must be the very last, 
and the servant of all.
Mark 9:35

This post is linked to Blue Willow House, A Morning Cup of Joe, Life With Lorelai,
and Crafty Blog Stalker.

Monday, May 2, 2016

Nurses' Week Gift DIY's

Nurses' Week is May 6-12.


Last year, I showed you how you could make this simple medical coat cover for a candy bar.
This year, I have several more gift ideas.
To make them, you just need to get an old medical book and use the pages.
I found my medical encyclopedia at the thrift store.


You can cut out an image from a medical book and use spray adhesive to place the image on a vase.


Looks cute, huh?


You can cover a clipboard.

I used a small one (5 3/4"x 9") and covered it with pages from my medical book.
You can go here to see how to cover a clipboard.


I love the back.


You can cut out images and adhere them to small jars, then fill the jars with candy or other goodies.
Once again, I used spray adhesive to attach the images to the jars.
In one, I placed a succulent.
In the others, I put chocolate animal crackers and Chex Mix.


You can turn part of a page into a necklace.
You can go here to see a tutorial on how to make one like this.


You can also use the pages to make gift card holders.


Just trim the page to 4" wide by 5 1/2" long.
Make sure the image you want is near the bottom of the area that you're cutting.


Fold up the bottom inch and place two staples at the edges to hold the card.
Then fold down the top two inches over the card.
Easy peasy.

Or you can simply give a vintage medical book.
This one is called Simply Nursing and has some awesome graphics in it.

As a nurse, I can tell you that any of these gifts would make a nurse's day.

Thanks for stopping by and God bless.
Love does not envy
1 Cor. 13:4

Monday, April 4, 2016

Cabinet Door Clipboard Display

I have a slew of old cabinet doors set aside for crafting.

Sometime ago, my neighbor threw away a huge pile of them, and I claimed them for my own.
 I got one out for today's project . . .


and made it into a large clipboard display.
 

 I started by sanding the "frame" of the door with my hand sander.
Then I cut a piece of wallpaper to fit and used spray adhesive to adhere it inside the "frame".


I added a hanger to the back. . .

 and a Tim Holtz clip to the front.
I measured to make sure there would be enough room to fit a 8 1/2"x 11" piece of paper on it.

I've placed a quote printable on it, but it would look cute with a photo as well.
I'm thinking I'll add this to the gallery wall I'm planning in our living room.

If you like this printable, you can get it here.
Go here and here to see other projects I've made using these cabinet doors.

Thanks for stopping by and God bless.

For the Lord is great 
and greatly to be praised
Psalm 96:4

This post is linked to Skip To My Lou, USS Crafty, Simple Nature Décor,
Funky Junk, Lil' Luna, and Plucky's Second Thought.

Friday, April 1, 2016

Teacher Gift DIY- Personalized Clipboard

Teacher Appreciation Week takes place the first full week in May,
so it 's the perfect time to start thinking of what to do for your child's teacher.
Here is a simple, but cute DIY:
a personalized clipboard.
It's so easy that you could make several of them: for the secretaries and principal, too!


To make one, you'll need:
one clipboard (doesn't matter if it has this kind of clip or the old fashioned bull clip)
3 pieces of 12"x 12" pattern paper
Mod Podge or spray adhesive
paper trimmer

For the front, you'll take one of your papers and cut it to the width of your clipboard.
It should cover all but the bottom 3" of the board.
Before adhering it, you need to cut out a space for the clip. Start by holding the top edge up to the clip and make a mark at each edge of the clip.
Then measure how far down the clip is on the board. Cut this small part out the top of the paper. 
Using Mod Podge or spray adhesive, adhere this to the board. After laying it on the board, press all along the surface making sure it sticks paying special attention to the edges.
Now trim a second piece of pattern paper as wide as the board and three inches tall.
This will go below the first piece.

Optional: If you're using a third piece of pattern paper, trim it to the width of the clipboard and 1/2".
Adhere it along the top edge of the bottom paper.


For the back, trim a piece of pattern paper to the width of the board. Cut it into two pieces measuring 9" long and one measuring 2 1/2" long.
Adhere the larger piece along the top of the board.
Use a strip of your second pattern paper measuring the width of the board by one inch.
Adhere this under the first piece.
Now place your last piece of paper (2 1/2") below that one.
Press all along the board making sure the paper is sticking.
I used a rolling pin to help with this step.

Carefully rub sand paper along the edges to get rid of any paper hanging off the edges 
and along the corners.
Allow to dry for 24 hours.

To take it a step farther, you can tie ribbons along the clip or add a name tag to the back of the board.

You can go here to see other teacher gift ides.

Thanks for stopping by and God bless.

Oh, sing to the Lord a new song! 
Sing to the Lord, all the earth.
Psalm 96:1

Monday, September 14, 2015

How I Turned A Large Clipboard Into a Chalkboard Message Center

I just love clipboards--- and chalkboards.
I was straightening my craft area when I came across this large clipboard
that I had gotten at a thrift store.
And I thought to myself. . .
What's better than a chalkboard clipboard?
How about a giant chalkboard clipboard?!?
This one measures 18" square.


I started off by covering the clip with painter's tape so I wouldn't mess up the silver.


Then I applied two coats of chalkboard paint and waited 24 hours for it to dry.

Now I have a nice message center to keep all my stuff together- like the weekly menu, coupons, appointment reminders, and even love notes to my family.

Don't you just love chalkboard paint?
I'm going to take a look around to see what else I can paint. . .

Thanks for stopping by and God bless.

The Lord has done great things for us 
and we are filled with joy.
Psalm 126:3


This post is linked to The Dedicated House, Plucky's Second Thought
I Heart Naptime, Funky Junk, and Natasha In Oz.

Friday, December 5, 2014

Christmas Clipboards

To start off the Christmas season, I have an idea that would make a great gift for a teacher,
 co-worker, or anyone else who could use a little cuteness at her desk.
 
 
Christmas clipboards


(front)
 
The clipboards I used were slightly longer than 12", so I couldn't just use one piece
of scrapbook paper.
 
I trimmed one piece to cover 3/4 of the clipboard and one piece to cover the bottom 1/4.
I left a slight space between the two papers to fit a narrow strip in between.
 
 (back)
 
I did the same thing on the back, but put the smaller piece at the top.
 
(front)
 
On the front, I had to cut out a notch to make room for the clip.
I measured how wide and tall the clip was so I'd know how big to make the notch.

(back)
 
I adhered all the papers with Mod Podge.
To make them lay flat, I used a paper towel and my hand to rub all along the surface to get rid of any air bubbles. The paper towel was there to wipe off any excess glue that seeped out of the edges.
 
I didn't put a layer of Mod Podge on top of the pattern paper because I find that makes
 the surface tacky, and sometimes paper will stick to it.
If you decide to, make sure that you wait until the bottom layer is completely dry before adding a layer on top or you my find that the paper will ripple. (Been there, done that!)

 
The last thing I did was tie strips of tulle to the clips.
 
If you make one, you'll have to measure your clipboard to see what size to trim your papers.
Don't be intimidated- it's not necessary to be precise.
You just want to cover the board.

All this project cost was the price of five pieces of pattern paper and 2 clipboards.
I had the Mod Podge and tulle on hand.
Even better, they both took well under an hour to complete!
 
Thanks so much for stopping by and God bless.
 
Bless the Lord, O my soul; and all that is within me, bless His holy name!
Psalm 103:1


Monday, June 2, 2014

Clipboards Made From License Plates

I've got something fun to show you today. . .
license plate clipboards!
Aren't they cute?
I used Tim Holtz clipboard clips and marked where I needed holes on the plates.
I had no problem punching through the metal with my Cropadile II.
I took both the clips and the plates to Ace Hardware to find the right size nuts and bolts,
then I finished them off by attaching the clips to the license plates.
So easy and so unique!
Wouldn't these make fun Father's Day gifts, graduation gifts, or end of the year teacher gifts?
Thanks for stopping by and God bless.
The eyes of the Lord are in every place,
keeping watch on the evil and the good.
Pro. 15:3

Thursday, September 5, 2013

Thrifty Thursday #83

     I was able to fit in a trip to the thrift stores recently. I spent less than five bucks, but got some good stuff to use in upcoming projects. . .

 
I am a sucker for old dictionaries. Their pages always look great when used in paper projects.
But this isn't your average everyday dictionary.
It's a German dictionary!
Look at that font!

 
It only cost me fifty cents. My hubby saw it and said he was going to save it from my destructive hands. I'm not too sure about that. . .  :)
 
He and I actually met in Germany- many, many years ago. He lived there for a total of five years; I lived there for three (he had already lived there 2 years when I got there).
Because of that, you probably assume we speak German. He can speak some, but all I know is "thank you" and "ham." The only assumption you should ever make regarding me and foreign languages is that I'm no good at them!


I have a project that I've been wanting to make from old leather belts. Imagine my surprise when I spotted this fella for a buck! Sure it has somebody else's name engraved on it, but I only need small pieces of it.

 
This little wooden spoon is only about six inches long. It was fifty cents. I got it for the cover of a recipe mini album that I am going to make.

 
I got these ratty old bookends for fifty cents a piece.
Stop by tomorrow and I'll show you what I did with them:)

 
I picked up this clipboard for fifty cents. I always like to have one on hand-- just in case I feel like making something like this.
 
That's all I got on this thrifty trip. I do hope you come back next week
to see what other treasures I've found.
Good luck to you in all your secondhand shopping!
 
Thanks for stopping by and God bless.
 
Sing to Him, sing psalms to Him; talk of all His wondrous works!
Psalm 105:2
 
This post is linked to Shabby Creek Cottage and Embracing Change

Wednesday, August 28, 2013

Layout of the Week #65- Making a Layout on a Clipboard

     I'm super excited about today's Layout of the Week. . . I thought it would be fun to put a layout directly onto a clipboard which would act as a photo display for class photos!

 
Here's the layout we'll be creating.
Because it's on a clipboard, you can change out the photo every year!

 
To make it, you'll need:
clipboard
five pieces of pattern paper (measurements below)
letter stickers for the title
paper trimmer
adhesive (I used a glue stick)
small piece of sandpaper

 
My clipboard is 12 1/4"  x 9" which should be standard- if not, you my need to slightly
 alter my measurements.
 
Trim your first piece of pattern paper to 8.5" x 9"
Adhere it to the clipboard making sure that you lift up the clip. Slide the paper up as far as it will go.
 
This project will work with the other version of a clipboard, too.

 
Trim a second piece of pattern paper to 3"x 9". Adhere it to the bottom of the clipboard.
It's ok that there's a space between the two papers- it will get covered.
 
The bottom corners of the board are rounded- don't worry that the paper sticks off;
we'll fix it in a few steps.

 
Trim your third piece of pattern paper to 11 1/2" x 2". Adhere it vertically to the far right side of the clipboard.
 
Then trim your fourth piece of pattern paper to 1" x 9" and adhere it above the bottom
piece of pattern paper. 

 
Trim your last piece of pattern paper to a 3/4" x 9" strip. Adhere it above the other strip.
 
Use a piece of sandpaper to sand along the edges paying special attention to the bottom corners. Don't sand upwards or you may peel the edges up. This will get rid of any edges that may be hanging over the side of the clipboard. It gives it a more finished look.

 
Using your letter stickers, place a title in the bottom right corner.
I went with a simple title: "School Days."
That way it will work year after year with each new photo.
 
Optional: place a sticker on the metal part of the clipboard.

 
Just place the class photo under the clip. No adhesive needed!


You can even use this design for an individual 8" x 10" school photo with some slight trimming.
 
How handy is this for those annual pictures?
It could be hung on the wall or placed on a nice plate stand.
 
I think this would make a great gift for a teacher and also for grandparents!
 
Thanks for stopping by and God bless.

To everything there is a season,
a time for every purpose under heaven
Ecc. 3:1
 

Friday, May 3, 2013

Wallpaper + Clipboard= Beautiful!

     I thought I'd try something cute that I had seen on Pinterest. . .

 
a wallpaper covered clipboard.
 
I stopped by Lowes to see if I could get a wallpaper sample book that they weren't using anymore. The guy in the wallpaper section was very helpful and gave me two!

 
It was sooooooo easy to make.
All you need is:
wallpaper scraps
clipboard (an old one is fine- mine even had writing on it!)
Mod Podge
foam brush
 
 
Cut one piece of wallpaper to cover the front.
 My paper goes up just behind the clip. I left the very top of the clipboard exposed.
 
Slather the back of the paper with Mod Podge making sure you get glue along all the edges.
Press it flat to the clipboard.
I usually use a dry paper towel to press all along the paper to make sure it sticks really well.
 
 
Then cut the second piece of wallpaper to cover the back.
I trimmed mine slightly smaller so the outer edges of the clipboard shows.
Glue it on.
 
I hate to leave the back of the clipboard plain since that's the part people will see when I'm using it.
 
To finish it off, hot glue a silk flower to the clip.
 
All together, this project cost around fifty cents.
The wallpaper was free and I got the clipboard for a quarter at the thrift store. The flower was from a bouquet that I bought at the dollar store.
 
If you need to make gifts and want to keep it low cost, this would be a great idea.
 
Thanks for stopping by and God bless. I hope you all have a fantastic weekend!
 
 
Have mercy upon me, O God, according to your lovingkindness;
 according to the multitude of Your tender mercies,
blot out my transgressions.
Psalm 51:1