Monday, June 30, 2014

Patriotic Sequined Candle Holders

I've been wanting to do a red, white, and blue project with the Fourth coming up,
so I whipped up these patriotic mason jar candle holders.
Today's project literally cost me only $1.25.

I can't really say that I made this project because it took me all of about ten seconds to do this.


Recently on one of my thrift store outings, I came across some sequined wristlets for ten cents apiece.
I picked them up with this project in mind.


Then I got out three jars that I picked up for a quarter apiece on another thrift store outing and slid the wristlets over the jars- like coozies.


Voila! Three darling candle holders- or silverware holders for a Fourth of July picnic.
(Isn't my USA sign cute? I got it from my Secret Sister at church.)

I've got another patriotic project that I hope to make this week, so stop back on Friday to see:)
Thanks for stopping by and God bless.

He only is my rock and my salvation;
He is my defense;
I shall not be greatly moved.
Psalm 62:2


Friday, June 27, 2014

Tea Towel Pillow

A few weeks ago I came across two tea towels at the thrift store.
They were only a quarter apiece.
I don't often come across cute tea towels in my secondhand shopping,
so I was delighted when I found them.
  
 
I knew right away that these fellas would become a pillow.

 
I started by sewing the lace along the edge of one of the towels.
Then I laid the towels face to face with the lace sandwiched in between them and ran them through my sewing machine.
I left about a four inch gap so that I could turn the towels right side out and fill them with stuffing.
I finished off the pillow by hand sewing the gap closed.

 
The tea towels are large, so the pillow ended up being the size of a regular pillow.
 
 
The words say Bon Buni Cucacao- not for sure what area the map is featuring,
but I think it turned out pretty cute.
It will join all the other pillows on my door couch.
 
Pillows are such a simple sewing project.
Now that I've made several, I may be ready to move on to a more complicated sewing project. . .
 
Thanks for stopping by and God bless.
 
When a man's ways please the Lord,
He makes even his enemies to be at peace with him.
Proverbs 16:7


Thursday, June 26, 2014

Thrifty Thursday #123

This summer, I've signed my boys up for art lessons.
I'm trying to ignite a passion for art in their hearts, but they are pretty resistant.
Unfortunately, I think the quirky teacher may be turning them off.
Anyway, when I took them to class last Saturday, I was fired up because I had gotten an e-mail about an estate/liquidation sale on the street where their lessons are located.
Imagine my delight when I discovered the sale was in the same building as their lessons!
It was in a big area around the back.
 
 
I found this lovely scale for $3.
Yes, you've seen me buy scales before.
I don't know what it is about them that I just can't pass up.
I tried not getting this one. I saw it, walked past it, looked at everything else, then headed back over and picked it up to claim it as my own.
I'm not sure what I'm going to do with it though.
I already have worked one scale into my dining room decor and two into my living room!:)
 
 
I got these two old children's reading books for $1.50 for both.
 
 
I just love the graphics.
 
 
I paid $1 for this letter H.
It's for my soon-to-be alphabet wall display.
I'm just a few letters short before I can hang it up. Yay!
 
 
I got these two buckle/pendant things for fifty cents.
They're so pretty. The picture just doesn't do them justice.
 
 
This old floral frog was a dollar. It's tiny and old.
I now have two of these guys.
 
 
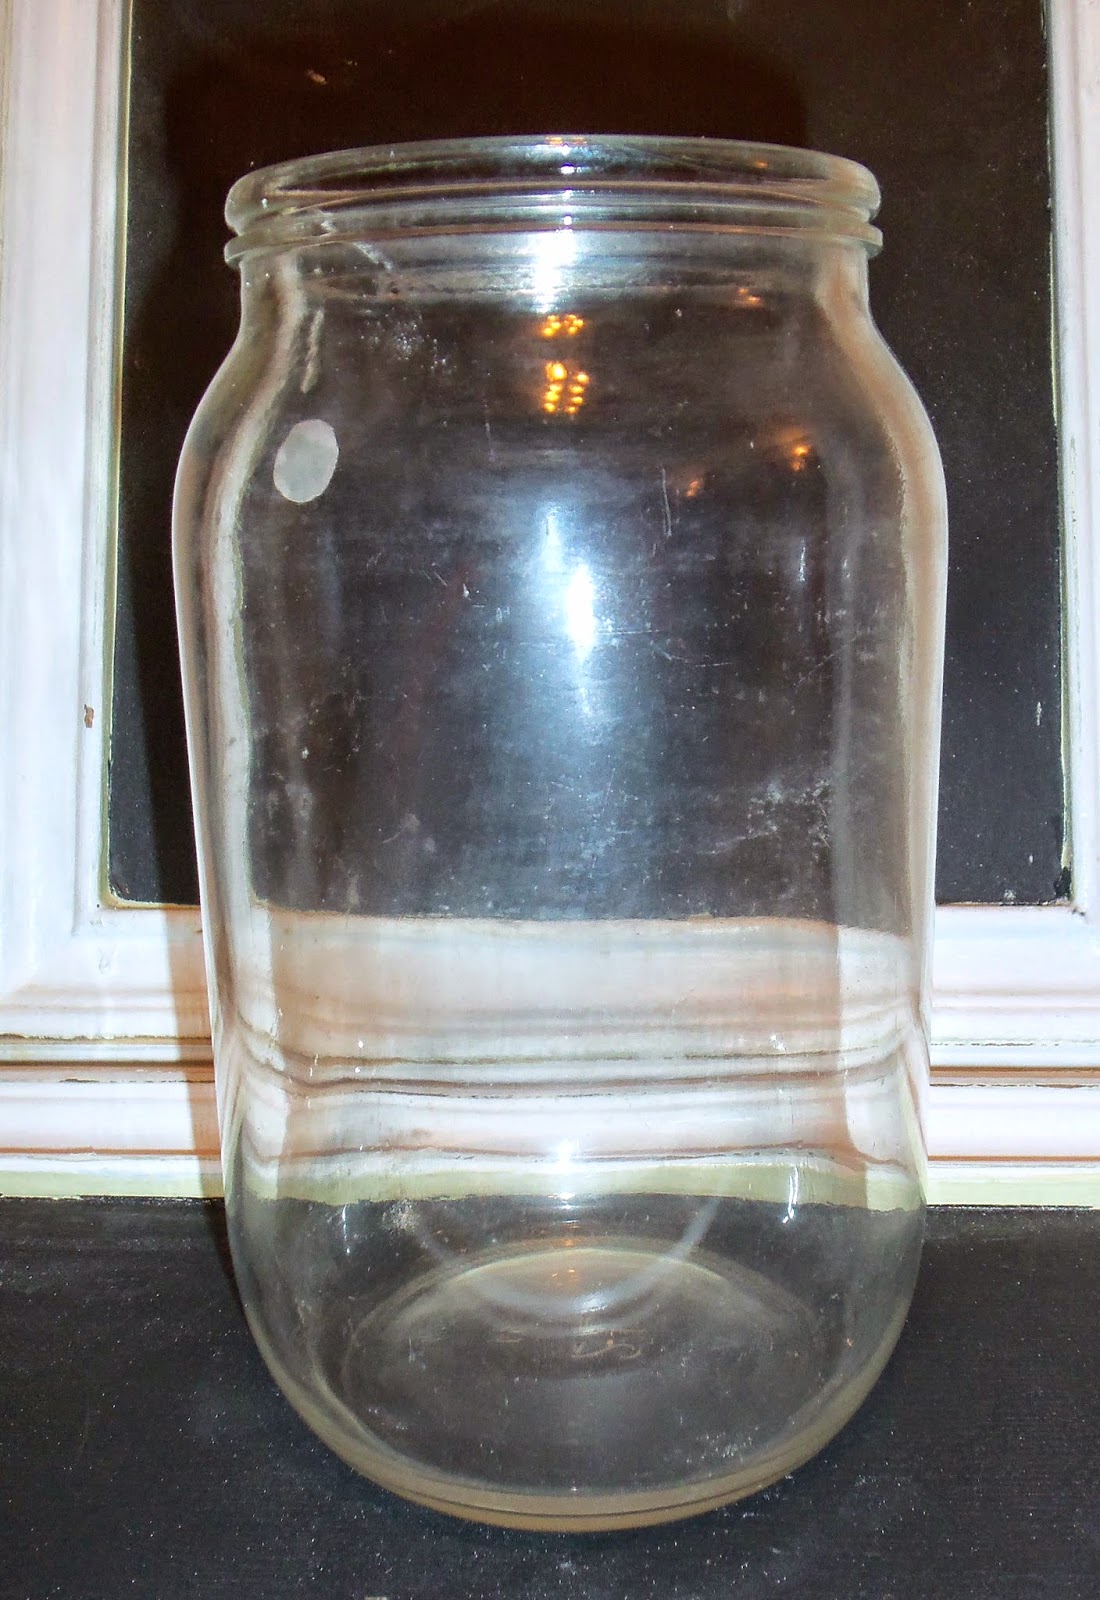
My final find was this large 10" tall jar.
The gal threw it in for free!
I just love free stuff:)
I'm hoping to try painting it with chalkboard paint.
 
Great finds, huh?
Thanks so much for stopping by and God bless.
 
A man's heart plans his way, but the Lord directs his steps.
Proverbs 16:9


Wednesday, June 25, 2014

Lovelies That I Love

So glad you stopped by today!
 
Every other Wednesday I go on a mini virtual shopping trip.
Are you ready to see some cute stuff?


This Lucky Number Paper by Fancy Pants is darling.
It could be used for all kinds of themes: school, birthday, countdown. . .

 
I am such a fan of cute journaling cards.
These Good Day Sunshine by Simple Stories are so stinkin' cute!

 
I so love these library cards with pockets by Fancy Pants. They would make great journaling cards in a scrapbook layout or a mini album.
They'd even look cute as a tag on a gift wrapped in kraft paper.

 
These stamps by Ali Edwards are fantastic!
 
 
This Movie Countdown Washi tape by Love My Tapes is great.
Remember how movies used to have these countdowns?
 
What do you think? Do any of these items make you want to sit down and craft?
 
I am not affiliated with any of the above companies, I just like their stuff.:)
 
Thanks for stopping by and God bless.
 
For God so loved the world that He gave His only begotten Son,
that whoever believes in Him should not perish but have everlasting life.
John 3:16
 
This post is linked to My Girlish Whims, I Heart Naptime, and Ivy and Elephants

Tuesday, June 24, 2014

Recipe of the Week #124- Blackberry Crumble Bars


Blackberry Crumble Bars
2 1/4 cups flour
1 cup sugar
1/4 tsp salt
1 cup pecans, finely chopped
1 cup butter, softened
1 egg
3/4 cup blackberry jam/preserves (any flavor can be substituted)

Preheat oven to 350 degrees. Line a 9" square pan with foil and lightly grease.
Whisk together flour, sugar, salt, and pecans. Then add egg and butter and mix until mixture is crumbly. Set aside 2 cups of the mixture and pour the rest into the bottom of the pan. Press firmly and gently into an even layer. Spread the jam over this. Sprinkle remaining mixture over the top and spread it evenly.
Bake for 40-45 minutes, until lightly browned. Cool before slicing.

My hubby loves this recipe because he is a huge fan of cobblers and crumbles. I like this recipe because it uses jam which keeps it simple. This is simply a delicious treat!

Thanks for stopping by and God bless.

That whoever believes in Him should not perish but have eternal life.
John 3:15
This post is linked to Plucky's Second Thought, Embracing Change, and Between Naps on the Porch.

Monday, June 23, 2014

Mini Album Monday #32- Album Made From Large Manilla Envelopes

For this week's Mini Album Monday, I'm showing you one of my favorite mini albums.
It's a vacation themed envelope album.

You can go here to see step by step instructions on creating an album like this.
 
 
I made the album before the trip, then came home and printed out the pictures
and put them in the album.

 
I used three 8 1/2"x 11" manilla envelopes that I folded in half.

 
I also used two pieces of 8 1/2" x 11" cardstock that I alternated in between the envelopes.

 
I placed photos on the pages- cropping some of them.
Then I got out all my journaling cards and placed them among the photos.

 
Because the book was made of envelopes, there were pockets.
See how the page on the left. . .

 
opens up to show pamphlets and note cards full of stories.

 
I also had a few camping/vacation themed tags and stickers that I placed throughout the pages.

 
When I take a trip, I always keep a notebook handy so that I can write down stories and details.

 
I share those details throughout the album.

 
For most of my journaling cards, I used stamps and cardstock.

 
The page on the left has a bull clip that I used to hold pamphlets.

 
Here's the back cover.
I attached a ribbon to the front and back covers so I could tie it along the edge to keep it closed.
 
Even though I this album is from a trip we took several years ago, I still love flipping through it.
 
I think mini albums are such a fun and simple way to document a specific event.
 
Thanks for stopping by and God bless.
 
Commit your works to the Lord, and your thoughts will be established.
Proverbs 16:3
 
 This post is linked to Skip to My Lou, Today's Creative Blog, and The Dedicated House.

Friday, June 20, 2014

Special Guest Post by Alice from Yorkshire Linens

I am so excited to welcome Alice from Yorkshire Linens today. . .


Howdy people! I am Alice. I am a 20 something girl who loves to nurture her passion for home decor. I have always enjoyed doing it and will continue doing so til my last breath. Finding something that really defines you is a blessing! You can come say hi to me here.

10 Ways to Add Classy Appeal to Your Bedroom

Does your bedroom bore you, leaving you feeling that it is time for a change? If you are longing to infuse your bedroom with some timeless elegance then read on! Choose from one or two of the following hints and tips below and see how you can rework your bedroom to fill it with endless classy appeal!
Wooden Grace
Natural wood furniture always looks good no matter which room you use it in, and the bedroom is no exception! Choose a tasteful, matching furniture set (wardrobe, chest of drawers and bedside cabinet), ensuring that the bed is either from the same line or very similar so that the whole bedroom will look complete and polished.
Go Retro
It is easy enough to recreate your dream decade as regards your décor, thanks to the modern fascination with previous years! Whether you love the tasselled sheen of the 20s, the knit psychedelia of the 70s or the smooth curves of the 50s, you will be able to source authentic patterns and fabrics – all with modern strengths to make your life that little bit easier!
Air of Luxury with curtains
Pamper yourself by fitting out a bedroom suitable for a princess! Voluminous swagged curtains, invitingly smooth satin bedding and a deep plush carpet. While you may have to spend a bit more than you would on standard furniture and accessories, you will quickly find that the extra investment pays off. Your bedroom will look more expensive than it really was and you will feel cosseted and safe in your fabulous and rich cocoon. I bought some really nice voluminous curtains from Yorkshire Linen and they are a beauty!
Monochrome
For those who do not want anything to fussy or frilly, but still want a great-looking and well-appointed bedroom, why not try a monochrome look? You may feel that it is a tame choice, being well tried and tested, but there is a reason that monochrome décor is so enduringly popular: it works!
Abstract Geometry
To add a splash of colour and vibrancy into an otherwise plain bedroom, opt for angular cleanly defined shapes and bright, clear colour blocks. These tasteful, yet cheerful, daubs of colour will brighten and enliven any room. I am a fan of Mini Gallery when it comes to geometry art.
Classic Vintage
If you love the idea of an old-fashioned, elegant and comfortable room, opt for the textured and intricately patterned wallpaper and smoothly carved furniture that makes up a glamorous, old-school bedroom.
Keep it Relaxing
Bear in mind that your bedroom is primarily for sleeping in! You need to be able to unwind completely and sleep pleasantly, so make sure the décor is not too overdone or obtrusive. Choose a harmonising colour scheme using a soothing palette to ensure that you feel safe, secure and able to relax completely.
Hint of the Orient
The Internet has brought the world to our doorstep with the most remote area being just a mouse-click away. Indulge your passion for all things exotic and foreign, and be sure that you are incorporating an authentic flavour of whichever country or culture you choose as your bedroom décor.
Minimalism
A minimalist bedroom is one of the easiest décor schemes – superficially at least! With so little distraction in the room you must be absolutely certain that every piece of furniture, each accessory and all the little details work smoothly together as any disruption from the décor flow can stand out glaringly! While minimalist décor is unforgiving of errors, you will be able to put together a comforting and striking looking bedroom as long as you adhere strictly to your chosen colours and do not allow any ‘wrong notes’ in the décor.
Canopy Bed
Formerly the province of medieval movies and small girls wanting ‘princess beds’, canopies over beds are making something of a comeback. These can be part of a full four-poster set-up or they can be tasteful drapes, affixed to the ceiling and affording extra protection and shelter to the sleeper. Study your bedroom before deciding how much fabric you will need as some rooms will lend themselves more easily to drapes than to a four-poster bed.
Mix and match from the ten options above and it will not be long before entering your bedroom draws a smile and a deeply contented sigh from you, rather than a frown and wistful longing for something better!

This post is linked to The Creative CollectionTater Tots and Jello, Be Different, Act Normal, and My Repurposed Life.

Thursday, June 19, 2014

Thrifty Thursday #122

It's Thursday. . . you know what that means. . . 
time to look at goodies that I found at the thrift store.


Isn't this platter beautiful?! I love it. It was marked $.25 as is.
The "as is" is the crack along the right side.
I think it adds to the character of the platter.
This is yet another purchase for my friend who's planning a plate display on her bedroom wall,
although I'm a wee bit tempted to keep it for myself:)
 
 
I also found this large roller stamp by Stampin' Up.
This guy is 2" inches wide and was pretty pricey when new.
I got it for fifty cents.

 
It has different ribbon awards.

 
I'm thinking that it's military awards.

 
I also got this 12"x 12"piece of plastic scrapbook paper for a dime.
It's from the Sheer Delights line by KI Memories.
This is brand new- it still has the tag on the back.
This will be cut up and become pages in one of my junk journals.

 
To round out my scrapbooking finds, I got this pack of journaling cards for a quarter.
They say, "Remembering when. . . "
I think they'll be great in some sort of mini album. I could hand them out to different family members and have them write down memories of whomever I feature in the album.
 
That's it. $1.10 for this week's haul- and I know what I'm going to do with it all.
 
Good luck to all you you with your weekend treasure hunting!
Thanks for stopping by and God bless.
 
In the beginning was the Word,
and the Word was with God,
and the Word was God.
John 1:1
 
 This post is linked to Junkin' Joe, Funky Junk, and Embracing Change.

Wednesday, June 18, 2014

Layout of the Week #89

I recently developed photos from Spring Break and noticed that in one photo my son was sticking his tongue out. It reminded me of a photo I had taken of him when he was just one year old.
I thought it would be fun to make a layout comparing the two pictures.
 
 
Today I'm going to walk you through the steps to make this layout.
Yours will look similar, but not exact as you'll be using your own supplies.
 
When I plan these tutorials, I intend for you to use supplies you have on hand
rather than having to go out and buy new.
If you're anything like me, you probably have a surplus of supplies just waiting to be used.:)

 
Here's what you need to create this layout:
one piece of 12"x 12" pattern paper
one piece of 3"x 12" pattern paper
one piece of 3"x 4" pattern paper
one strip of 1"x 12" cardstock
one strip of 1"x 12" pattern paper or decorative tape
15-20 buttons (enough to span 12")
white cardstock for journaling
title block or letter stickers for the title
scrap of pattern paper cut into a 3" circle
two photos
adhesive
paper trimmer

 
Adhere the 3"x 12" piece of pattern paper along the left edge of the 12"x 12" pattern paper.

 
Adhere the 1"x 12" strip of cardstock next to the pattern paper.

 
Place two photos one on top of the other slightly overlapping the cardstock strip.

 
I got my title block and my 3"x 4" piece of pattern paper from this 12"x 12" piece of paper.
I love this style of paper that provides titles and journaling cards.

 
Place the 3"x 4" piece of pattern paper in the lower right corner of the background.

 
Place your title slightly overlapping the photos and the pattern paper.

 
Line your buttons up along the cardstock strip.
I varied mine so they weren't in a perfect line.
 
Place your pattern paper half circle in the upper right corner.

 
Write your journaling on the white cardstock.
Cut it into strips and adhere it above the title block.
 
I intended for the layout to be done after this step, but I just felt like something was missing.

 
So I added a 1" strip of pattern paper along the left edge of the cardstock strip.
Now it feels finished!
 
Hope you enjoyed this tutorial. Thanks so much for stopping by and God bless.


But I will sing of Your power;
Yes, I will sing aloud of Your mercy in the morning;
For You have been my defense
and refuge in the day of my trouble.
Psalm 59:16 
This post is linked to G'Day Saturday, It's Overflowing, I Heart NaptimeHandmade Hangout, and Daisy Cottage Designs.