
The first is to bind them together in a book.

For this one, I simply cut two pieces of cardstock that measured the same size as the largest card. Then I adhered different pattern papers on the front to give it a quilted look. I punched a hole at the top left corner of the covers and all the cards and bound them with a ring. Then I tied a little bow to the ring.

For this book, I printed off a cover from here. This was the easiest booklet- after printing the cover, I just had to punch holes and bind the cards with two rings. I finished it off by tying a few strands of ribbon to the rings.

For this year's cards, I cut the covers off of a Christmas storybook. Then I punched holes in the cover and cards and tied them together with ribbon and twine. The last thing I did was add a title to the cover.

If you decide to make your own, all you have to do is decide on a cover, punch holes through the cards, bind them, and, most importantly, make sure you add the year to the cover.
Now, every Christmas, I can pull these out and put them on the coffee table and reflect about friends and family.
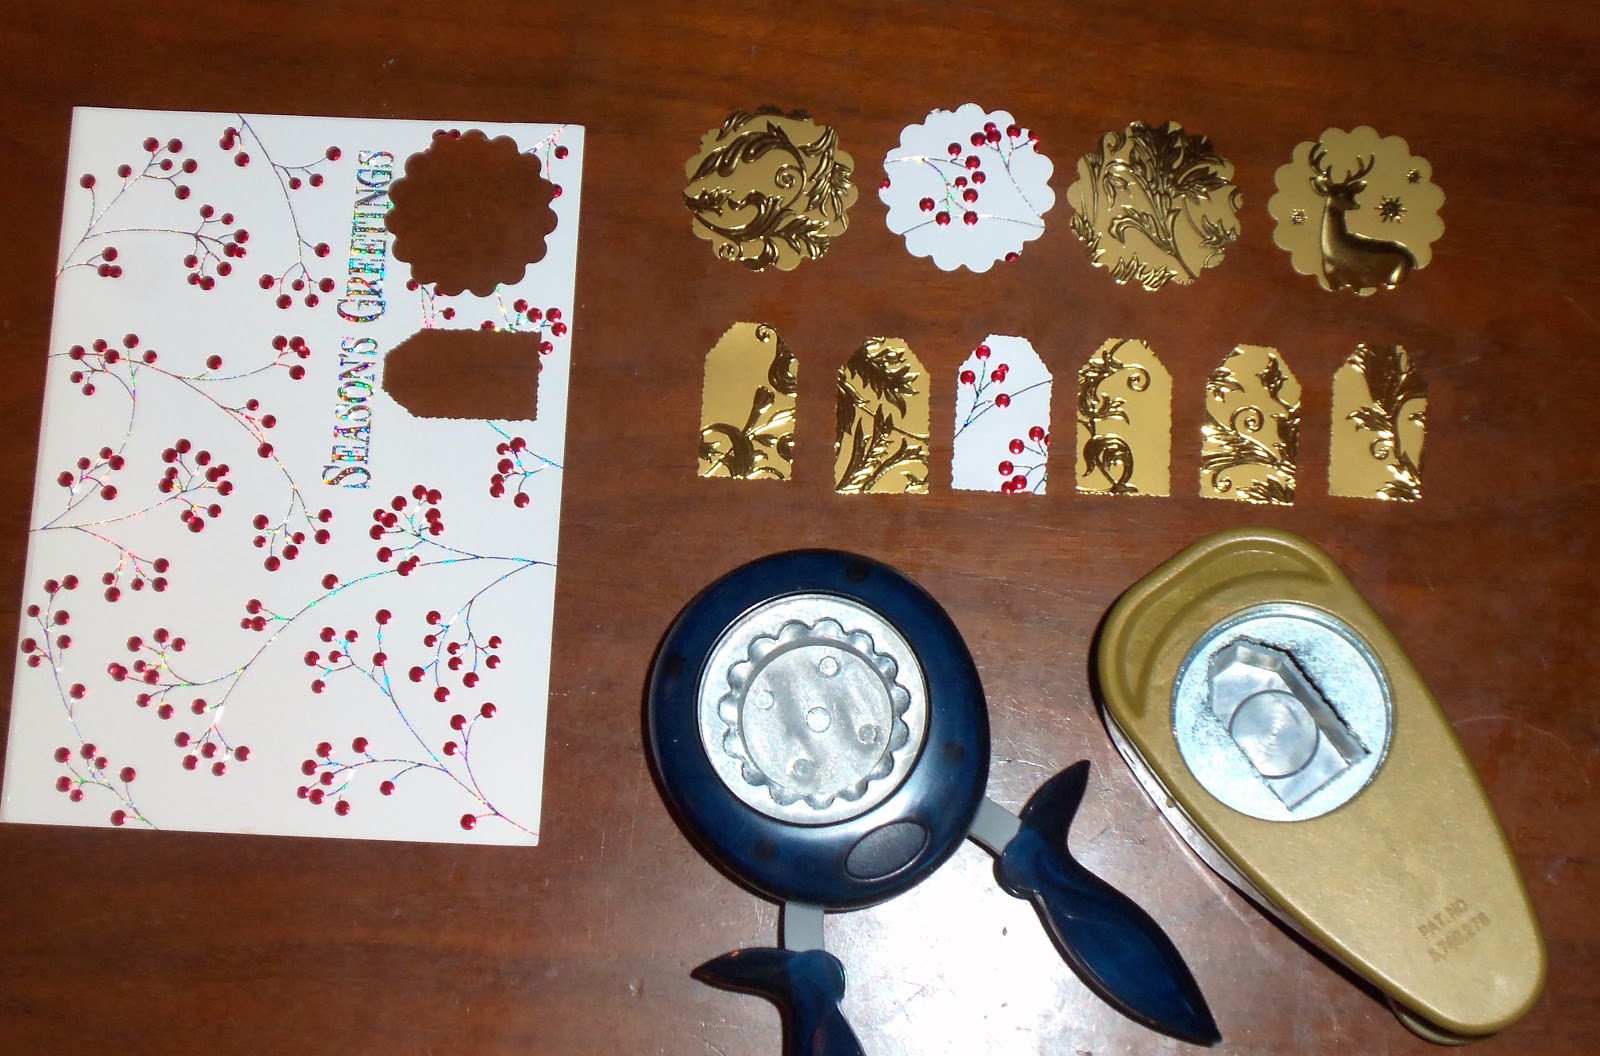
Another idea for using up those Christmas cards is to cut them up into tags to use when wrapping next year's gifts.

Just punch the front of the card.
I suggest you hold the punch upside down so you can see exactly what you're cutting.

If you don't have any punches that look like tags, use your paper trimmer and cut rectangles that measure 2" x 3" and cut off the top two corners. Voila! Now you can write on the backs.

And, of course, you can make a layout with a Christmas photo card.

To make a layout like this, you'll need:
one 12"x12" piece of Christmas pattern paper
one piece of coordinating 8 1/2" x 11" pattern paper
two pieces of coordinating 8 1/2"x 11" cardstock
journaling card (an index card would work for this)
letter stickers for the title
adhesive
paper trimmer
Christmas photo card

Trim the smaller pattern paper to 7.5" x 9.5". Mat it on one piece of cardstock leaving a 1/8" border.

Adhere it to the 12"x12" pattern paper about 1" from the right edge.

With the remaining cardstock, trim 4 strips that measure 1/4" x 11". These will not stretch entirely around the pattern paper. Instead adhere two so they meet at the upper left corner and two so they meet at the lower right corner.

Now with the other color cardstock, trim 4 strips measuring 1/4" x 10 1/2". Adhere two strips so they meet at the upper left corner and two strips so they meet at the lower right corner.

Now mat your photo card on cardstock leaving a 1/4" border and adhere it to the center of the smaller pattern paper.
Place your journaling card overlapping the lower left corner of the photo. Place your title across the top of the journaling card.
TA-DA! A layout finished so quickly using a Christmas photo card.
How cute would this be using all the photo cards you get in a year?
You could also use your own photo cards and make an album showcasing year after year of photo cards. How fun would that be to look through? It would make a great gift for grandparents!
Do you have any other ideas for using Christmas cards?
Thanks for stopping by and God bless.
Commit to the Lord whatever you do, and he will establish your plans.
Proverbs 16:3
This post is linked to Embracing Change, Shabby Creek Cottage, and My Girlish Whims.
1 comment:
I always place my photo cards in a scrapbook album but I was looking for a great idea for the regular cards. Thanks for posting these ideas!
Post a Comment