Thursday, November 19, 2015

Thrifty Thursday #193

I braved a dreary, rainy day last week and headed out to see if there were any yard sales.

Believe it or not, there was one brave family.
They had stuff sitting out on tables in the driveway getting wet
and a bunch of stuff still in boxes in the garage.
People were rifling through the boxes looking for stuff.
I may or may not have been one of those people. . . 


I was thrilled to find this old flour sifter.
It was only $1.


I totally love this lid. Yep, I bought it without the pot.
The lettering got me. It says, "U.S.  G.M. Co. 1944."
I really would like to turn it into a wreath, I'm just not sure how I'd hang it.
Any ideas? 
It was fifty cents.


I also got this pie tin for fifty cents.
I think it's pretty old.


I paid $2 for this cheese plate with a glass dome.


Last, but not least, I got a few Mason jar rims for fifty cents.
I'm wanting to make a wreath with these, so I've been on the lookout for them.
I need quite a few more before I can get started on that.

$4.50 well spent. It was worth shopping in the rain.:)

Thanks for stopping by and God bless.

The steps of a good man are ordered by the Lord, 
and He delights in his way.
Psalm 37:23

This post is linked to My Girlish Whims, Life With Lorelai, and Too Much Time.  

Wednesday, November 18, 2015

Lovelies That I Love

I just love this time of year.
I think Thanksgiving is such a lovely holiday.
Not because of the food, mind you. I actually am not a fan of most Thanksgiving dishes.
It's the feeling of the holiday- the thankfulness, the counting of our blessings,
 the contentment with what we have.
I love it.
It's an attitude we should keep year round.

Today's finds celebrate this harvest season. . .


Need something to wear for your family dinner?
How about this top?
It's a whole lotta cute, huh?
Pair it with some simple gold jewelry, and you're set!

This burlap pillow is simply beautiful.
I think it could sit out all year.


How lovely is this plaque?
It's perfect for Thanksgiving and perfect for all the time.


I am a huge fan of burlap banners.
This one is already done for you.
It's so pretty.


Are you going to take family photos?
Add a little fun to them with these props.
The stove cracks me up!

I just want to take a moment and say how thankful I am for Etsy and all their wonderful shops!

P.S. I'm not affiliated with any of these shops, I just like their stuff.

Thanks for stopping by and God bless.

Lying lips are an abomination to the Lord,
 but those who deal truthfully are His delight.
Proverbs 12:22

 This post is linked to The Dedicated House, Plucky's Second Thought, Lil' Luna,
 and Simple Nature Decor.

Tuesday, November 17, 2015

Recipe of the Week #196-Super Easy Crock Pot Pork Roast


Super Easy Crock Pot Pork Roast
1 3-4 lb pork loin roast (with or without bone)
Worcestershire sauce
salt and pepper or creole/Cajun seasoning
1 can French Onion soup

Trim fat off of roast and place in the Crock Pot. Poke meat with a fork. Sprinkle Worcestershire sauce and salt and pepper or Cajun seasoning on both sides. Cover with the soup. Add more seasoning on top. Cook on low for 8-10 hours or on high for 4-6 hours.

Remove roast and slice.

To make gravy, pour 3-4 cups of the juice in a pan. Heat to high. In a small bowl, mix 1 Tbsp corn starch with 1 Tbsp water. Add this to the juices and stir until thickened.

Oh my, this was wonderful! The meat was so tender and juicy and the gravy was amazing. Of course, I am a meat and potatoes kind of girl. My hubby loves roast, so I try to find different recipes. This one was delicious and super easy.

Thanks for stopping by and God bless.

And the Lord shall help them and deliver them
Psalm 37:40

This post is linked to Skip to My Lou, Ivy and Elephants, and It's Overflowing.

Monday, November 16, 2015

Mini Album Monday #66- Gratitude Album Made From Paint Chips

Today I'm going to show you how to make a very simple and cheap mini album.
It's so cheap because it's made from paint chips- and they're free at home improvement stores!

Isn't it cute?
One of my favorite hymns is "Count Your Blessings."
That's exactly what we'll be doing with this album- with each member of our family.
I think it's so important to think about what we're grateful for.


I started with six paint chips that measure 3"x 5".
I used letter stickers for the title.


Then I covered the backs of each of them with harvest colored pattern papers.
I used two different patterns and alternated them.


It's important to cover the backs because they're quite visible when flipping through the book.


Then I printed the names of all my family members at the top of each paint chip.
I used letter stamps and Staz On ink.

I had each person make a list of their blessings.
  We used a Sharpie marker so the ink wouldn't smear.


I stayed with fall colors and chose paint chips in green, gold, and brown. 


I wrote everyone's ages in small print in the bottom right corner.
That way when we read this years from now, we'll know when in our lives we did this.


I even added a page for our dog because she's such a big part of our family.

I also added this year's date in the lower corner.


Finally I bound the pages together with a piece of twine.

That's it!
Make one of your own.
It will become a family treasure- I promise!

Thanks for stopping by and God bless.

But the salvation of the righteous is from the Lord; 
He is their strength in the time of trouble.
Psalm 37:39

This post is linked to Between Naps on the Porch, Tip Junkie,
Tatertots and Jello, and The Dedicated House.

Friday, November 13, 2015

So Thankful for These Pumpkins!

I used eight small foam dollar store pumpkins and some rub-ons to make today's project.
Simple, simple, simple, my friends!

I am so thankful for fun and easy projects:)
Aren't you?!?

 
All I did was add a rub-on letter to each pumpkin spelling out the word thankful.


I think they'd be cute in a Thanksgiving centerpiece.

Thanks for stopping by and God bless.

For with God nothing will be impossible.
Luke 1:37

Thursday, November 12, 2015

Thrifty Thursday #192

My hubby and boys were camping out last weekend, so I had Saturday morning free.
There was a large rummage sale in my neighborhood at a local church that I really wanted to go to.
I got up extra early to make it to it when it opened.
Actually I got up early to clean my floors and bathrooms 
before I went yard sale-ing.
I always like to get my work done before I have fun:)
Also, when I come home from yard sales, the last thing I want to do is clean my own house.
Anyway, look what I found.


I got these old shoe expanders for $5.
I was super excited with this find.
I know just what I'm going to do with them.
Stay tuned.


I got these cheese plates with domes for $1.
I plan to paint the plates with chalkboard paint like this one.


I couldn't pass up these old jars.
The taller one was $3 and the other one was $1.
Love them!


I paid fifty cents for this pretty bowl.
I thought it would be a good cereal bowl for my fellas til I got it home
and realized it's more the size of a mixing bowl.
Although my boys would certainly love to have a cereal bowl this size!

It was definitely worth the early wake up time!!
Thanks for stopping by and God bless.

Depart from evil, and do good
Psalm 37:27

This post is linked to Embracing Change, A Morning Cup of Joe, and The Crafted Sparrow. 

Wednesday, November 11, 2015

Layout of the Week #122

I'd like to start off by saying Happy Veteran's Day to all who served.

I have a patriotic layout designed in honor of today.

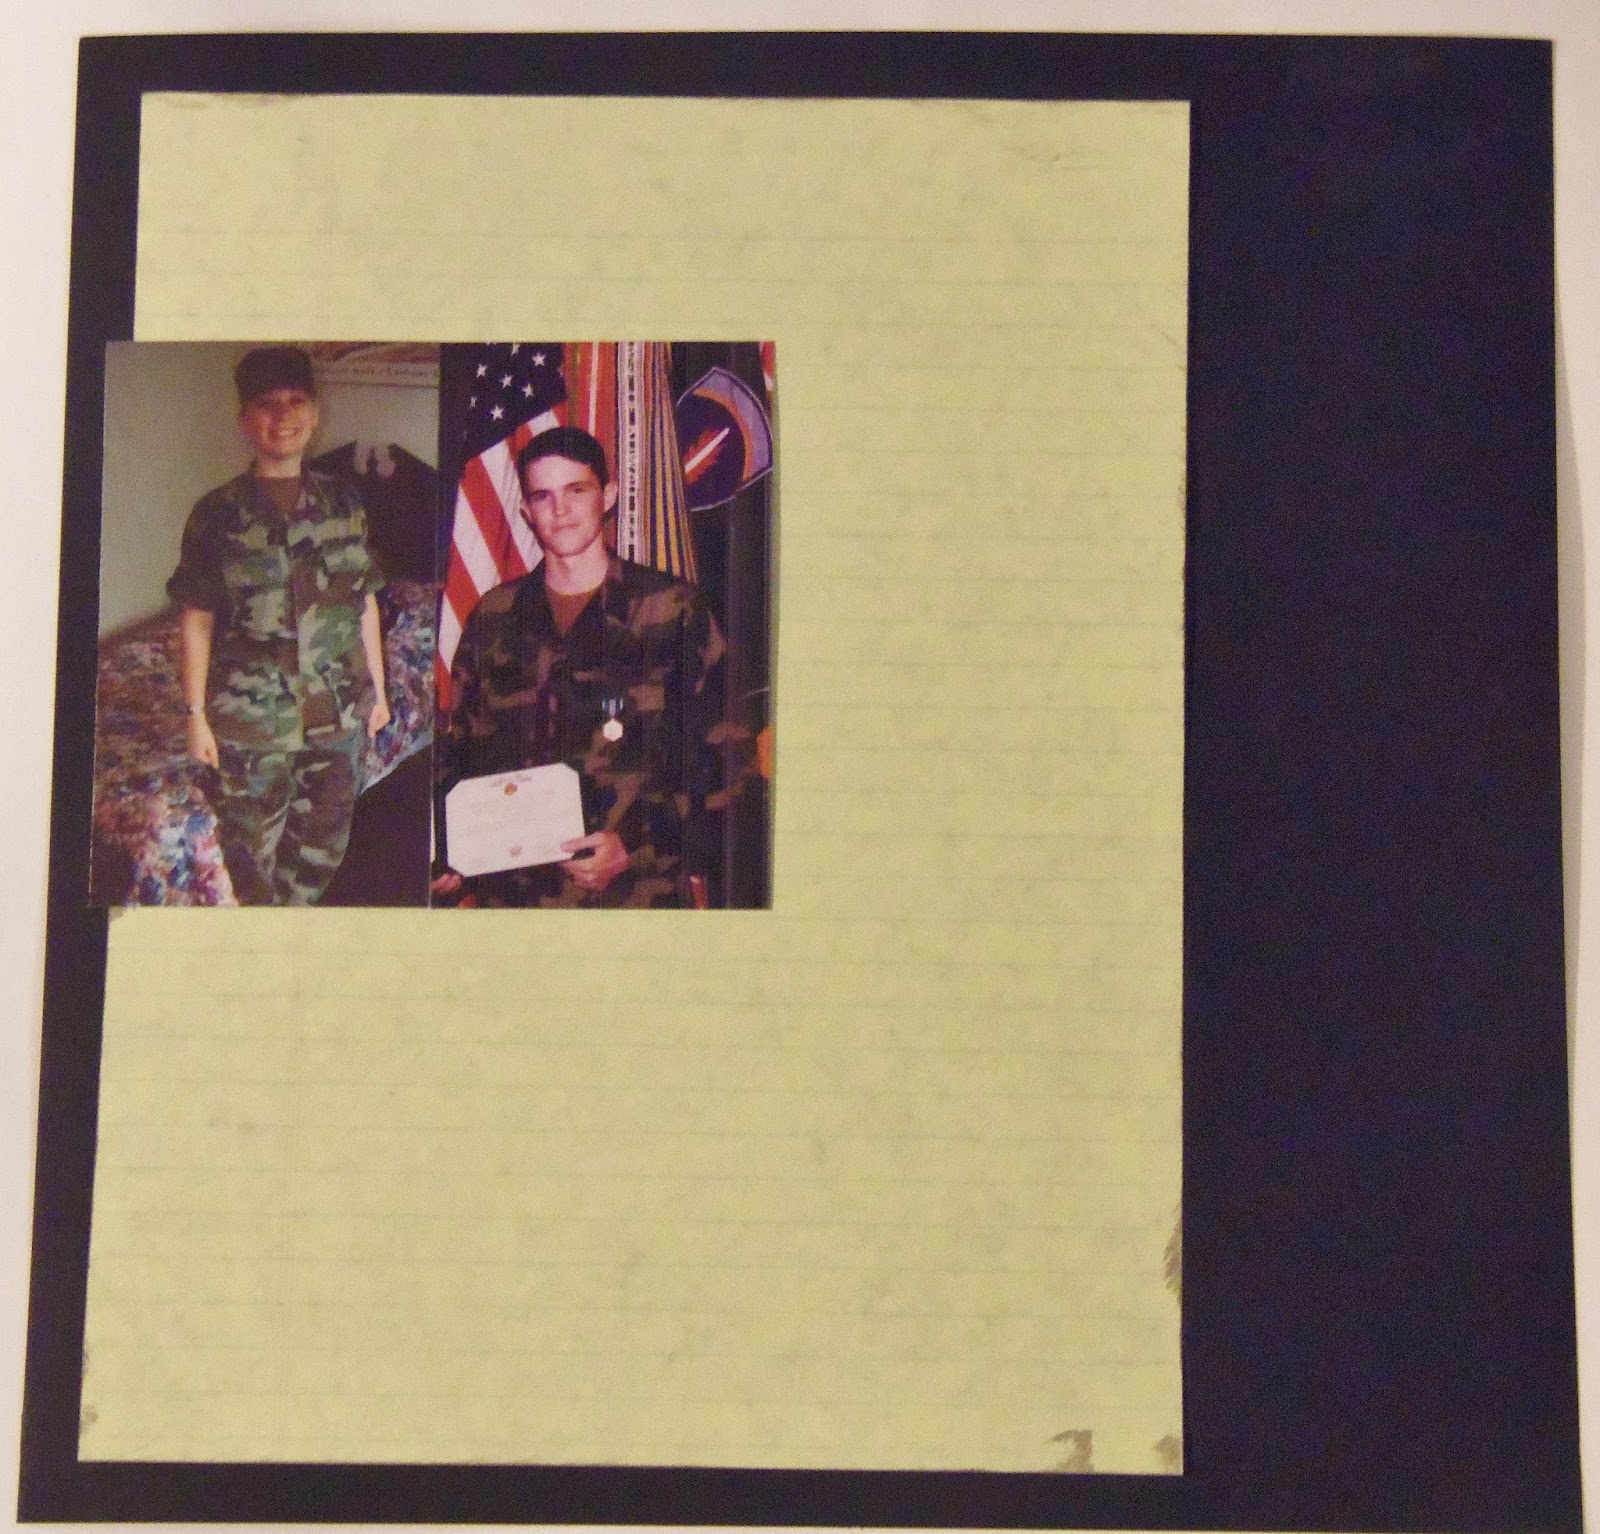
My hubby and I were both in the Army when we met, 
so I used a photo of both of us in uniform.
You could do this layout and feature a member (s) of your family who served.


Here's the layout we'll be creating.

My title says, "Thanks to the Army. . ."
The journaling reads: Two young soldiers met in Heidelberg, Germany. They fell in love and got married in Veijle, Denmark and were able to travel all over Europe together. All thanks to the Army.


To make it, you'll need:
one piece of 12"x 12" cardstock
one piece of pattern paper measuring 8 1/2"x 11" (I used a piece of legal paper)
eight pattern paper circles measuring between 1 1/4"- 2"
eight hearts small enough to fit in your circles
letter stickers for the title
1-2 photos
adhesive


To start, adhere the pattern paper measuring 8 1/2"x 11" onto the cardstock. 
It should be closer to the left edge than the right.


Place 1-2 photos on the left side of the layout.
I used two vertical photos, but one larger horizontal photo would work as well.


Adhere one heart to the center of each circle.
Then add the circles in three rows as shown.

I used larger scalloped circles, then placed a smaller camouflage circle inside them, Finally, I added a heart to the center of each one.


Add your title down the right edge of the cardstock along the pattern paper.
Write your journaling below the bottom row of circles along the right edge of the pattern paper.


I made a video of this process if you'd like to see.

We're done!
Short and sweet, as always!

Thanks for stopping by and God bless.

Love the stranger.
Deut. 10:19

This post is linked to It's Overflowing, Tip Junkie, and My Girlish Whims.