Wednesday, June 10, 2015

Layout of the Week #111

I don't know why I have such an affinity for office supplies.
I just love different sized envelopes, tags of all sorts, and random office stamps.
I'm not kidding. When I pass by a box of large manilla envelopes at work,
 I can't help but think how Id like to turn them into a mini album!
It may go back to when I was a little girl playing at my grandma's house.
She had a big roll top desk and would let me sit and play "office" with all her supplies.

Today I'd like to flash back to two layouts that I used envelopes on.


This layout has a business size envelope that holds additional photos and a pamphlet.
If you'd like to complete this layout, you can go here to see a step-by-step tutorial.


This page is actually made out of three long envelopes attached together to make the background.
 

If you enjoy scrapbooking or would like to get started scrapbooking,
please stop by every other Wednesday for a new start-to-finish layout tutorial.

Thanks so much for stopping by and God bless.

For as the body without the spirit is dead, 
so faith without works is dead also.
James 1:26

Tuesday, June 9, 2015

Recipe of the Week #173- Cocoa-Cola Cake


Cocoa Cola Cake
2 cups flour
2 cups sugar
1 cup butter
1 cup cola
2 Tbsp unsweetened cocoa powder
2 eggs, lightly beaten
1/2 cup buttermilk
1 tsp vanilla
2 cups mini marshmallows

Preheat oven to 350 and grease a 13"x 9" pan. Stir together flour and sugar. Set aside.
In a medium pan, combine butter, cola, and cocoa powder. Cook over medium heat until butter is melted, stirring frequently. Pour over flour mixture. Add eggs, buttermilk, baking soda, and vanilla. Mix well. Stir in marshmallows. Spread into prepared pan. Bake for 30-35 minutes.
Cool on a wire rack. Spread Cocoa-Cola Frosting over cake.

Cocoa Cola Frosting
1/3 cup butter
2 cups powdered sugar, may need more
2 Tbsp unsweetened cocoa powder
1/4 cup cola

In a medium mixing bowl, beat 1/3 cup butter with a mixer for 30 seconds. Slowly add powdered sugar and cocoa. Add cola, beating until combined. You may need to add additional powdered sugar to make it a spreading consistency.

This cake is so sweet and rich! I loved the texture! Usually I opt for simpler dessert recipes, but this one was worth the work:)

Thanks for stopping by and God bless.

So then, my beloved brethren, let every man be swift to hear,
 slow to speak, slow to wrath
James 1:19

This post is linked to What's on the List?, Skip to My Lou, and It's Overflowing.

Monday, June 8, 2015

Mini Album Monday#55- Senior's Brag Book and Box

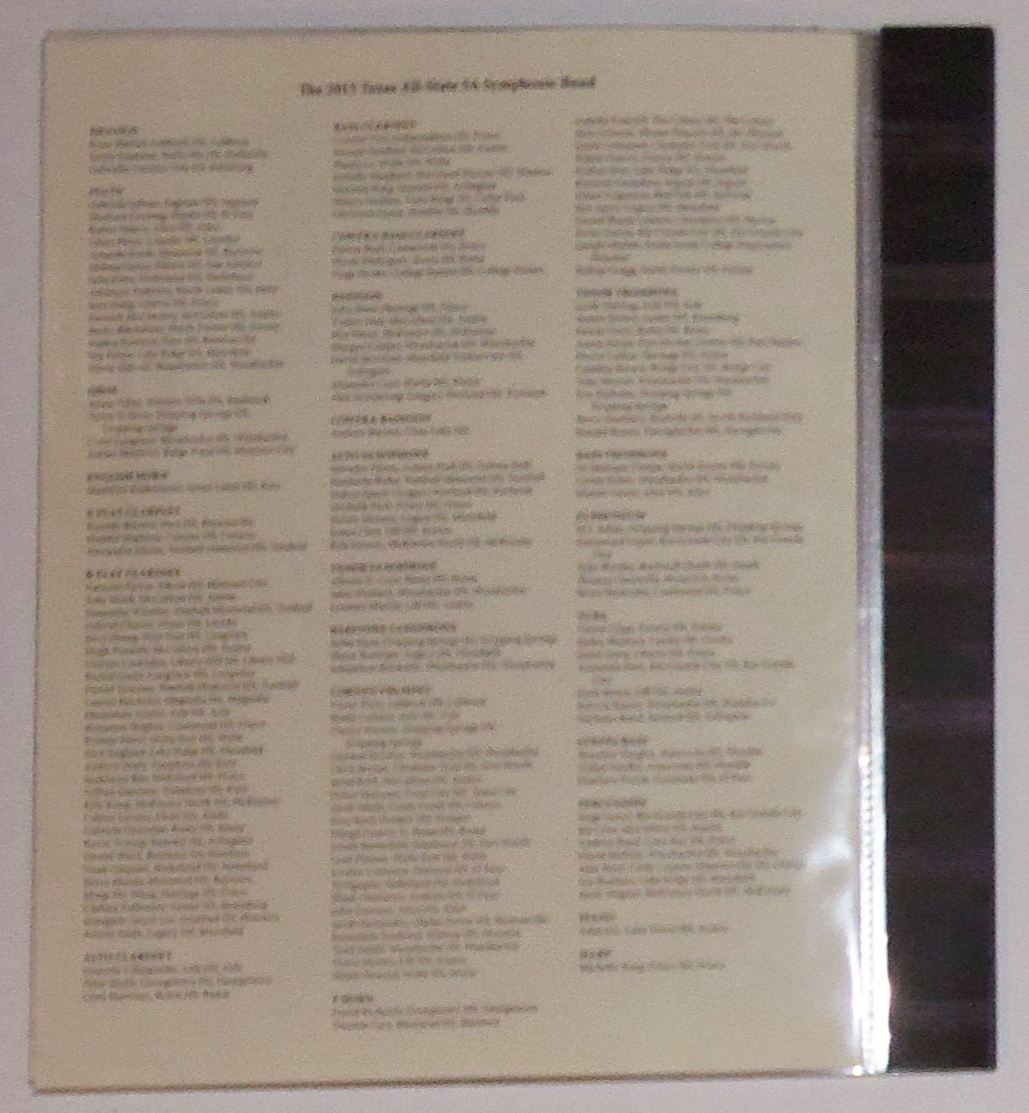
My friend's son had an awesome year in senior band- he went to state and 
was selected for several elite bands.
My friend had kept photos, programs, name tags, and all sorts of stuff from these experiences,
 and she was hoping to have them organized in some sort of manner.

There's where I came in.
She asked if I could figure out a way to display/store them.

Here's what I did. . . 


 I made a brag box with a mini album.


I started with a decorative box that I found at Michaels.
I chose this one because I felt all the sayings on the cover were very fitting:
do what you love,
inspire others to greatness,
create your own happiness,
live life to the fullest.

I placed his name in the lower right corner
 using of one of  the name tags from the stack of mementos.


The box opens to show the mini album.
(You'll see photos of this in a moment.)


Under the album is where I put the mementos.
My friend kept her son's ID tag and some visitor badges.


She also kept a local magazine that featured a photo of her son.
I placed this at the bottom of the box.


I added a page tab to the specific magazine page to make it easy to find the photo.


Here's the mini album.
I used two different size page protectors: 8 1/2"x 11" and 4"x 6".
For the cover, I used another tag from the stash of keepsakes.
I placed it on a piece of music themed scrapbook paper.


 When my friend originally gave me the folder of stuff, 
I asked her to sort it and place the photos with the correct papers.
That way I could put them all in the right order.

I used the smaller page protectors for the photos, and the larger ones for the documents.


Here the small page protector flips over to show another photo on the left 
and an acceptance letter on the right.


To make the page protectors stick together,
 I used double sided tape and lined them up all at the seams.
Then I trimmed a piece of thick pattern paper to fold around the edge and act as the binding.
You can go here to see a specific tutorial on turning page protectors into a mini album.


The page on the left wasn't a whole sheet, so I adhered it to a piece of scrapbook paper. 


There's another photo in the center, then I placed a newspaper article on the right. 
 

This event had several photos, so I stacked two small page protectors.


I really like the different size pages.


 I decided to place the photos on the left on their own page. 
Two of them pictures of the actual band schedule.


I only had one photo to place in the small page protector here, so I backed it with a piece of paper.


This section had several photos, so I placed these two small page protectors,


with a third one behind them. 


If my friend would like to add any stories or anecdotes,
 I have labels for her to adhere to the pages.


With everything in order, the reader can actually follow his performances in the order they occurred.
I haven't shown this to my friend yet, but I sure hope she'll like it.

If you've got a stack of mementos that you don't know what to do with, try this project.
It's a very manageable project and can be used for any subject matter.

Thanks for stopping by and God bless.

Every good gift and every perfect gift is from above
James 1:17

Friday, June 5, 2015

Vintage Book Vase Covers

Who loves old books?
I know I'm not the only one.
I have several shelves full of vintage beauties,
but that doesn't stop me from buying more when I find them at a good price.
Some are in great shape, others not so much.
Some I'd never cut up, while some are just begging for it (Contrary to my hubby's belief)!

Today I grabbed a few and yes, I cut them up.


How cute are they as vase covers?
Wouldn't they make great centerpieces?


They're actually just two book covers tied together.

Here's how to make them:


Carefully remove the pages from two books without cutting through the covers.
Make small cuts with an Exacto knife or sharp scissors.
I kept flipping mine over making sure that I was only going through one layer.


Once you remove the pages, you'll want to make marks for the holes.
 I marked every 1.5 inches.

Then to make the holes, you'll want to use either a drill or a Crop-a-dile
(which is like a paper punch on steroids).

I used my Crop-a-dile and it went through the covers without any problems.


After the holes are punched, use twine to tie the books together.


Then stand the covers up in a square shape and insert a vase of flowers.

You can set it so that the two different covers show. . .


or so the binding of one book shows.
They're cute from any angle.


I even made one out of vintage school books.


For this one, I used a longer piece of twine at the top holes and tied a bow on the outside.

Wouldn't this one be cute at a teachers' banquet or even a baby shower?

What do you think? Are you itching to run out to a thrift store and get some old books?
I hope so:)

Thanks so much for stopping by and God bless.
I hope you all have a lovely weekend.

If any of you lacks wisdom, let him ask of God, 
who gives to all liberally and without reproach,
 and it will be given to him.
James 1:5

Thursday, June 4, 2015

Thrifty Thursday #169

Recently, I was doing some secondhand shopping with a friend.
You just gotta love friends who will go thrifting with you!
We walked through some booths at an indoor flea market.
I found a few things. . .


If I'm not mistaken, I think these are light insulators.
Whatever they are, they're certainly unique.
I paid $1 apiece for them.
Any ideas about what I can do with them?


I am a nut for tags. Don't ask me why, but I just love unique tags.
I got a big bag of these for $3.
I'll use them in a papercrafting project.
Love them!


I am also a nut for vintage postcards.
We happened by a booth that had all postcards marked down to half off!
I only paid fifty cents apiece for them.


Aren't they so lovely?
Yes, I bought them with a specific project in mind. :)


Check out this ballister- it's nice and sturdy.
I got it for $5.
I think it would make an interesting necklace stand. . .

We also shared some fried pickles while we shopped, so between that and the shopping,
 it was a great day!

I think you all should grab a friend and hit some yard sales this weekend:)

Thanks for stopping by and God bless.

Jesus Christ is the same
 yesterday, today, and forever.
Hebrews 13:8

This post is linked to Ivy and Elephants, The Crafted Sparrow, and Too Much Time on My Hands.

Wednesday, June 3, 2015

Lovelies That I Love

With Father's Day coming, I took a browse through Etsy to find some manly gifts.
There was so much great stuff.
Here's a peek of what I found. . . 


I can't get over how stinkin' cute this father/child shirt set is.
The acorn doesn't fall far from the tree. . .


This mug would put a smile on any dad's face!


This keyring is awesome.


This personalized burlap print would be a beautiful gift.


These typewriter key cuff links are so unique.
Love them!

Show those dads some love.
We're all so blessed to have them.

I'm not affiliated with any of these companies, I just like their stuff.

Thanks for stopping by and God bless.

Your word is a lamp to my feet
 and a light to my path.
Psalm 119:105

This post is linked to My Girlish Whims, Embracing Change,  and Tip Junkie.

Tuesday, June 2, 2015

Recipe of the Week #172- One Pot Pizza Pasta


One Pot Pizza Pasta
16 oz rotini
1 lb beef
1 onion, chopped
2 cloves garlic, minced
1 cup pepperoni, sliced
2- 15 oz jars pizza sauce
2 1/4 cup water
1 cup shredded mozzarella cheese

In a skillet, brown the beef with onion and garlic. Stir in water, noodles, pepperonis, and pizza sauce. Cover and stir frequently for 15 minutes or until pasta is cooked.

I love any recipe that starts with One Pot- I am definitely a quick and easy kind of cook. This dish was absolutely delicious! My family gobbled it up.

I got this recipe from Skip to My Lou.

Thanks for stopping by and God bless.

Behold, children are a heritage from the Lord, 
the fruit of the womb is a reward.
Psalm 127:3

This post is linked to Plucky's Second Thought, Between Naps on the Porch, and What's on the List?