Tuesday, July 14, 2015

Recipe of the Week #178-Biscuits and Gravy Casserole


Biscuits and Gravy Casserole
1 lb sausage
1 pack sausage flavor country gravy mix
1 cup shredded cheddar cheese
3 eggs
1/2 cup milk
2 cups heavy cream
salt and pepper to taste
1 tsp minced onion
1 can (16.3 oz) butter flavored biscuits
8 slices bacon

Grease 9"x 13" pan. Cut biscuits into 1" pieces and line the bottom of the pan.

Brown the sausage. Scatter over biscuits. Sprinkle with cheese.

Whisk eggs, cream, and milk. Pour over the pan contents. Sprinkle with salt, pepper, and onions.

Make gravy mix per package instructions. Spoon over pan contents.

Refrigerate overnight.

Fry and crumble the bacon. Preheat oven to 350. Put casserole in the oven and cook for about an hour. Sprinkle bacon on top.

This is like a breakfast feast! All your favorite things about breakfast packed into one filling casserole. This is guaranteed to please everybody!

Thanks for stopping by and God bless.

Happy are the people whose God is the Lord!
Psalm 144:15


This post is linked to Plucky's Second Thought, What's On the List?, and Tip Junkie.

Monday, July 13, 2015

Lace Table Runner

I am fortunate to have quite a collection of ribbons and lace.
Several years ago, I was given a huge supply of it.
I've been wanting to get into my drawer of lace and do something with it.


 I ended up with a lace table runner.
I started with several types of lace- some wide, some narrow- and started sewing them 
to one another. 
I added a short strip of lace at each end to finish it off.


It turned out very elegant.


I love the looks of all the different styles.


Originally I intended for it to be a scarf, but I felt it made a better table runner.
Especially after my hubby saw me wearing it and said, "It looks like you're getting ready to give Communion in the Catholic church." :)

Thanks for stopping by and God bless.

Blessed be the Lord my Rock
Psalm 144:1

Friday, July 10, 2015

What's On My Craft Table

Here's a sneak peek of what's on my craft table right now. . .


Come back on Monday to see what I've been up to.

Have a lovely weekend!
Thanks for stopping by and God bless.

Every word of God is pure; 
He is a shield to those who put their trust in Him.
Proverbs 30:5

Thursday, July 9, 2015

Thrifty Thursday #174

I announced last week that I was actually off of work on Friday and was 
SUPER EXCITED to go yard sale-ing.
Well, I was off because of the holiday and I didn't even stop to think that there may not be any yard sales due to that same holiday.

That's right.
There were only three advertised in the paper.
Three.
 In July. 
That's practically unheard of in the summer.
Except for holiday weekends.
Silly me.

My son actually got up early to head out with me.
We were able to find four or five sales.
I only bought one thing.


This lovely globe.
Even without a stand, I couldn't leave it behind.
It was only $2.
When my son saw me carrying it back to the car, he shook his head at me.
When I opened the door, he said, "What is that? Globe #10?"
While I have several, I certainly don't have ten of them:)

Anyway, I enjoyed the special time with my 13-year- old.
I spent $2 at a yard sale,
$5 at the donut shop,
and $44 at a fireworks stand.
Time spent with my son= priceless.

Thanks for stopping by and God bless.

Deliver me, O Lord, from my enemies; 
in You I take shelter.
Psalm 143:9

This post is linked to Embracing Change and My Repurposed Life.

Wednesday, July 8, 2015

Layout of the Week #113

If you've been thinking of starting scrapbooking or if you've done it before, but it's been awhile,
you've come to the right place.

Today I have a step-by-step tutorial to help you complete a layout in under an hour. 
Just follow these easy steps using supplies that you have on hand. 


Here's the layout we'll be completing.
It looks busy and complicated, but we'll add one layer at a time.
You can do this. Trust me.


To complete it, you'll need:
 one piece of 12"x 12" cardstock
one roll of decorative tape
letter stickers for the title
tag for journaling
4"x 6" piece of pattern paper
8-9 random small pieces of pattern papers and/or tickets
pen for journaling
paper trimmer
adhesive
4-6 photos
optional: large doily


Step 1: Place decorative tape along all four edges of the cardstock.


Optional: Center doily on the background.
It's ok if you skip this step. The layout will still look cute in the end.


Step 2: Determine which photo will be your main one and set it aside.
Trim the rest so they are cropped tightly around the main focus of the photograph.
Place the smallest photo about 1" from the top of the page.
Place the other 2-4 along the left and right edges.

I used two along the left and two along the right. You can easily replace those
 with a vertical photo on each side.


Step 3: Mat your main photo on the 4"x 6" piece of pattern paper. You may have to trim a bit off the photo to make it fit.
Placing adhesive only along the edges, adhere this photo in the middle of the rest of the photos.

We aren't placing adhesive along the top or center of the photo so it can act 
as a pocket for our journaling tag.


Step 4: Place your title along the bottom of the page.

I used two different size stickers for this.


Step 5: Write on your tag and tuck it behind the main photo.

I also added extra journaling strips along the bottom of three of the photos.


Step 6: Now it's time to place the tickets and little pieces of scrap paper.
Add two small pieces to the left and right of the top photo.
Add a larger piece on the lower right corner of the main photo.
Then place a smaller one to the right of that embellishment.
Place two small pieces of pattern paper sticking out the bottom left and right of the top left photo.

I peeled up some of the edges and my letter stickers to make my pieces look stacked.


That's it. 
I told you that you could do it!

If you enjoyed this, please stop by every other Wednesday to create a new layout with me.

Thanks for stopping by and God bless.

I spread out my hands to You; 
my soul longs for You like a thirsty land.
Psalm 143:6


This post is linked to Tip Junkie, Today's Creative Blog, and Skip to My Lou.

Tuesday, July 7, 2015

Recipe of the Week #177- Double Chocolate Chip Cookies

Double Chocolate Chip Cookies
1 pkg devil's food cake mix
1/2 cup butter/margarine, softened
1 tsp vanilla
2 eggs
1 cup semisweet chocolate chips
optional: 1/2 cup chopped nuts

Preheat oven to 350. Beat half the dry cake mix, the butter, vanilla, and eggs until smooth. Stir in remaining cake mix, chocolate chips, and nuts. Drop by rounded teaspoonfuls onto cookie sheet. Bake 10-12 minutes.

Note: I rolled my dough in sugar before placing on cookie sheets.

These cookies were delicious-- and so easy to make! My fellas gobbled these things up.

Thanks for stopping by and God bless.

But my eyes are upon You, O God the Lord;
 in You I take refuge
Psalm 141:8
This post is linked to Between Naps on the Porch, What's On The List?, and Ivy and Elephants.

Monday, July 6, 2015

Mini Album Monday #57- Simple Album to Do With Your Kids

As we're in the depths of summer, you may be running out of things to do with your kiddos
or you may still have a list of things to do.
Either way, here's a fun project that you can do together and feature photographs from things
you've  done this summer.


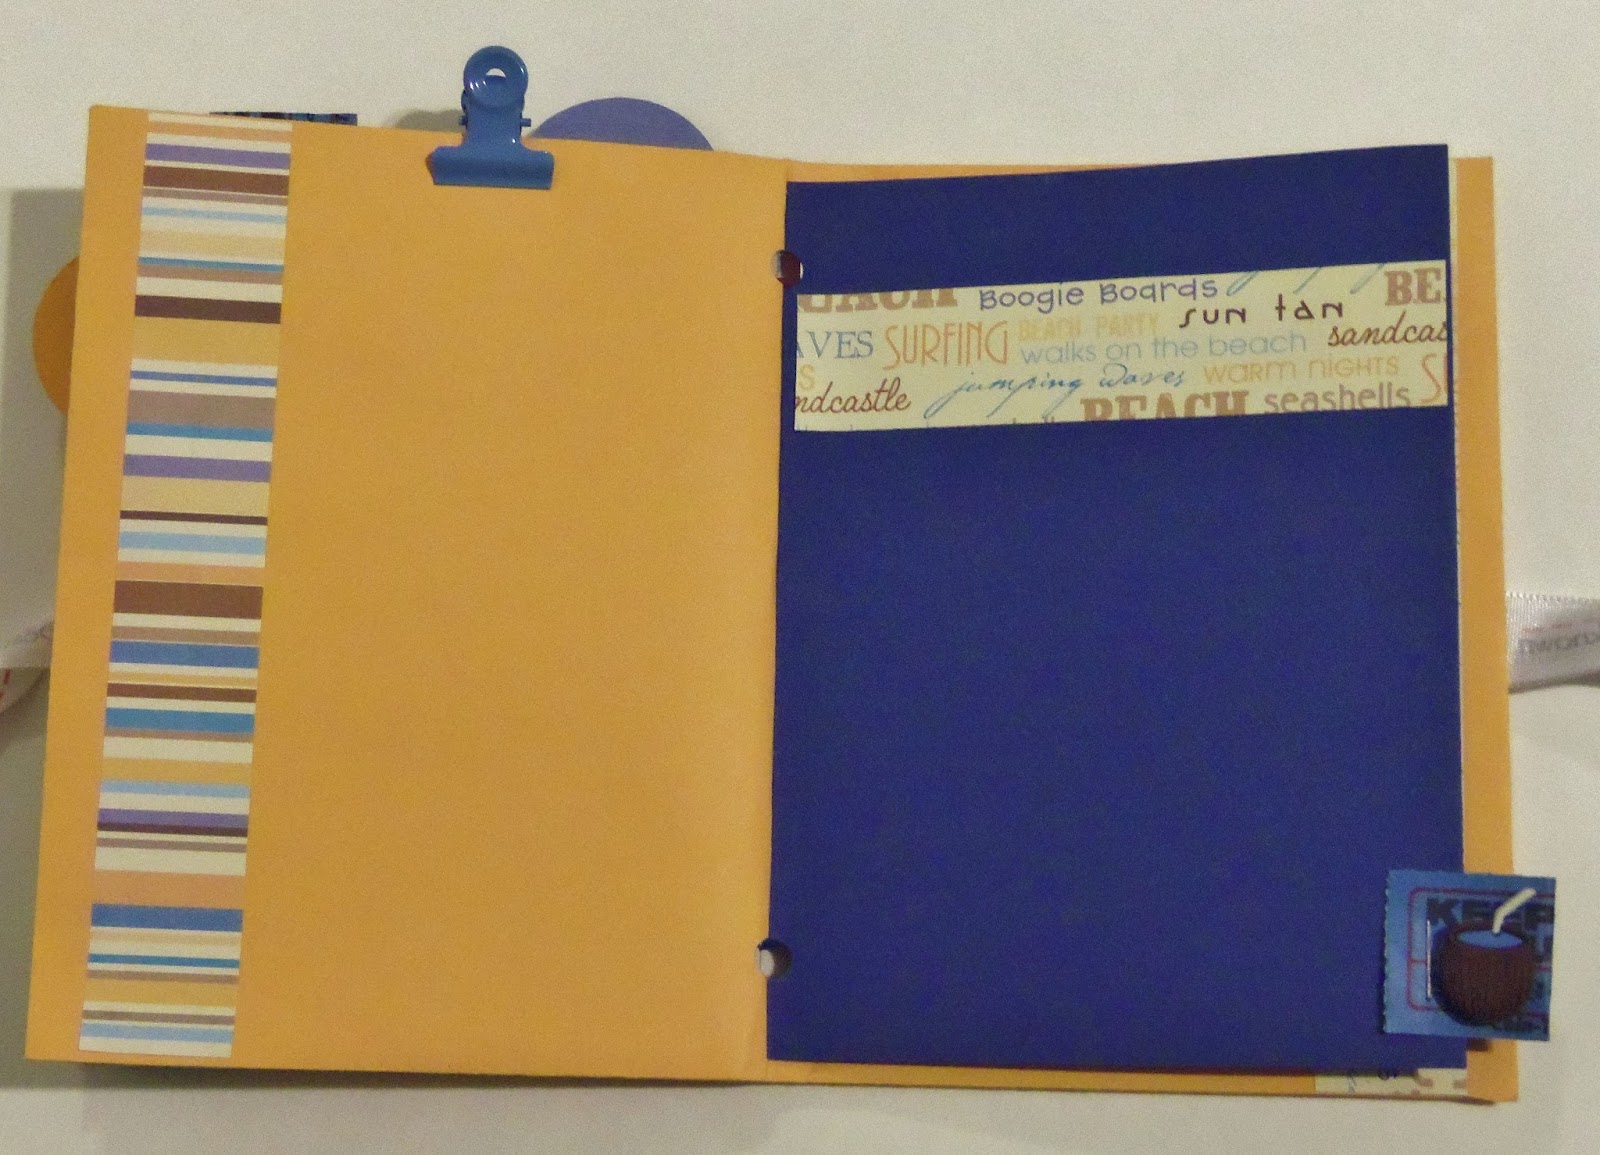
It's a cute little album made from envelopes.
It has eight pages plus three pockets to hold mementos.

To make one, you need:
two 6"x 9" manilla envelopes
one piece of 8 1/2"x 11" cardstock cut in half
one piece of pattern paper measuring 4 1/4"x 5 1/4"
eight strips of 1"x 4 1/4" strips of pattern paper
four strips of 1"x 6" pattern paper strips
two pieces of ribbon- one 10" and one 20"
4-5 embellishments like small tickets, circle punches, and/or small bull clip

hole punch
stapler
optional: tiny plastic baggie (like a jewelry bag)


To start, fold the envelopes and cardstock pieces in half.
Lay them down so you have:
 an envelope with the opening to the left
piece of cardstock
envelope with the opening to the right
piece of cardstock.

Then punch a hole on the folded edge coming down from the top
and up from the bottom.
Using your 10" piece of string, run them through both holes so you end up with the two ends on the outside of the book. Then tie a tight knot.
You can leave the extra length of ribbon or trim it short.


Now on each cardstock page, use one of the shorter strips (4 1/4" x 1") and place it either along the bottom edge or along the top edge horizontally.


Place the 1"x 6" strips vertically on the outer edges of the pages that are envelopes-
except on the sides that have the openings.


Here's the center with the ribbon running through the two holes.


Using your small embellishments, staple each one along the edge of the cardstock pages having them stick up to act as page tabs.

I placed mine in different areas along the edges so that when the book is closed, there are lots of tabs sticking up around the cover.


For a little extra, I added themed buttons on top of some of my page tabs.


On the back cover, I added a small plastic bag for more mementos.
Note: when you staple this, only do one side of the bag so it can still be opened.
Think how cute a little bit of sand or a pressed penny would look in here!


To finish it off, adhere the 4 1/4"x 5 1/4" piece of paper centered on the cover.

Then take your 20" piece of ribbon and center it across the front and back covers.
Use stickers, stamps, or handwriting for the title.
Use a bit of adhesive (I used Glue Dots) to keep the ribbon on the cover.
Keep the extra length so you can tie the book closed.

That's it! Pretty simple.
I've made these with my kids and with a group of girls and they were so excited to make their own mini albums. They couldn't wait to fill them with their memories!

Thanks for stopping by and God bless.

Search me, O God, and know my heart
Hosea 12:23

This post is linked to It's Overflowing, Plucky's Second Thought,
I Heart Naptime, and The Dedicated House.