As we're in the depths of summer, you may be running out of things to do with your kiddos
or you may still have a list of things to do.
or you may still have a list of things to do.
Either way, here's a fun project that you can do together and feature photographs from things
you've done this summer.
you've done this summer.

It's a cute little album made from envelopes.
It has eight pages plus three pockets to hold mementos.
To make one, you need:
two 6"x 9" manilla envelopes
one piece of 8 1/2"x 11" cardstock cut in half
one piece of pattern paper measuring 4 1/4"x 5 1/4"
eight strips of 1"x 4 1/4" strips of pattern paper
four strips of 1"x 6" pattern paper strips
two pieces of ribbon- one 10" and one 20"
4-5 embellishments like small tickets, circle punches, and/or small bull clip
hole punch
stapler
optional: tiny plastic baggie (like a jewelry bag)

To start, fold the envelopes and cardstock pieces in half.
Lay them down so you have:
an envelope with the opening to the left
piece of cardstock
envelope with the opening to the right
piece of cardstock.
Then punch a hole on the folded edge coming down from the top
and up from the bottom.
Using your 10" piece of string, run them through both holes so you end up with the two ends on the outside of the book. Then tie a tight knot.
You can leave the extra length of ribbon or trim it short.

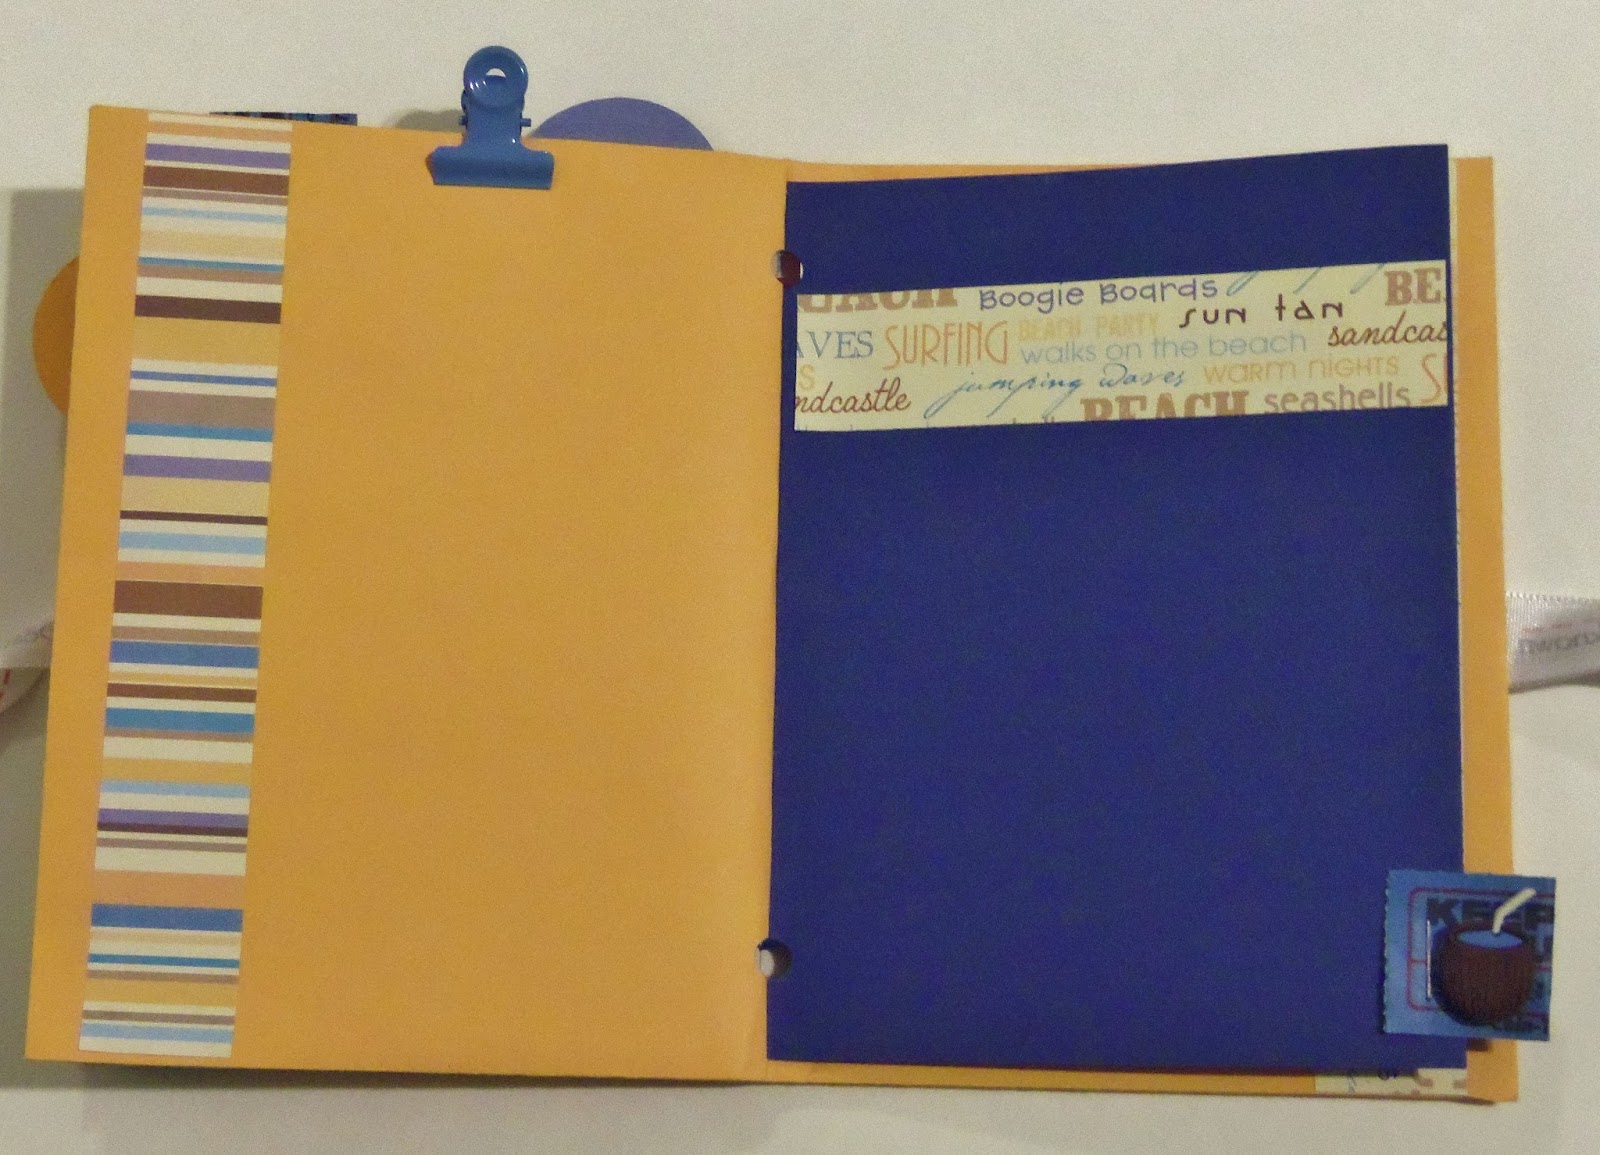
Now on each cardstock page, use one of the shorter strips (4 1/4" x 1") and place it either along the bottom edge or along the top edge horizontally.

Place the 1"x 6" strips vertically on the outer edges of the pages that are envelopes-
except on the sides that have the openings.

Here's the center with the ribbon running through the two holes.

Using your small embellishments, staple each one along the edge of the cardstock pages having them stick up to act as page tabs.
I placed mine in different areas along the edges so that when the book is closed, there are lots of tabs sticking up around the cover.
For a little extra, I added themed buttons on top of some of my page tabs.

On the back cover, I added a small plastic bag for more mementos.
Note: when you staple this, only do one side of the bag so it can still be opened.
Think how cute a little bit of sand or a pressed penny would look in here!

To finish it off, adhere the 4 1/4"x 5 1/4" piece of paper centered on the cover.
Then take your 20" piece of ribbon and center it across the front and back covers.
Use stickers, stamps, or handwriting for the title.
Use a bit of adhesive (I used Glue Dots) to keep the ribbon on the cover.
Keep the extra length so you can tie the book closed.
That's it! Pretty simple.
I've made these with my kids and with a group of girls and they were so excited to make their own mini albums. They couldn't wait to fill them with their memories!
Thanks for stopping by and God bless.
Search me, O God, and know my heart
Hosea 12:23
This post is linked to It's Overflowing, Plucky's Second Thought,
I Heart Naptime, and The Dedicated House.
1 comment:
This is such a neat idea to do for any trip!
Thanks for joining Cooking and Crafting with J & J!
Post a Comment