After a small scrapbooking hiatas, I'm back with a Layout of the Week tutorial. This week we'll be using a square punch to create a chevron stripe. Chevrons are pretty hot right now- if you go onto Pinterest you'll see them on everything from scrapbook paper to curtains. There's no need to rush out and buy new paper (unless you really want to). As long as you have a square punch, you can customize your own.
This is the layout we'll be creating.
To make it, you'll need
one piece of 12"x12" card stock
four pieces of coordinating pattern paper (these do not need to be entire pieces because we'll just be using little bits of them)
journaling paper or card (I used a piece of ledger paper)
2" square punch
letter stickers for the title
paper trimmer
adhesive
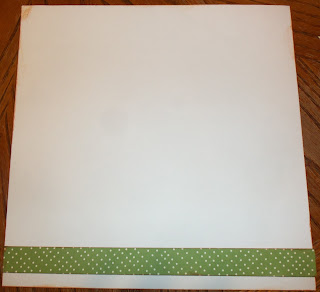
Cut a 1"x12" strip off of the first pattern paper and adhere it 1/2" from the bottom of the card stock.
Now trim a 1"x 8 1/2" strip from the second pattern paper and adhere it to the bottom right side of the first strip.
Here's where your square punch comes in. You need five squares in one pattern and one square in another pattern.
If you don't have a square punch, you can trim a piece of card stock to 2"x 2".
Then, using a paper trimmer, cut all of the squares in half diagonally. Now you will have lots of triangles.
Start adhering one row of triangles along the middle of the paper.
They should stretch from left to right. The points should be pointing upwards.
Now take the rest of the matching triangles and lay them down so their points are downward. They should line up like this.
Keep adhering them until you have a chevron stripe.
Now place your journaling card at the bottom left side of the chevron. I slid mine a little ways under the left two triangles.
Now take the last two triangles and place them in the upper right corner of the card stock pointing down.
You can use an extra strip of this paper in the bottom right corner overlapping the strips at the bottom.
Place your photos above the chevron strip.
Add your title above the left photo and add some journaling. Your layout should end up looking similar to this.
This would also be a cute and easy technique to use on a card.
Thanks for stopping by and God bless.
It is good to praise the Lord and make music to Your name,
O Most High, proclaiming Your love in the morning
and Your faithfulness at night...
Psalm 92:1-2
This post is linked to 52 Mantles and Happy Hour Projects.


1 comment:
Wow, you are an amazing scrapbooker. I don't have the patience or fine motor skills. Maybe one day... :)
Post a Comment