Thursday, January 26, 2012

Thrifty Thursday #1


Here's what I scored at the thrift stores this week.
Books were only 2 for a quarter. I just can't pass them up when they are that cheap! I got a bag full of the Reader's Digest books with the beautiful covers. I am going to feature projects with books coming up here on the blog.
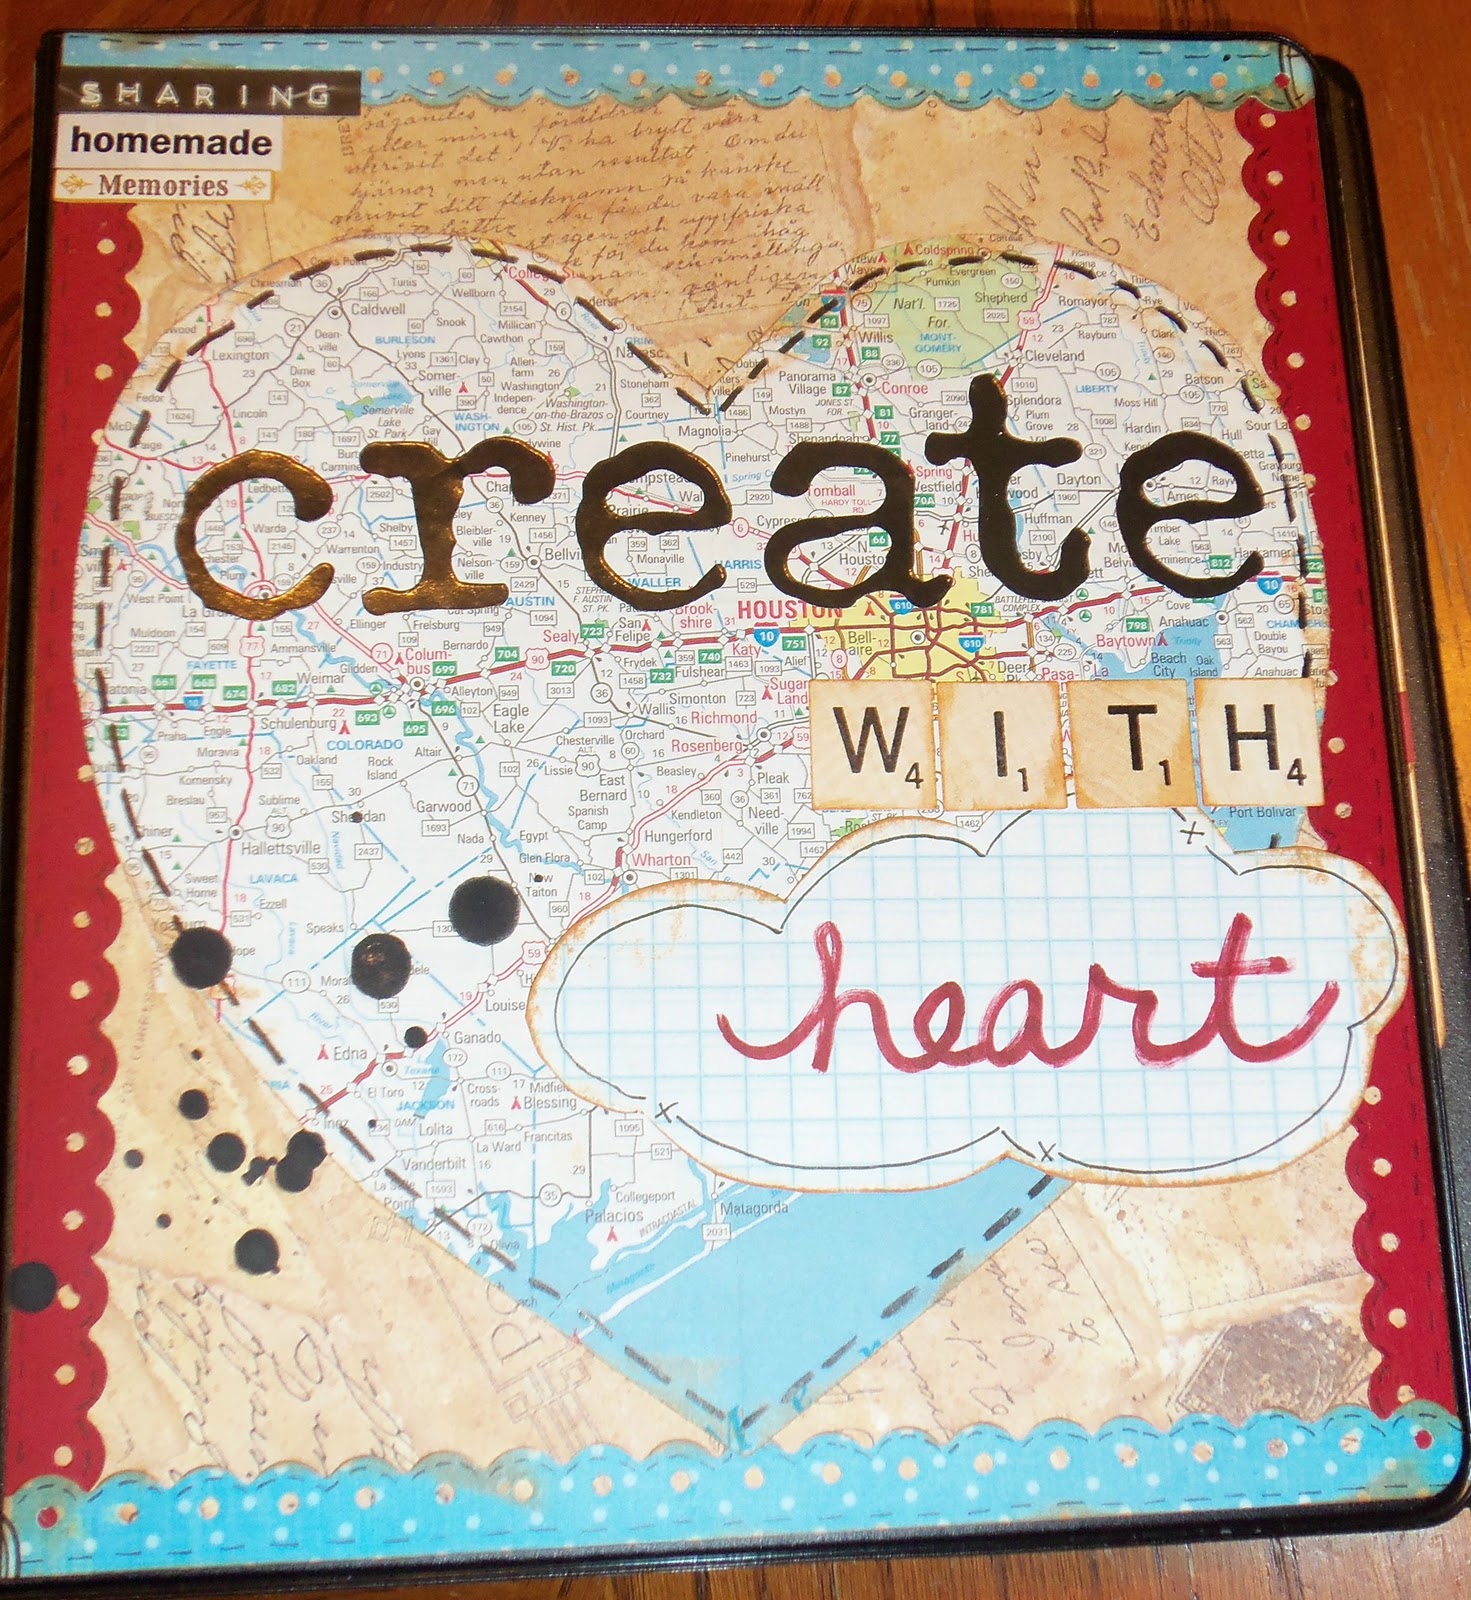
The other great deal I got is this pack of Brides Bookmarks. They say things like "Like it," "Love it," and "Possibilities." They cost 25 cents. I thought they were a lot like the tabs I have for my Smash album (in photo above) and that's where I plan to use them.
I love searching for treasures in thrift stores. 

Tuesday, January 24, 2012

Valentine banner


 Here's a simple banner idea using playing cards, a few letters, twine, and some various embellishments.

Since it's Valentine's themed, I chose cards from the hearts suit. Then I decided what word I was going to use and grabbed a handful of red and pink embellishments. My favorite go-to embellishments are buttons, tickets, lace, and flowers.
After placing the letters and embellishing the cards, I punched holes in the corners and placed them on twine. I did add a card to either end with photos of the boys and of Phil and I.

This took about 30 minutes and is very inexpensive to make. (As a matter of fact, I picked up a pack of cards for a quarter at the thrift store the other day.)

This would be cute with a birthday theme, family theme- the possibilties are endless!

I linked this with Get Your Craft On at Glitter, Glue, and Paint, Today's Creative Blog, Sundae Scoop , Your Whim Wednesday and at Brassy Apple.

Tuesday, January 17, 2012

A Class I'm Taking- and Recommending!

 I am very excited to be signed up for a year long class from Stephanie Ackerman aimed to help me stay focused and be more productive with my scrapbooking. (I do believe you can still sign up for this class- and I highly recommend it!) I did get a late start preparing my binder for the course, but here it is. . . ready. . . finally!:)

I purchased an 8"x9" binder and covered it. Then I cut down file folders for my dividers for each month. For the filler papers, I cut to size several different types of papers:
                  sheet music
                  ledger paper
                  baseball play book
                  old school attendance book
                  French workbook
                  German road map
                  vintage dictionary pages
                                                                                                 handwriting paper

I'm really excited about the eclectic look with the variety of papers. Hopefully they won't be too distracting when stuff is added to them.

This is my January divider. I only took abut 10 minutes to put it together (as she recommended).
This is my first layout. We were supposed to use words to describe ourselves. I had a great time finding word stickers that would work!
I am so looking forward to this year long project. It has already started bringing me out of my creative slump! Thank you Stephanie!

Thursday, January 12, 2012

Recipe of the Week #1- Deep Dish Pizza Casserole


One thing I thought I'd try this year is a new recipe every week. This week it was Deep Dish Pizza Casserole. It was good and very filling. The recipe is for an 8"x 8" dish. I didn't think that would be enough for my family, so I doubled it. There was no need to have done that. This recipe is so thick, an 8"x 8" pan would have fed all four of us.

Deep Dish Pizza Casserole

1 lb beef
8 oz can tomato sauce
6 oz can tomato paste
14 oz can pizza crust dough
6 slices mozzarella cheese

Cook meat. Drain. Add sauce and paste. Cook until heated.
Grease an 8"x 8" dish. Press dough on bottom and halfway up the sides. Place 3 pieces of cheese on the dough. Top with the meat mixture. Bake uncovered at 425 x 12 minutes. Top with remaining cheese. Bake another 10 minutes. Let cool for 5 minutes.

We all really enjoyed it and decided it would be a "repeat recipe" (code for "Make it again, Mom!).
Note: I added some seasonings to the meat as it cooked- Lawry's Seasoned Salt, garlic salt, pepper, and Italian Seasoning. I mistakenly bought sliced Swiss cheese instead sliced Mozzarella and I used that on the bottom layer. Then I topped it with shredded Mozzarella cheese and shredded Cheddar cheese. I figure you can't go wrong with cheese on pizza! I also cut up a green onion for my husband's piece.

Unfortunately, I cannot remember the source of this recipe.

Tuesday, January 3, 2012

Month by Month Scrapbooks


Two years ago, I started keeping a month by month scrapbook. I started out by creating an album with 12 layouts. Each layout had the month printed on it and contained a journaling box for which I used to write down what we did for the month. It was basically a list I compiled from our family calendar.


Some months are packed and I have lots of photos which I cropped to make fit or added an extra page to that month.


The first year, it was a smaller album made of a clipboard cut in half. Every other page was a large note card with a 6"x9" envelope for the alternating pages. This gave me room to keep extra mementos from the month (2 months shared an envelope). This was a nice size although all the photos had to be majorly cropped or printed out wallet size.


the cover


the title page


July's layout


The next year I used an album from a kit. This was a somewhat larger format and had room for more and larger photos.


cover August's layout


This type of scrapbooking is very "freeing" as I am able to cover our entire month's activies in 1 layout and our entire year's activities in only 12 layouts. At the end of the month, I just print the photos, grab a few embellishments, use my calendar for documentation.


This past year this was really the only scrapbooking I have done.


Stay posted for photos of this year's album- made from the cover of an encyclopedia!


This post was linked to Get Your Craft On Tuesday on Today's Creative Blog


Sunday, May 15, 2011

Teacher Appreciation Week

I know that Teacher Appreciation Week was 2 weeks ago, but I'm just now posting pics of the projects I made.

On Monday, the boys took their teachers map bangle bracelets. Sam's teacher is from England, so I chose a map with the U.K. on it.

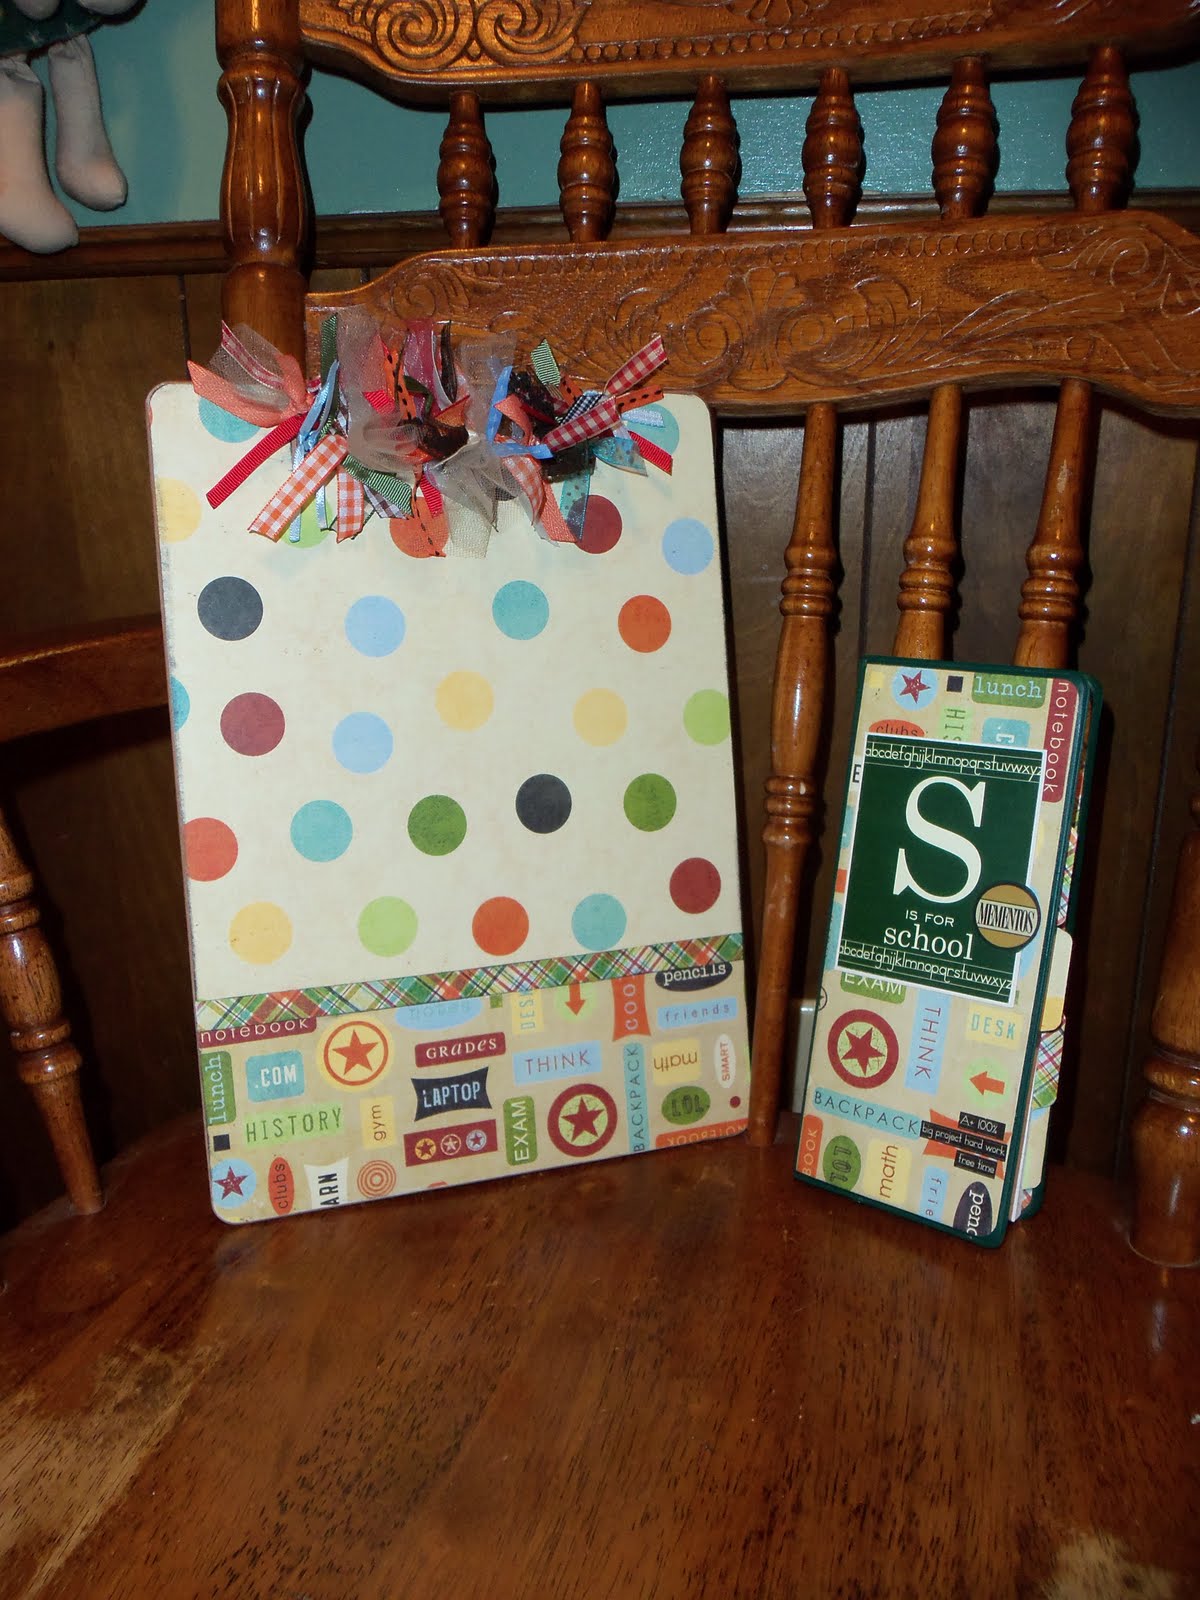
On Tuesday, Sam took his teacher a clipboard. (Ethan's teacher actually had Sam last year, so she has already received a clipboard.) She got this school themed purse size notebook.

On Wednesday, they each got a pail full of goodies. These were just regular pails that I found in the Target dollar aisle that I covered with strips of map (can you tell I like maps?).


Then on Thursday, the boys took school themed subway art. I downloaded the image from

www.eighteen25.blogspot.com. (rockin' blog full of rockin' ideas, by the way!) My hubbie spray painted a couple of frames, and voila! Pretty cute gift!


On Friday, the boys took each teacher a school themed mini album- ready for the teachers to add their own photos and memories from their years of teaching. I hope they won't feel overwhelmed by this!


On a different note, my hubbie and I took the boys to see Thor yesterday. What a great movie! We all really enjoyed it. It was funny, easy to follow (even for me- a girl who has no knowledge of Thor:), and the actor who played Thor- let me just say, "Whoo!"


One ought every day to hear a little music, read a good poem, see a fine picture and , if possible , speak a few reasonable words.

-Johann Wolfgang Von Goethe

Tuesday, February 8, 2011

Valentine's Craft with Vintage Spools


Here's a little something I made out of some vintage spools I picked up at a thrift store. I wrapped the spools with pattern paper and sheet music, stuck pencils out the top (covered them with twine), and attached hearts that I had cut out with my Coluzzle.
Got the idea from a Christmas set that I saw on this rockin' blog:
http://www.scrappergirl.typepad.com