Have you been wanting to start scrapbooking, but don't know how?
Or have you hit a wall with your scrapbooking and not completed a layout in awhile?
Then you're in the right place.
I'm going to show you how to complete a layout from start to finish.
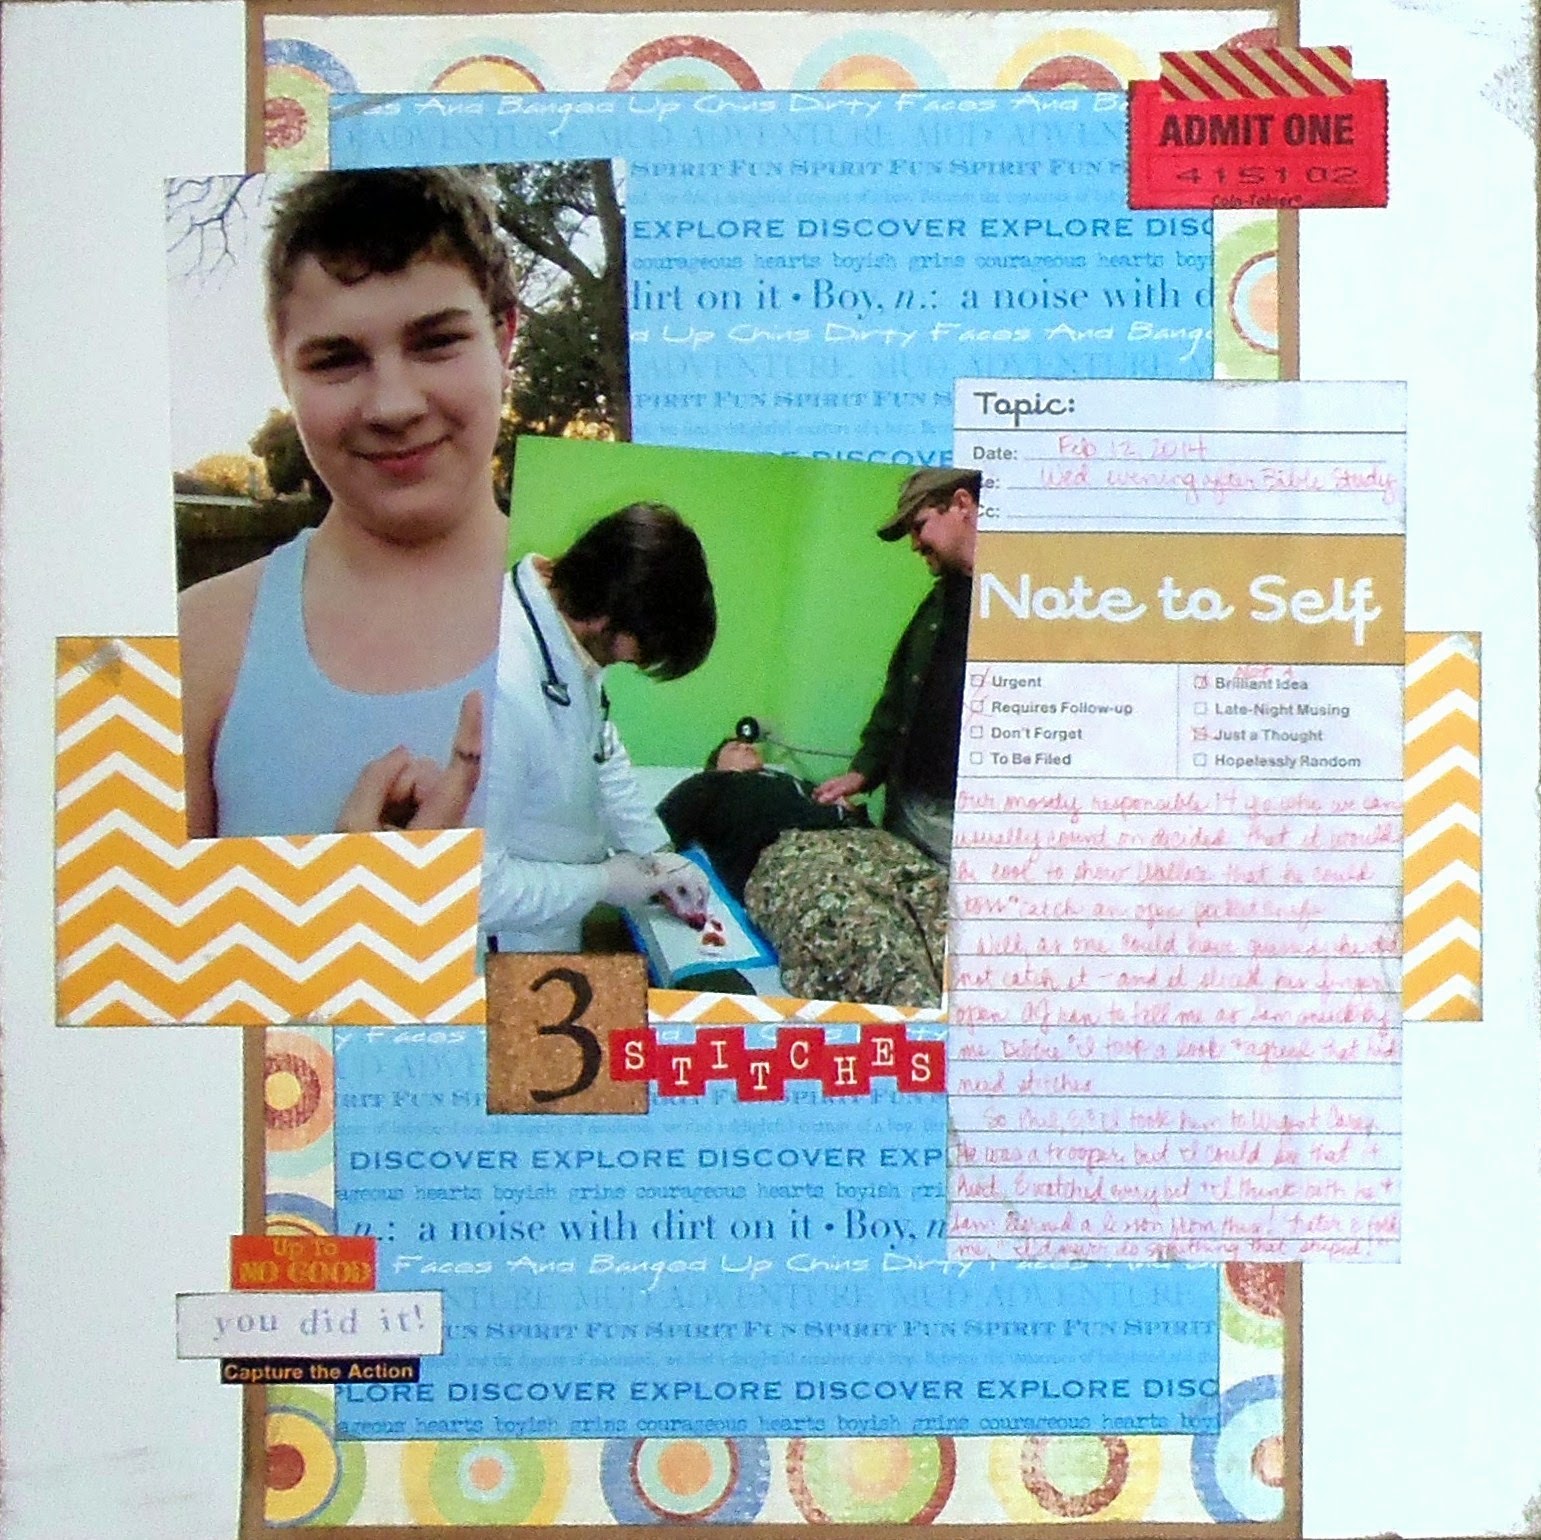
Here's the layout that we'll be creating.
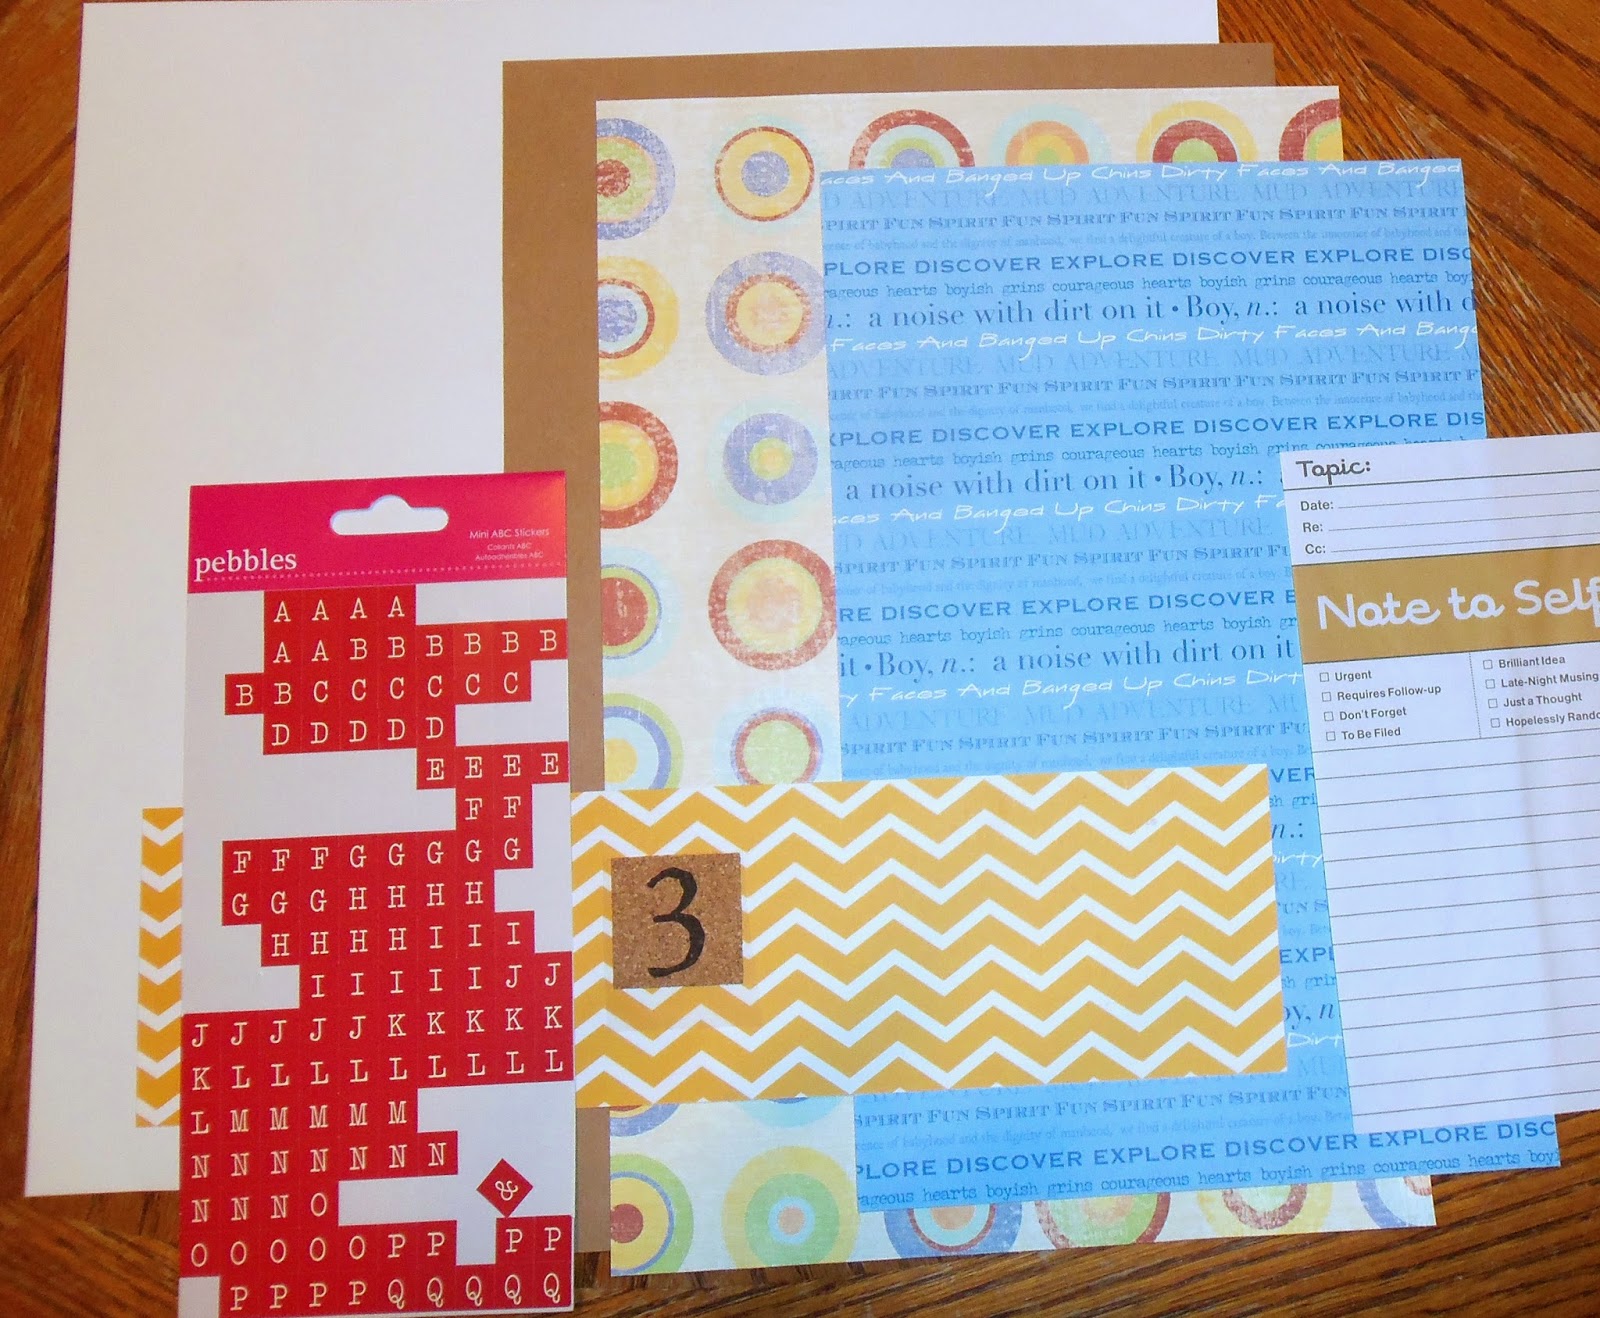
To make it, you'll need
one piece of 12"x 12" cardstock
one piece of 12"x 8 1/4" cardstock
one piece of 11 3/4" x 7 3/4" pattern paper
one piece of 10 1/2"x 6 3/4" pattern paper
one piece of 3"x 11" pattern paper
letter stickers for the title
journaling card (an index card will do)
embellishments in your theme (I used a ticket, decorative tape, and three word stickers)
paper trimmer
adhesive
two vertical photos
Don't be intimidated by all the measurements and different pattern papers.
Once you cut them all, the layout will go together in just a few minutes.
Also, don't be afraid to mix patterns.
You can do this! :)
First, adhere the 11 3/4" x 7 3/4" pattern paper centered on the piece of 12"x 8 1/4" cardstock.
On top of those two, adhere the piece of 10 1/2"x 6 3/4" pattern paper.
Next, adhere that stack centered on your 12"x 12" cardstock.
Now place the 3" strip of pattern paper centered on the background.
Now place your two photos slightly overlapping on the left side of the background.
Write your journaling on the card and adhere it to the right of the photos.
It should slightly hang over the background pattern papers.
I used a sheet from a Note to Self notepad that I found in the dollar section at Target.
Place your title along the bottom of the photos.
Place your embellishments at the upper right corner of the pattern paper and the
lower left corner of the pattern paper.
I used a strip of decorative tape to adhere a ticket in the upper right corner.
then I stacked three word stickers at the bottom left corner.
That's it! We're done. Pretty easy, huh?
Thanks for stopping by and God bless.
Trust in Him at all times, you people;
Pour out your heart before Him;
God is a refuge for us.
Psalm 62:8


No comments:
Post a Comment