I get a kick out of repurposing items and using them for something other than
their original intended purpose.
Today's project does just that.
their original intended purpose.
Today's project does just that.
I used paper lunch sacks and turned them into cards.
In this day and age, sending cards in the mail is rarely done.
I love when I go out to the mail and get something other than junk mail or bills.
This is a great way to use up your paper scraps and make somebody's day all at once!
For this card, I used a white sack.
To make it, I just laid the sack facing me so that the flap was facing up and on the right side. Then I folded the two inner corners on the flap. I brought the open end of the sack to tuck under that flap then and folded it.
All that left was covering the front panels with some pattern paper
and adding your greeting.
For most of my greetings, I printed the sentiments out from my computer.
This one says, "For Our Anniversary"
The inside reads, "There are times we must ask ourselves how much do I love this person and my answer- words could not explain just how much."
I printed this on white cardstock, adhered it to the inside, then added two photo corners.
Easy-peasy.
Sometimes you can even find stickers or stamps that already have messages like this.
This card is a brown paper bag folded in half.
I added a piece of pattern paper,
then used a large stencil letter with different pattern paper behind it.
Then I added letter stickers to finish off the words, "Thank you."
The last thing I did was add a ribbon and tie it on the front.
To simplify it even futher, you could eliminate the stencil letter and just use stickers for the words.
On the inside, I used a stamp to add a message that says,
"Just wanted to thank you with all my heart."
The beauty of using the paper bag this way is the flap can be used as a gift card holder.
All you would need to do is place the message below the flap and tuck the card into the opening.
This is another trifold card folded the same way as the first.
I used a brown paper bag for this one.
The tag on the outside says, "True Friends."
On the inside, I placed a pre-prnted tag that says,
"True friendship is seen through the heart, not the eyes."
This card was made with the flap facing up on the left side.
I folded it at the edge of the flap, then brought the other side to meet the first side
which made a gate fold.
which made a gate fold.
Then I placed a tag on the left side.
It overlaps the right side without attaching (that way the card will still open.)
It overlaps the right side without attaching (that way the card will still open.)
The inside has pattern paper just on the middle panel with a message printed on white cardstock
that says, "I'm so lucky to have a friend like you."
that says, "I'm so lucky to have a friend like you."
For this card, the flap was facing up on the right side.
I folded it over, then folded the left side of the bag on top of that so it didn't quite go all the way to the right edge.
I covered the front with a piece of pattern paper and added a Birthday Wishes sticker.
Then I covered the right flap with paper.
And printed a message on a pattern paper and adhered it to the center panel.
It says, "May all your dreams come true. Happy Birthday!"
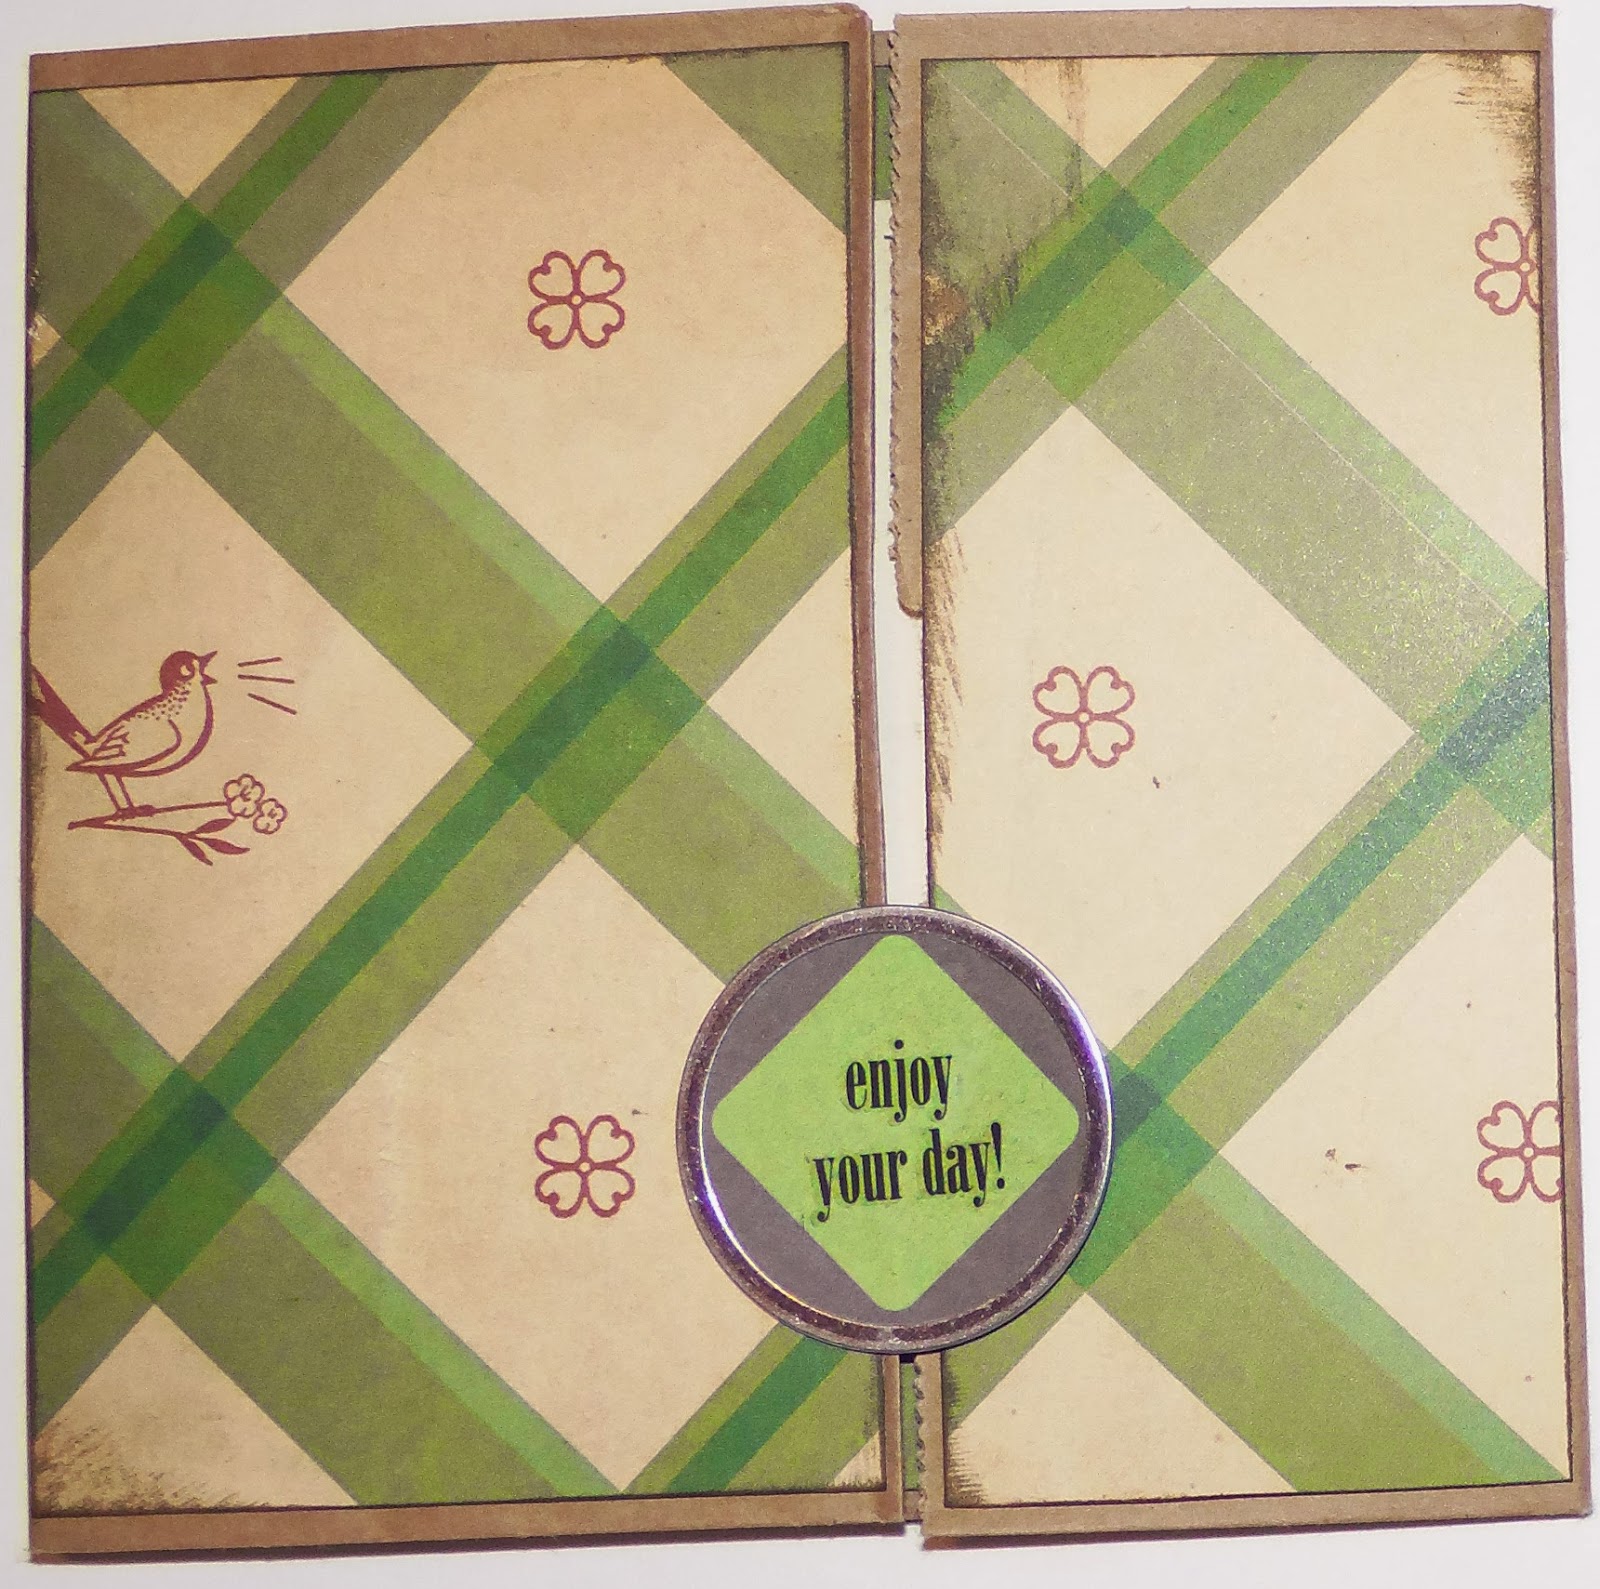
This one is folded like the previous pink and brown gate fold card.
The tag on this one says, "Enjoy your day!"
All I did was put a piece of plain cardstock on the middle panel,
then added a smaller piece of beige cardstock for a note to be written.
This card is a paper bag folded in half with pattern paper added to the front.
On the inside is another pre-printed tag taht says, "May you and your little darling be blessed always with love and joy in your hearts."
See how easily you can whip up a card like this?
Who doesn't have lunch sacks sitting around unused in their kitchen?
To store all of my paper bag cards, I used a slightly larger sack and trimmed off the bottom 4".
Then I covered each side with pattern paper and added a tag to the front that says, "Cards."
To make it sturdy enough, I trimmed cardstock to fit along the inner walls.
Then I added a strip of ribbon along the outside.
Ta-da!
So easy that you could keep a few on hand for card giving occasions.
Easy enough that you can whip one up in a few minutes when you need one.
Even easy enough, your kids could make them!
Thanks so much for stopping by and God bless.
He has made His wonderful works to be remembered
Psalm 111:4
This post is linked to Too Much Time On My Hands, I Heart Naptime, Skip to My Lou
and Daisy Cottage Designs.


No comments:
Post a Comment