Hi Guys! I meant to get this post out much earlier, but I didn't get a chance until after music lessons, making dinner, washing dishes. . . you get the picture:)
Today I have a mini album made entirely of business size envelopes. It's really quite easy.

Here's the album I'll be showing you how to make.
I am excited to get the photos scrapped from our Spring Break camping trip.

To create it, you'll need
business size envelopes- we'll be placing photos on the fronts and backs, so you'll determine how many envelopes you need by how many photos you'll be using (I used 10 envelopes)
2 pieces of 12"x 12" white cardstock
letter stickers for the title
two pieces of coordinating pattern paper measuring 6 1/2"x 3 1/4" and 6 1/2" x 1 1/4"
stickers in your theme
office rings for binding
hole punch
paper trimmer
adhesive

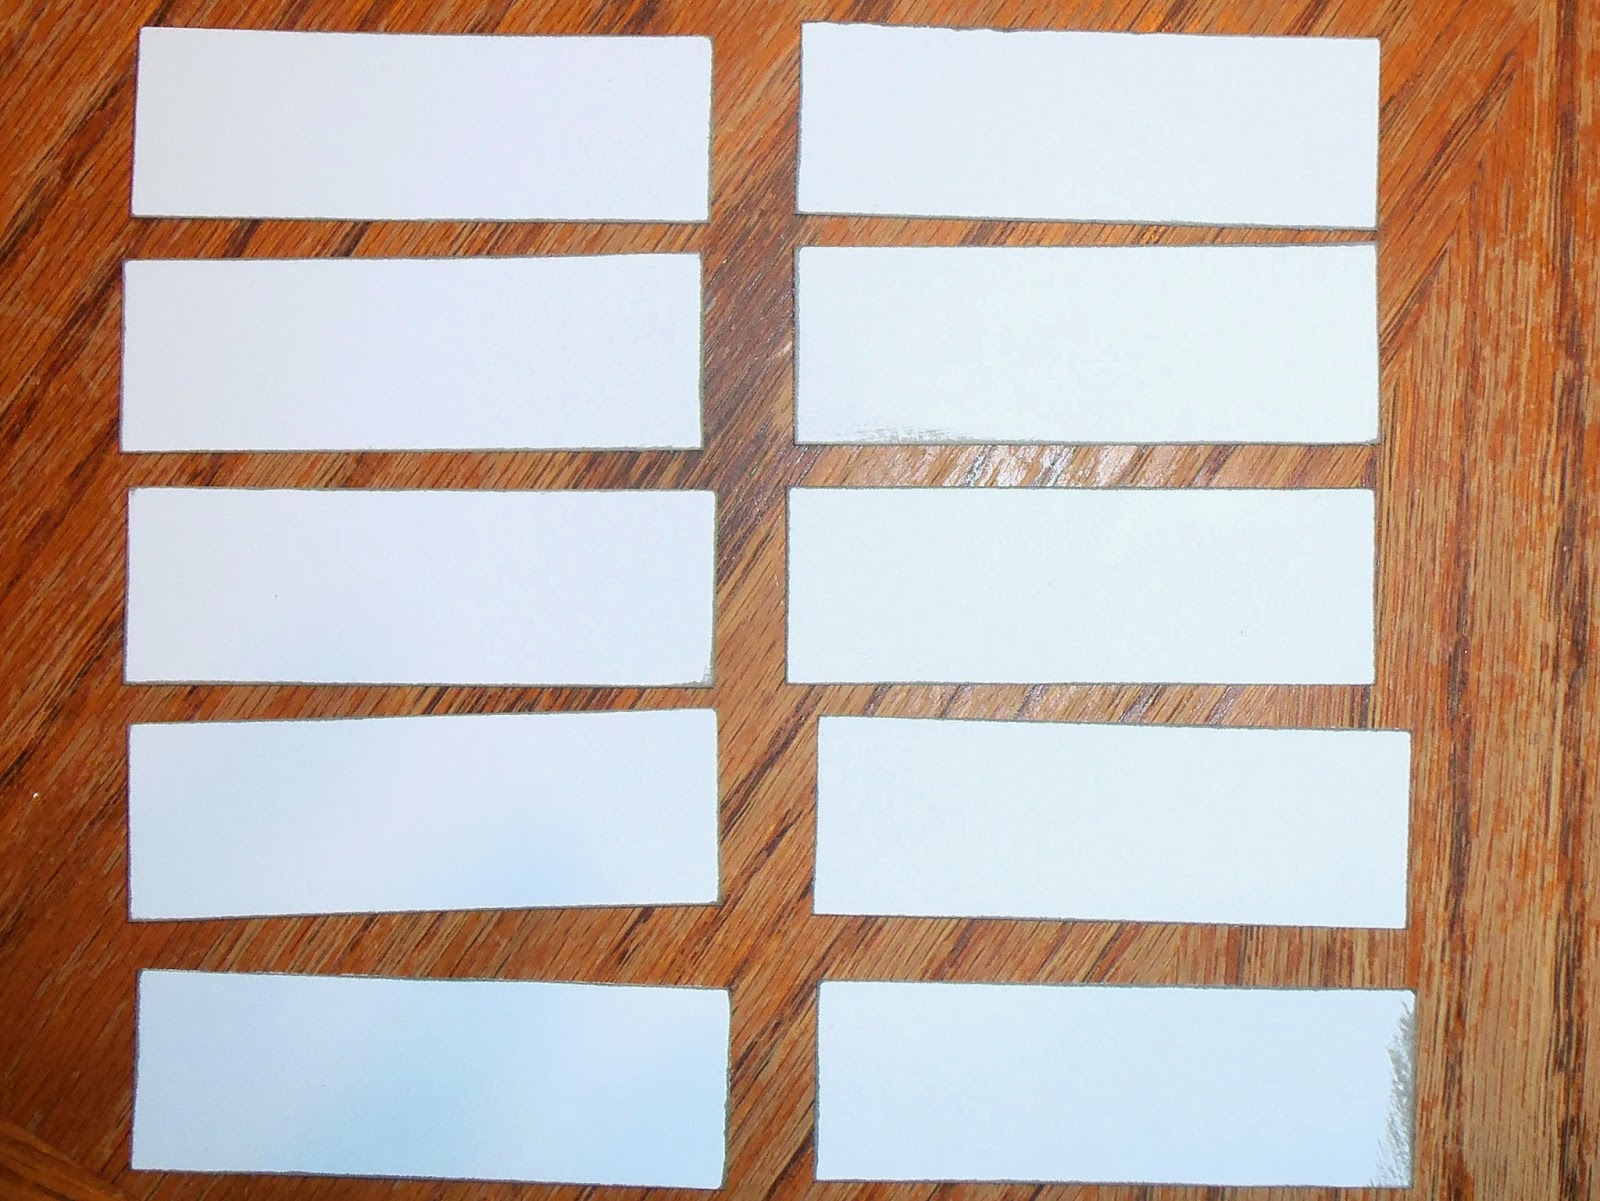
Start by trimming your envelopes to a length of 7".
We'll be placing the open side to the outside of the book so that all the pages will have pockets.

Adhere photos on the fronts and backs of each envelope.
I slid mine next to the outer edges and left white space near the binding.

Punch holes in all the envelopes and bind them with office rings.
I used my Zutter which punches holes and attaches wire binding.

Now cut the white cardstock to 6" x 4".
Adhere photos to each piece.
These pieces will tuck into the pocket pages.

For the cover, adhere the pattern paper measuring 6 1/2"x 3 3/4".
I cut part of a map for mine.

Then adhere the other piece of pattern paper measuring 6 1/2" x 1 1/4" about a half inch from the bottom of the other pattern paper.

Using your letter stickers, place your title along the right edge of the cover.

Add a sticker to the left of the title.
Using some of your white cardstock, trim pieces to 1"x 3".
These will be for journaling throughout the book.
Here's how my book turned out.

See how I placed the small journaling cards overlapping the photos?

I didn't add journaling to every photo,
just where I had a story to share.

I also added a few stickers here and there along the edges of the photos.

Remember how I added photos to white cardstock?
Well, I placed one of these in each envelope.

The beauty of this album is you can make it however long or short you'd like.

In my very last page, I placed a couple of pamphlets from our trip (I folded them so they'd fit).
That's it. Pretty easy, huh?
This is a quick way to get photos in an album without worrying about being too fancy.
I do love keeping things simple:)
on mini albums made from envelopes.
Thanks for stopping by and God bless.
Give to everyone who asks of you.
Luke 6:30
1 comment:
Nice idea. Your album looks great. I make ephemera journals (using a Zutter) and include a few vintage envelopes in each journal. I'd never thought of making on entirely out of envelopes. So clever!
Post a Comment