Do you ever pick up a piece of 12"x 12" paper that already has a title printed on it?
It looks so cute, then you get it home and wonder just what to do with it.
Well, today's tutorial will give you an option.
Don't turn away if you don't have a piece of paper like this- you can use letter stickers and add your own title to your paper.
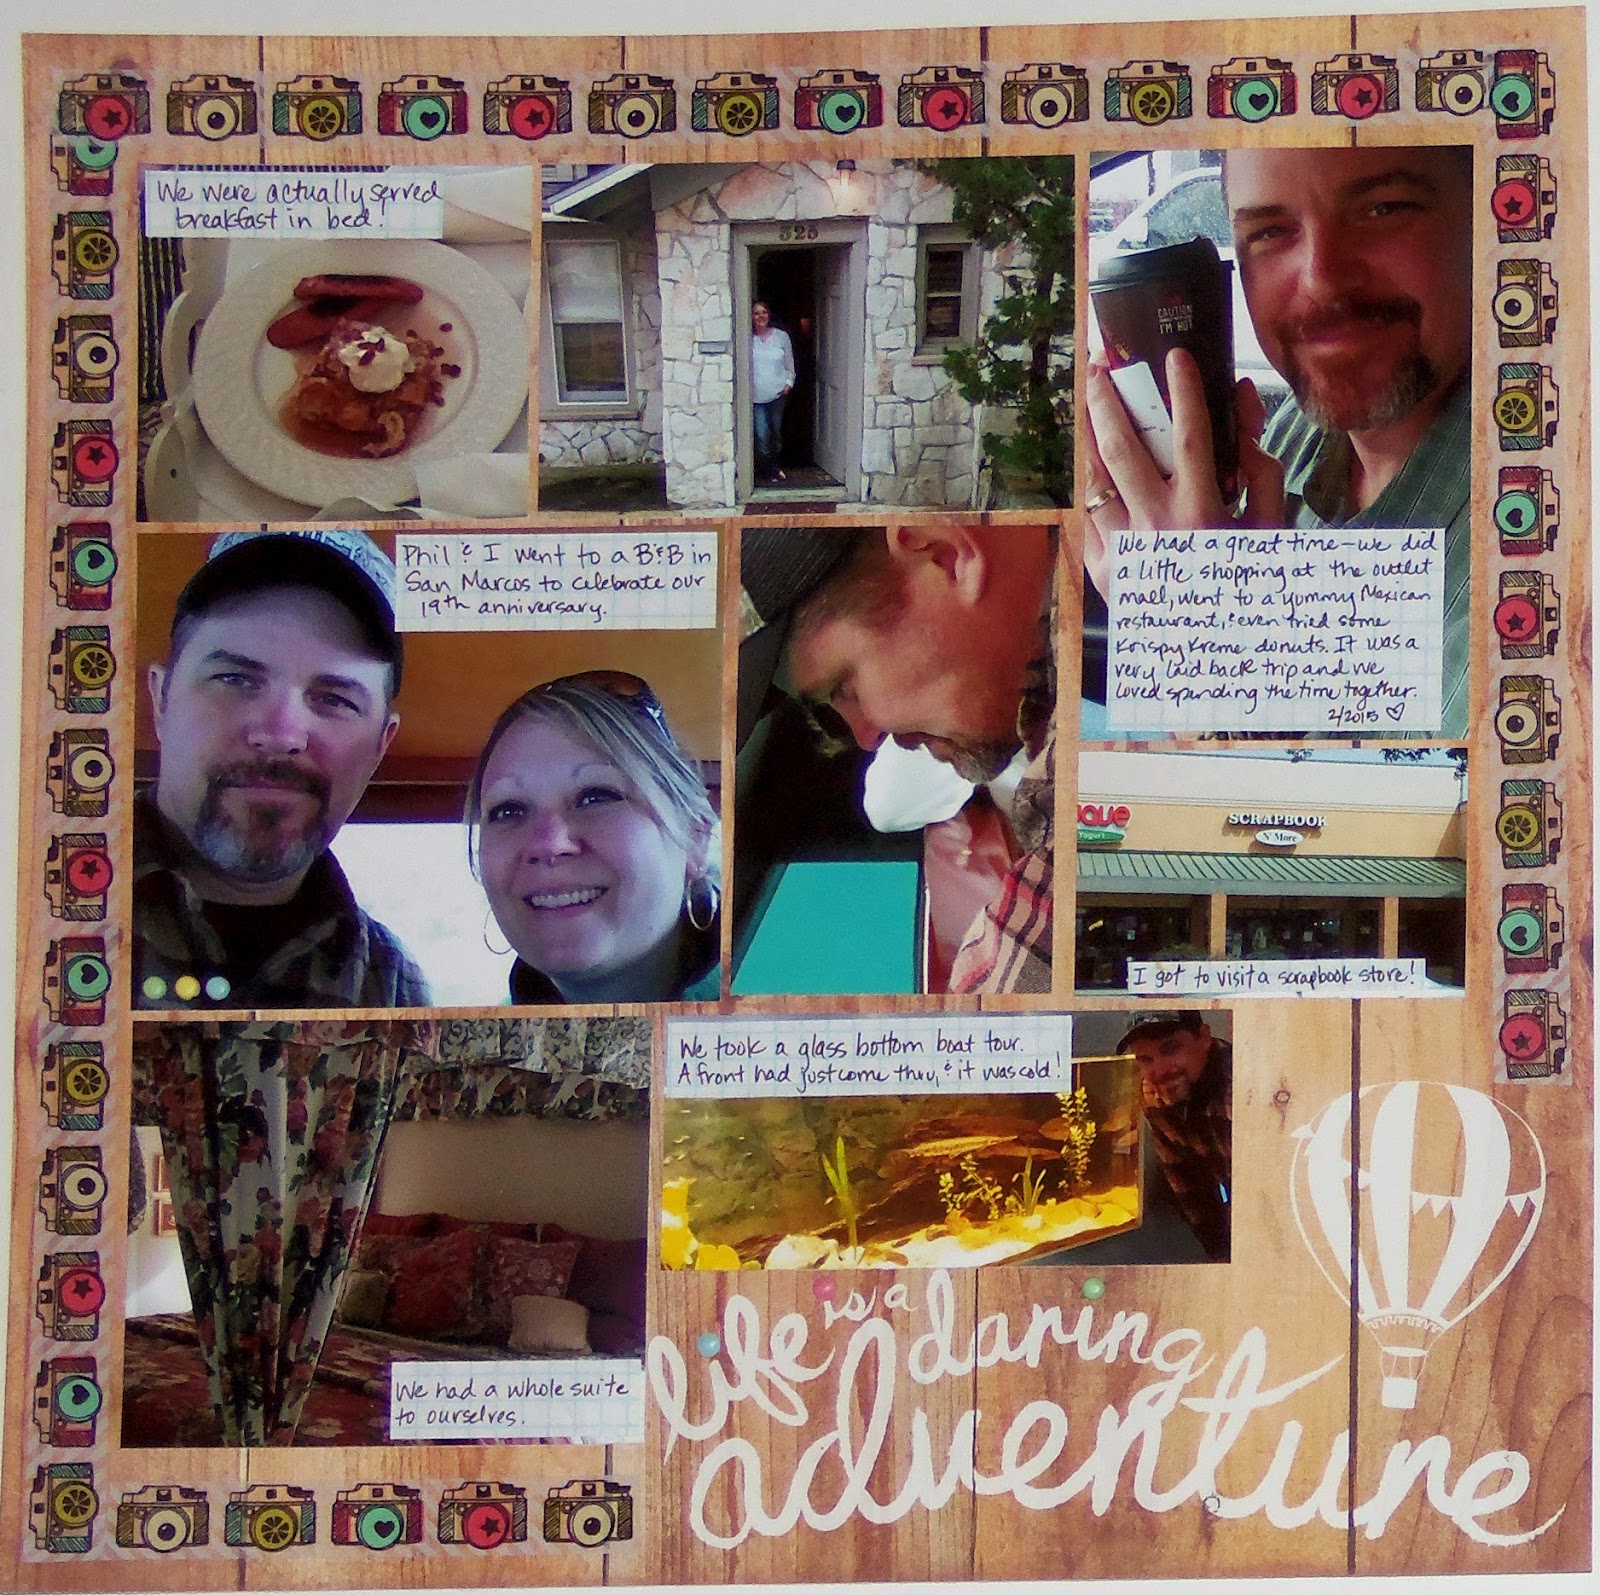
Here's the layout we'll be creating.
Yours will be slightly different, as you'll be using paper you have on hand.

To make it, you'll need:
one piece of 12"x 12" pattern paper
one roll of decorative tape
paper for journaling (I used graph paper)
pen
several photos
paper trimmer
adhesive
optional: letter stickers for the title if your paper doesn't already have one
tiny brads

Start by placing strips of decorative tape around the edges of your paper.
If you'd rather, you can use strips of pattern paper instead.
If your paper doesn't have a pre-printed title,
then add a title to the right lower corner using letter stickers.
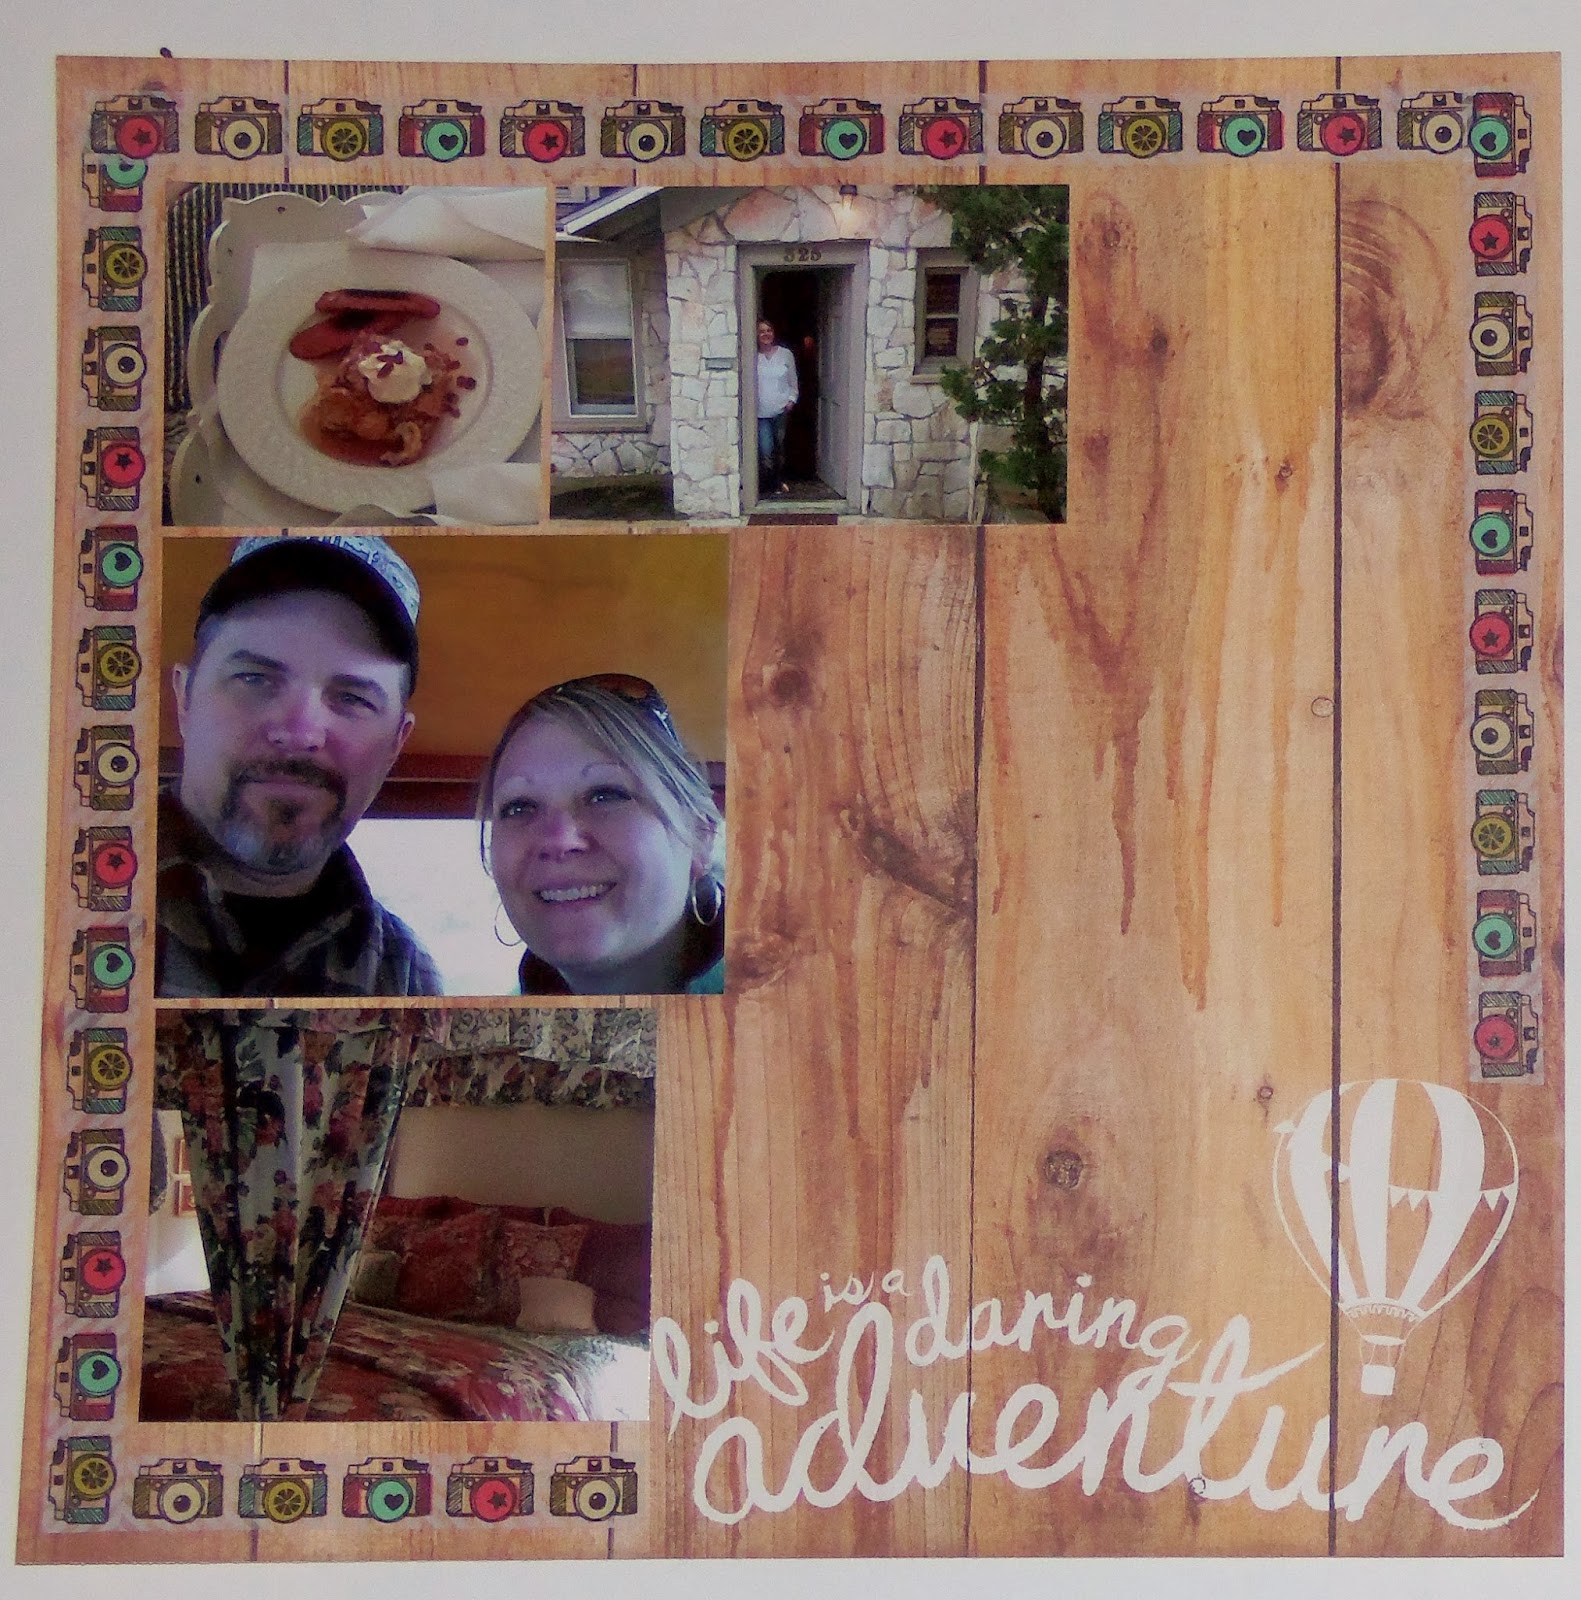
Now start cropping your photos to make them fit in the center space.

Keep going until your center space is filled with photos.
I made eight photos fit, but some of my are cropped quite a bit.

Write captions for your photos on your paper and trim them to fit.
I placed mine overlapping some of my photos.

As an optional last step, I placed three small colorful brads at the bottom left corner of the second photo on the left. I also placed three in my title to dot the i's.
This added a pop of color.
That's it- you now have one completed layout!
Thanks so much for stopping by and God bless.
Continue earnestly in prayer,
being vigilant in it with thanksgiving
Col. 4:2
1 comment:
very beautiful layout!
Post a Comment