
It's been awhile, but I got back into the scrapping mode today. :)
I grabbed a few pieces of pattern paper and a handful of photos and came up with this layout.
Follow along to see how to make it.

To create it, you'll need:
one piece of 12"x 12" pattern paper
two strips of pattern paper measuring 1/4"x 12" (or you can use decorative tape)
one strip of pattern paper measuring 1/2" x 12" (or you can use decorative tape)
two strips of pattern paper measuring 1"x 6"
one journaling card (an index card will work if you don't have one)
letter stickers for title
embellishments in your theme
6-7 photos
paper trimmer
adhesive

Place 2 or 3 vertical photos along the right side of the 12"x 12" pattern paper making a photo column.
Two will fit without trimming, but if you use three, you'll have to crop them to fit.

Place your 1/2" x 12" strip of pattern paper along the right edge of the paper overlapping the photos.
Place one strip of pattern paper measuring 1/4" x 12" along the outer right edge
overlapping the first strip.

Now we're going to make two rows of photos that will butt up to the column of photos.
You'll want to figure out what size to trim your photos to to make them fit.
(Mine measure 4"x 4" and 4" x 3".)
Place your two taller photos in the center of the page next to the first photos.
For the top photo, I only placed adhesive along the bottom edge with two mini Glue Dots in the upper corners. That way I can hide my journaling card behind the photo. If you'd rather place your journaling card here instead of using a photo, that will work, too.

Place your final two photos along the left edge of the background paper. You'll want to use your shorter pictures here.
They should butt up to the middle photos.
(My photos measure 3"x 4" and 3"x 5".)
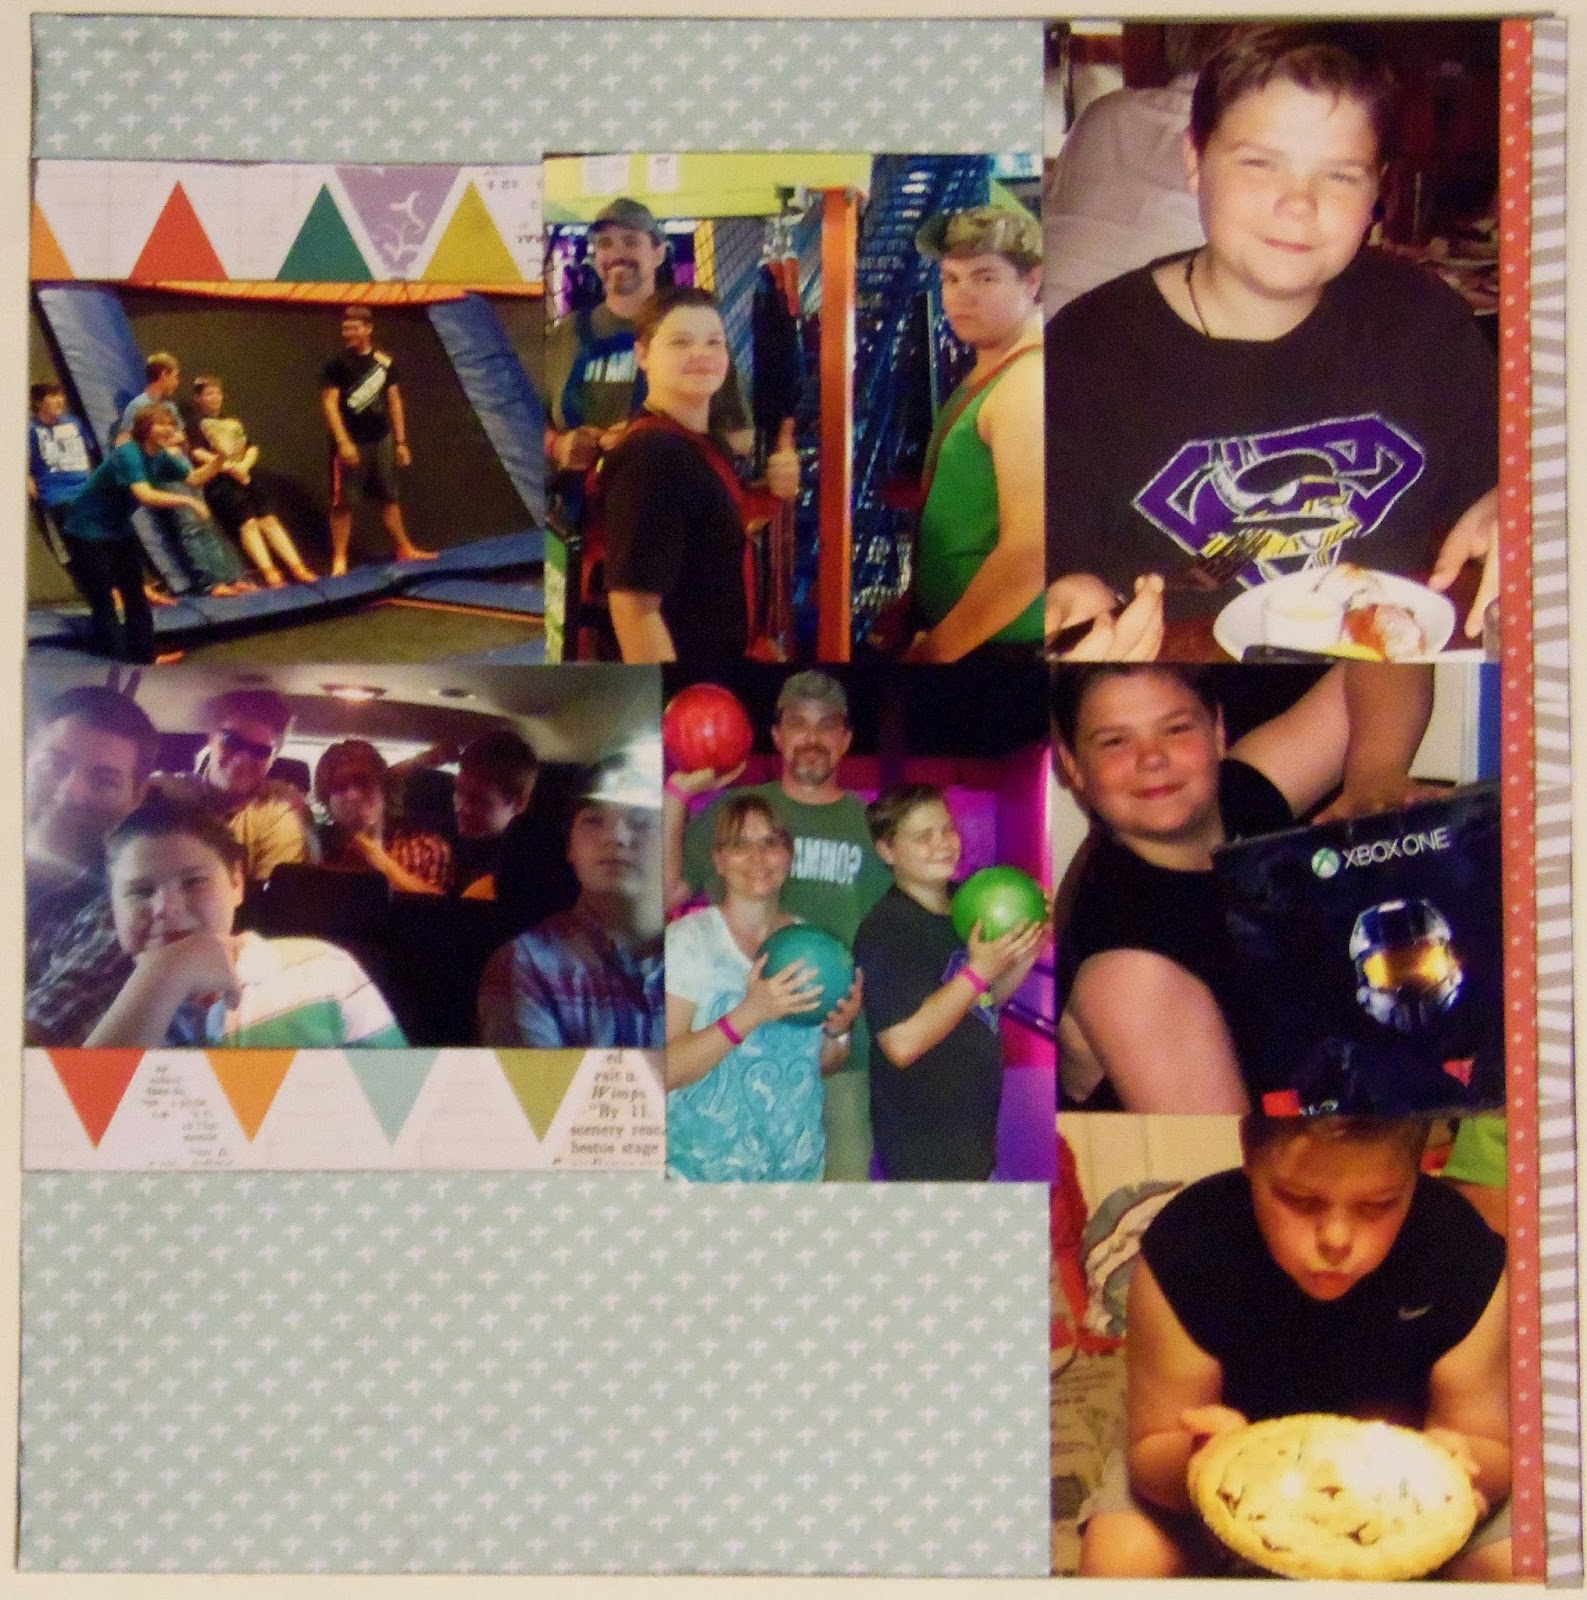
Now place your 1"x 6" paper strips above and below the photos on the left.
My strips were a bit long for the space, so I trimmed off the excess.

Place your final strip measuring 1/4"x 12" along the bottom edge of the photos.
Trim off the excess.

Place three embellishments in the upper left corner in the space above the photos.
Tuck your journaling card behind the top center photo.

Using your letter stickers, place your title in the space below the middle photos.
I used three stickers for my title.
Place an embellishment along the right edge of the vertical photo strip
and one more along the bottom left photo.
That's it!
I think it's a fun layout, and I love that it features quite a few photos.
If you enjoyed this, stop by every other Wednesday and complete a new layout with me.
Thanks for stopping by and God bless.
So then each of us shall give account of himself to God.
Romans 14:12
This post is linked to Gingersnap Crafts, Between Naps on the Porch, A Morning Cup of Joe,
I Heart Naptime, and I Gotta Create.
No comments:
Post a Comment