A project that's near and dear to my heart is keeping a month by month scrapbook.
Every January, I prepare an album that has a layout for each month of the year.
That way I can print the photos I take for the month and put them right into this
already prepared book.

Here's my 2015 album.
The cover is an old book cover.

Each layout has a journaling card that says what month it is,

a piece of double sided pattern paper with lots of room for photos,

and an envelope to hold little mementos that I pick up throughout the month.

Here is February's layout.
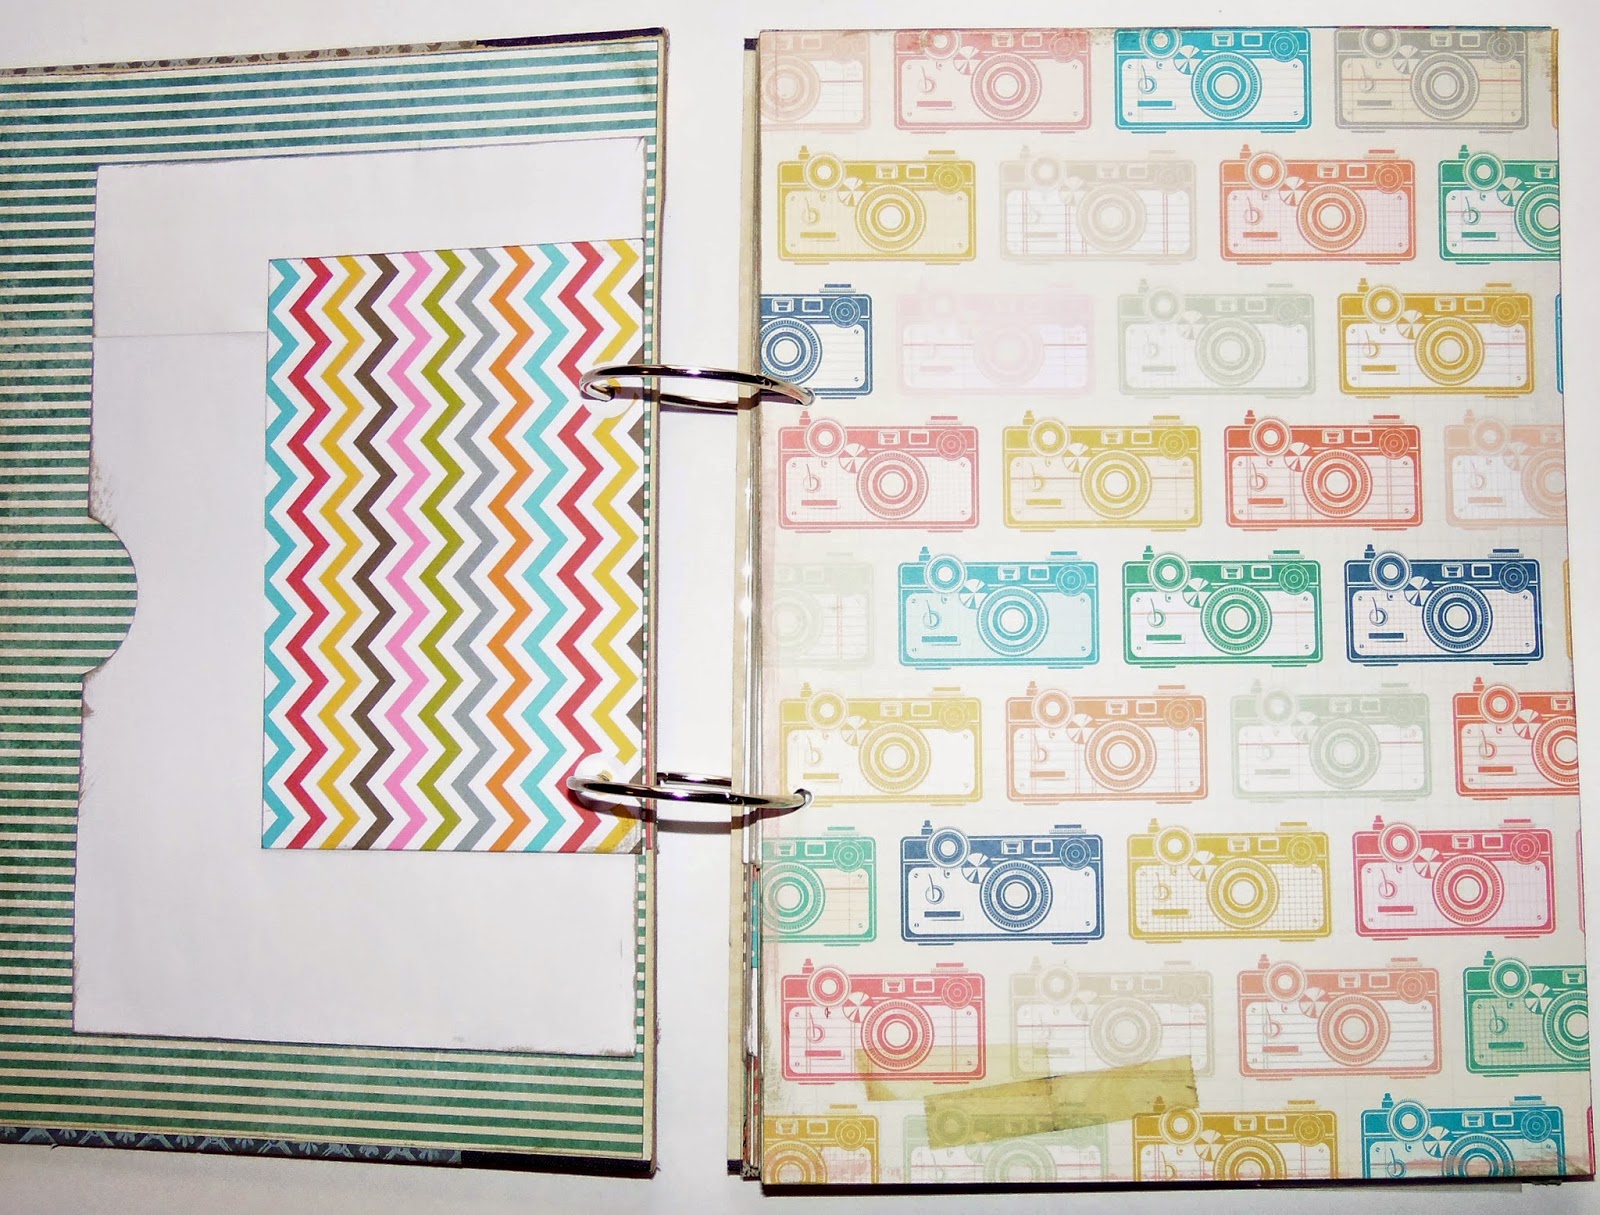
The beauty of binding it with office rings is that I can always add to it.
If I take lots of photos one month, then I can add another piece of pattern paper or cardstock to hold the pictures.

If I get a large memento that won't fit into my envelope, I can just punch holes
and add it to the book.
and add it to the book.

Here is the March layout.
See how they're all similar?

That's what allows me to put it together quickly.

After photos are added, each layout will be very unique.
If you would like to make an album like this, here's how.
It's really not hard at all.

Get a large book that you won't feel bad about cutting up.
My book measures 8"x 11 1/4".
I found it at the thrift store.
I went with one that has a simple cover- you could use a cover with an image on it.
An old children's book would be great.

Use a ruler and a box cutter and cut off the front and back covers.

You should end up with something like this.

You need 12 pieces of double sided pattern paper.
I used this coordinating line from Maggie Holmes.

Trim each piece of pattern paper to fit in your book.
It's always good to go about 1/4" smaller than the size of the covers.
I trimmed my pages to 7 3/4"x 11.

You'll need 6 envelopes that measure 9"x 12".
You could use the large manilla envelopes; I happened to have these white ones on hand,
so that's what I used.

Cut each envelope in half. This way you'll have one for each month.
Depending on what type of envelope you use, your opening may be at the top.
Either top opening or side opening will work. You just want to have a place to put extra stuff.
I used a circle punch to cut a notch out of my openings.
I also used my scraps and placed a strip of pattern paper near the bottom of each envelope.

Finally, you'll need two office rings (they should measure 1 1/2" or 2").
I bought a set of Snap cards that have two cards for each month.
If you'd rather, you can use index cards and stamp the month onto each one.
Now you have your cover, your pages, your envelopes, your month cards, and your office rings.
Punch holes in all the pages and bind with the office rings.
One thing I always do when I bind an album with rings is place hole reinforcers on the holes
on the backs of each page.
Add all your pages, then you'll be ready to add photos at the end of every month!
I find that keeping an album like this is such a fun way to document our year.
It also lessens the need I feel to scrapbook all the photos I take.
Thanks so much for stopping by and God bless.
I will praise the Lord with my whole heart
Psalm 111:1
This post is linked to Between Naps on the Porch, Tip Junkie, I Heart Naptime,
and Plucky's Second Thought.
and Plucky's Second Thought.
3 comments:
I really love this idea. How do you punch the holes in the book covers?
This is such a cute idea! I'm kind of an old-fashioned scrapbooker and do big albums, but I can see doing something similar to yours for documenting the every day. This is great, and thank you for sharing!
This is SO cute! :)
Thanks for joining the Link Up this week!
Post a Comment