You know how you see some scrapbook layouts that have layer upon layer of different patterns and colors, but they still look good? Do you ever think to yourself, "How do they do that?"
Well, I've thought that before. So today we're going to give it a try- we'll be mixing several different patterns on one layout.

Here's the layout we'll be creating.
See how I've mixed stripes, stars, and polka dots? There's a lot going on, but it all still seems to jive.
I've got two tips to making this work: First, choose a solid color to use as your base.
I chose black.
Second, make sure you have a dominant color that appears in each pattern that you choose.
My dominant color is red.
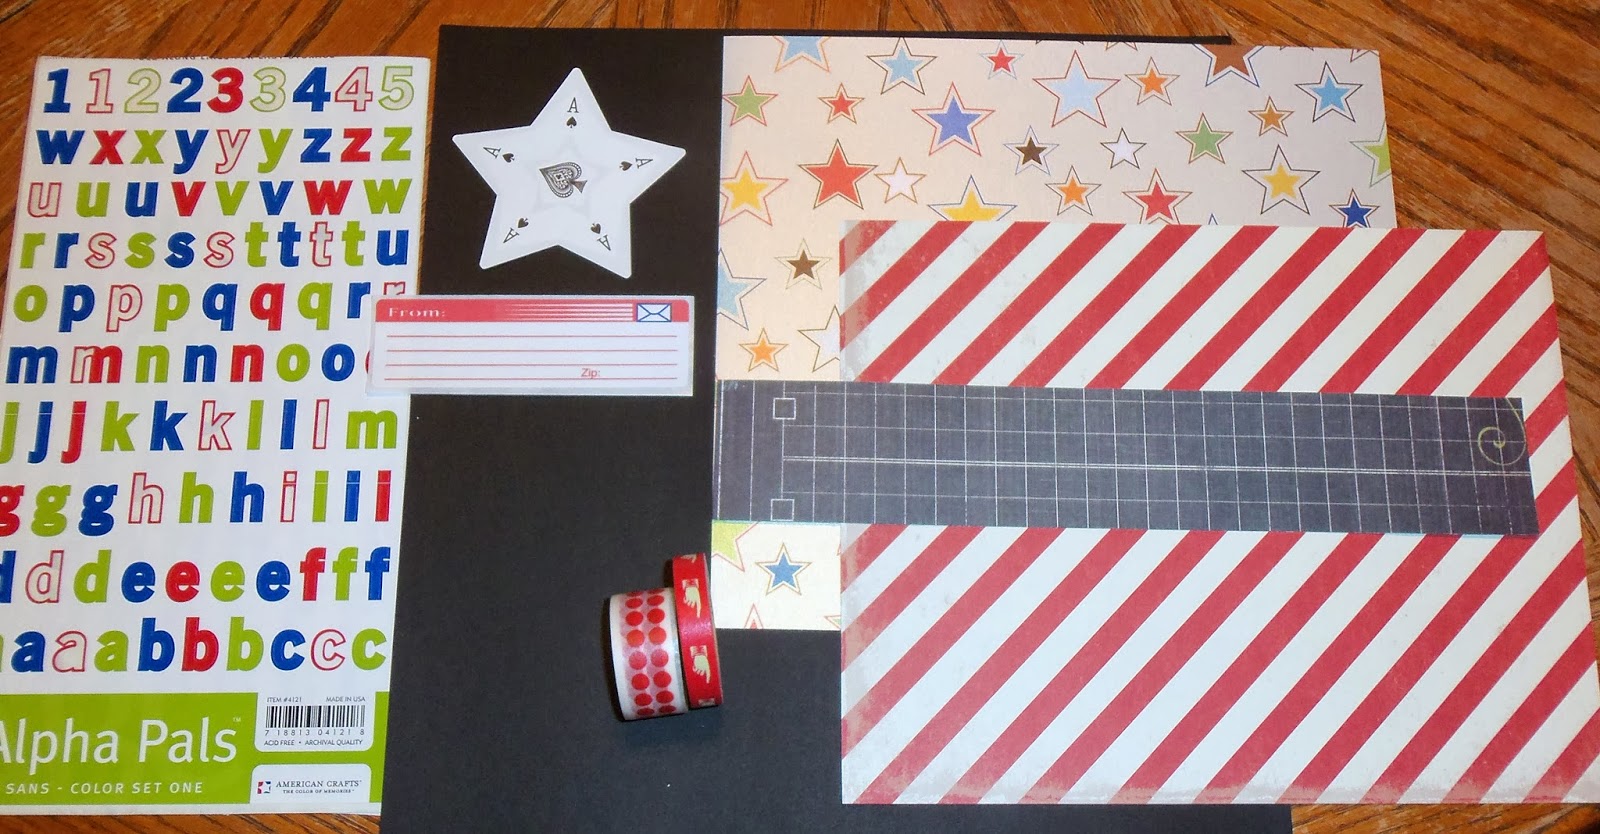
To make this layout, you'll need:
one piece of 12"x 12" plain colored cardstock
three pieces of different pattern papers - make sure they all contain one dominant color
(measurements noted below)
two different pattern decorative tape rolls- containing the same dominant color as your papers
playing card
letter stickers for the title
journaling card- an index card will do
three embellishments that match your theme
adhesive
paper trimmer

Trim your first pattern paper to 8 1/4" x 10 1/2". Adhere it in the bottom corner of the background about one inch from the left corner and about 1/4" from the bottom.

Trim your second pattern paper to 2"x 11 1/2". Adhere it about 1/2" from the right side of the first pattern paper. It should be very close to the bottom of the background.

Now trim your third piece of pattern paper to 9"x 11". Adhere it about 1" from the right side of the cardstock centered from top to bottom.

Next place a strip of decorative tape starting at the top right corner of the cardstock and stretch it about 3/4 of the way across the paper.
I purposely applied my crooked- I wanted to break up all the straight edges.

Now place a strip of your second decorative tape across the bottom of the first piece.
Notice that both of my rolls of tape have red in them.

I used three vertical photos. This would also work with two horizontal photos.

Stagger your photos across the pattern papers.

Place your playing card at the bottom left corner of the photos.
Mine happens to be in the shape of a star, but a regular card will be cute too.

Using your letter stickers, place your title on the playing card.

Place two short pieces of decorative tape across the bottom right corner of the playing card.
Place your journaling card above the photos on the right side.
I used a return address label for mine. If you're using a note card, trim it to 1 1/4" x 4 1/4".

To finish off the layout, place your three embellishments like this: one in between the left and middle photos at the top and one in between the middle and right photos at the bottom.
Ta da! Busy, but not overwhelming. Do you feel a little bit more comfortable about mixing patterns?
Every Wednesday, I try to bring a simple tutorial to show step-by step how to
complete a scrapbook layout. My intention is for you to be able to quickly
complete a layout using items that you have on hand. If I suggest using an item
that you don't have, simply replace it with something similar. If you follow
along weekly, think of how many layouts you'll have completed at the end of the
year!
Thanks for stopping by and God bless.
I have fought the good fight, I have finished the race, I have kept the faith.
2 Tim. 4:7
This post is linked to Embracing Change and My Girlish Whims.
No comments:
Post a Comment