
Here's the layout we'll be creating.

To make it, you'll need:
one piece of 12"x12" white cardstock
letter stickers for the title
journaling card (mine is just from a notepad)
12-14 photos
adhesive
photo trimmer

Choose one photo to be the focal point. This one will not get trimmed.
Lay the rest of your photos around the edge of the cardstock so you'll have an idea of where each photo will go.
Now you can start trimming photos. Keep the focus of the photo centered and trim off the excess. It's ok if you trim off somebody's arms or legs; it won't affect the integrity of the picture.
The pictures that will go along the left and right sides need to be trimmed to 2 1/2" wide. You'll have to determine how tall they should be by spacing them out.
The ones that will go across the top and bottom need to be 2 1/2" tall. Once again, space them out to see how wide they need to be. This way your border will have a symmetric look.

Once you trim your photos, adhere them around the edge of the layout.
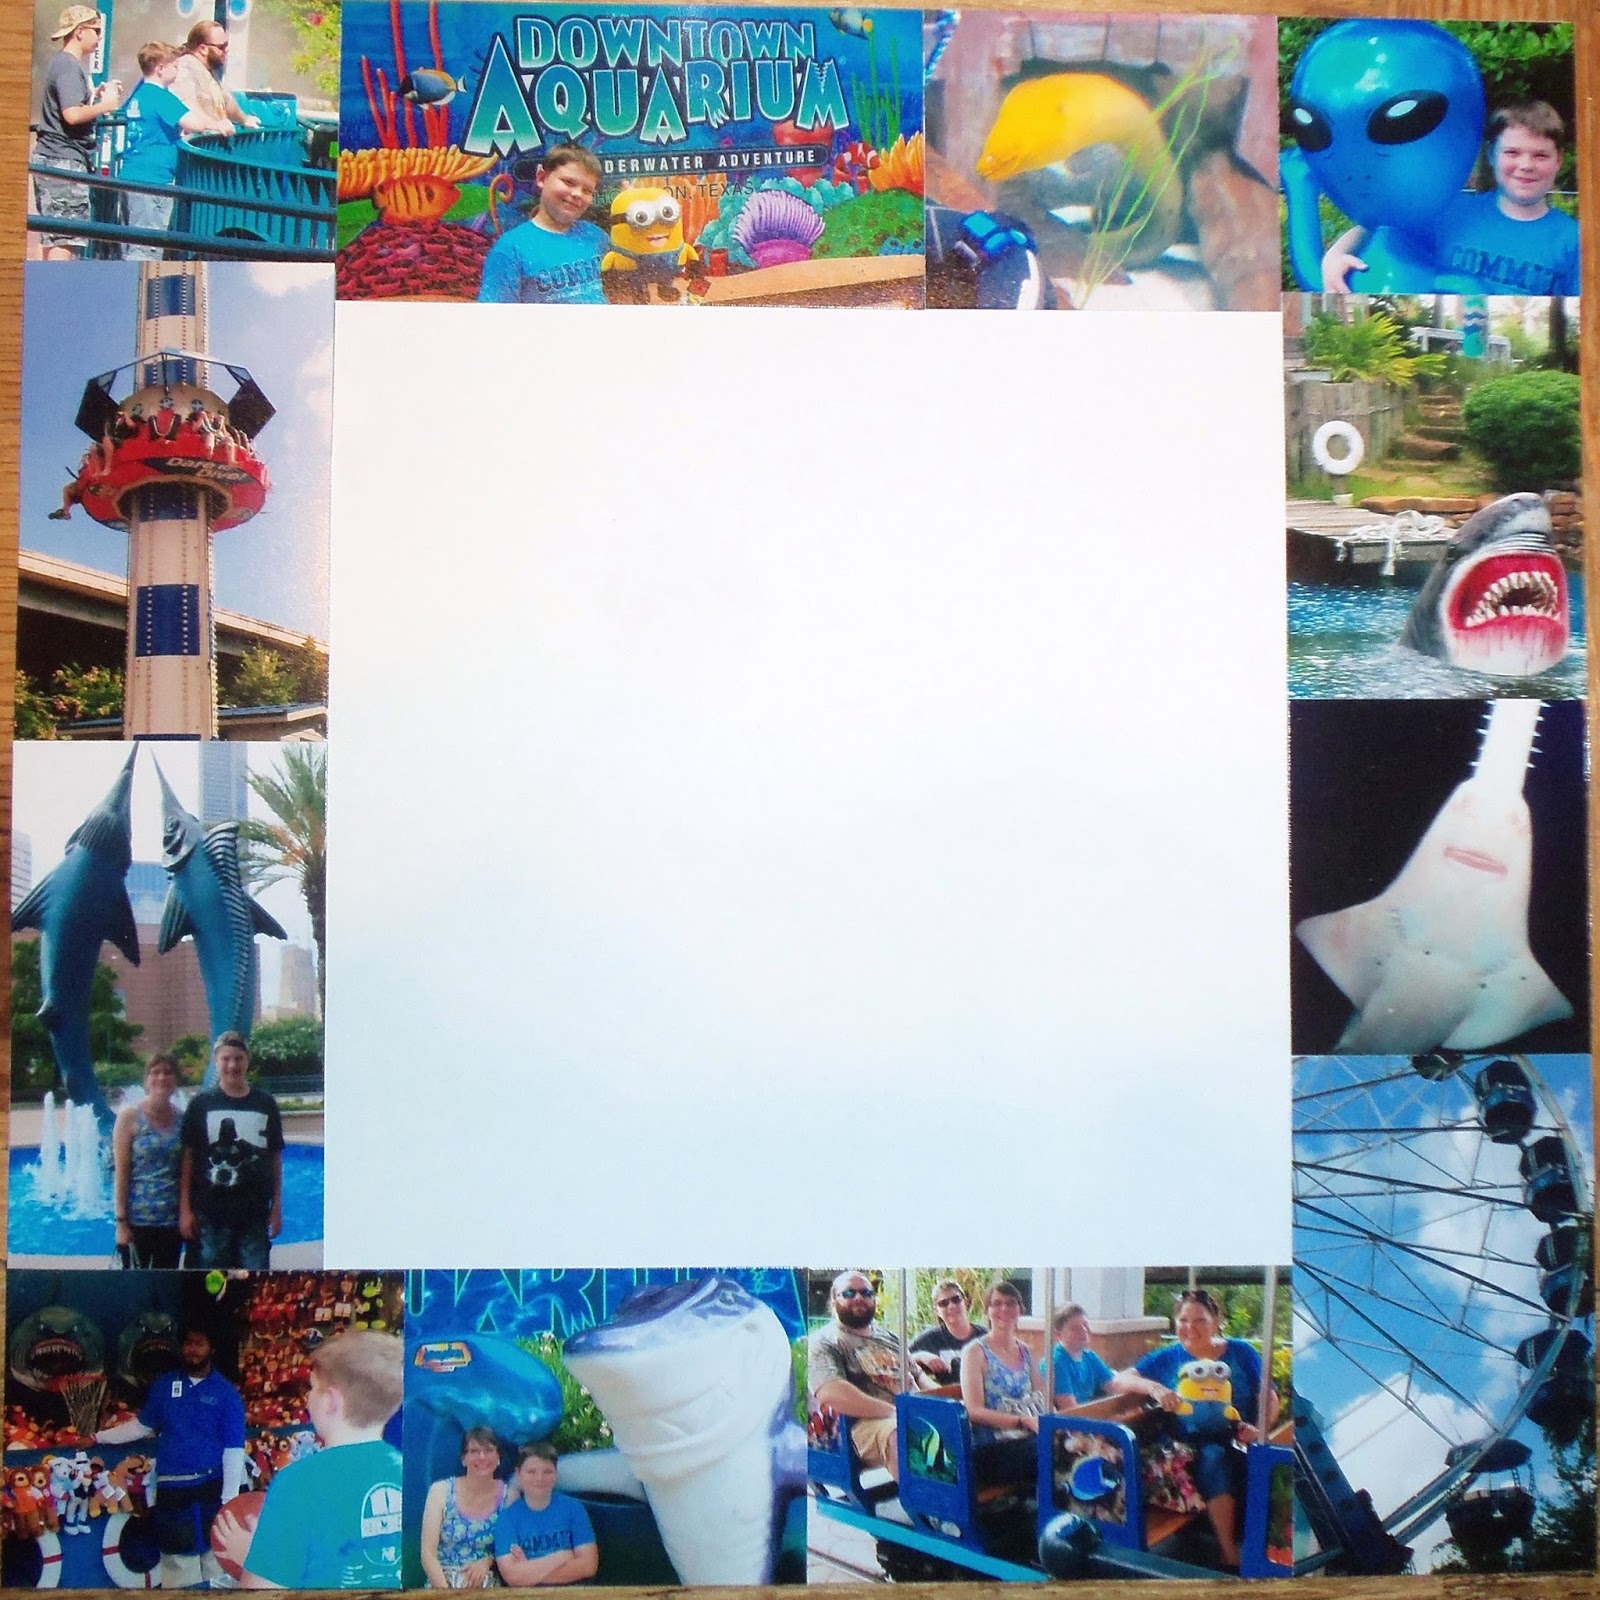
This should create a photo border.

Using your letter stickers, adhere your title above the bottom row of photos.

Now place your focal photo in the upper left corner of the blank part of the background.

Finally, adhere your journaling paper next to the large photo. Mine measures 2 3/4"x5 3/4".
That's it! Look how many photos you can fit onto one layout! I got 13 to fit!
What do you think? Is this something you can see yourself doing?
Thanks for stopping by and God bless.
Commit your works to the Lord, and your thoughts will be established.
Proverbs 16:3
1 comment:
Wow! Great layout!
Post a Comment