Friday, April 20, 2012

Doors in My Livingroom

     A few months ago, I posted a picture of some old doors that my brother had brought me (Thank you Jaremy!). Well, I'll be honest. They sat out in front of my house for awhile. For so long, in fact, that they started to grow mildew. So I took an afternoon and scrubbed them down, then I borrowed my hubby's sander and sanded along the edges. I was so pleased with the outcome.
     The next day, my hubby brought them all into my living room. Well, I'll continue to be honest and tell you that they sat in my living room leaning against some shelves for a few weeks. Okay, maybe a month.
     I thought that I wanted to put them against the one blue wall in my living room and have a "Wall of Doors" effect. We tried it, but it didn't look right.
     So then I thought, how about if the whole wall isn't covered. How about if I just have a few against the wall behind the recliner to balance out the old hutch I have on the other side of the wall.
     Here's what it looks like. What do you think?


See how they balance out the small white hutch? 
     Thanks for stopping by and God bless.


Funky Junk's Saturday Nite Special


toomuchtime

Thursday, April 19, 2012

Thrifty Thursday #13

     It's that time of the week again- when I show off all my newly acquired treasures! This week I only hit 2 thrift stores. The first one I was moving through pretty quickly so I could make it to the second one before picking up my son from school. But I did find this nice frame- never been used. I plan to use it with the fabric I bought last week and some buttons and make a little something.:)

I also got this game- I have never heard of it before, but I love word games!! We'll be trying this bad boy out on our next Family Fun Friday (somehow I'm thinking that the rest of my family isn't going to find it as much fun as I will).
     The second store I went to is relatively new to the area. I've been there three times before with no luck, but I was willing to give them another try. Boy, am I glad I did! I found old books and old sewing patterns- two items that I can't pass up!

Five patterns for $2- all from the sixties!


Five old books for $2- such beautiful covers and graphics!
I have quite a collection of these old books. I need to find a neat way to display them in my living room.


This one is my favorite!

     Quite a haul this week- thanks for stopping by and God bless.
 shabby creek cottage

Wednesday, April 18, 2012

Layout of the Week #9- Using Circles in Scrapbooking

     Hello my Scrappy Friends! This week we're using circles for our Layout of the Week. So break out your circle punches and let's get started!

The supplies you'll need are:
one sheet of 12" x 12" pattern paper
one piece of coordinating card stock
pieces of scrap papers to punch into circles
letter stickers
circle punches
adhesive
scissors
paper trimmer

Optional: The first thing I did was ink and distress the edges. This is pretty simple: just open up your scissors and drag the sharp part along the edge of the card stock. It gives it a "ragged" look.

Then trim about 1/4" off the right and bottom edges of the pattern paper, ink it, and attach it to the center of the card stock.

Now you'll get your random pieces of pattern paper and punch out circles. You'll need 18-23 circles. My circles are 1 3/4". When choosing my scraps, I first chose a striped paper with lots of colors. Then I picked papers that had those colors in them so that they somewhat match.
I inked around these, too.

The circles need to be placed across the center of the page. I started with three circles on the right edge slightly hanging off the edge. Then I did a line of 4, another line of 3, and so on until I got to the left edge of the paper. I like the fact that some of the circles are hanging off the edge- they do need to be trimmed. You'll notice that the top and the bottom of the page doesn't have any circles.

Then mat your photo on card stock and attach it to the left side of the page covering some of the circles.
Place your title above the photo and place some journaling along the right edge of the photo. I used different small journaling stickers and wrote a few words on each sticker.
Adding your own circles like this creates a custom background using only your scrap papers!

Here is another example. I used my 3" circle punch for the large circles. I also punched out smaller circles as accents (1 3/4" and 1").
The bunting is created from circles as well. I punched out circles and folded them in half. Then I stapled them around a piece of embroidery floss. Very easy.


     Thanks for stopping by and God bless.

This post is linked to Blue Cricket Design and


Photobucket


Photobucket


Tuesday, April 17, 2012

Recipe of the Week #13- Poppy Seed Cake

 
Poppy Seed Cake
1 yellow cake mix
1 small box of instant vanilla pudding
3/4 cup dry sherry
3/4 cup oil
1/2 cup sour cream
4 eggs
1 tsp vanilla
2 Tbsp poppy seeds

Mix together all the ingredients. Bake at 350 degrees in a Bundt pan for 40-50 minutes. When cool, sprinkle with powdered sugar.

     This is another old family favorite-it was my mother-in-law's recipe. Every year my husband asks for this for his birthday. It's an easy recipe and it's oh-so-good!
     Thanks for stopping by and God bless.

   
Today's Creative Blog


Tip Junkie handmade projects

Monday, April 16, 2012

Another Tile Project

     Hello Everybody, hope you all had a good weekend. Ours was nice, but busy. Both boys are playing flag football- on the same team, which is great. They're both doing so well. Ethan, my younger son, loves football. He thinks he's ready for tackle football, but I'm not so sure that I am ready for him to play tackle football. Sam, my older son, actually had no interest in football. I made him play anyway- and he is really enjoying it! It is so nice to see him try something new and actually put effort into it! I am so proud of both of them.
     Today I decided to try another project with the bathroom tiles I told you about last week.

For this first one, I used my handy-dandy letter stamps and some Staz-On ink and just stamped a quote directly onto the tile. Then to add some color, I added the three tiny flowers with jeweled centers to the upper left corner and the larger flower with a button center and ticket leaves to the lower right corner.

For this one, I glued a piece of map to the tile before stamping a quote. Then I added the little red heart to he center. Sweet and simple.

I don't know if you can see, but I left the map covered tile next to the clock on my mantle. It seems to fit in there.

     This project is very do-able. It would be a great teacher gift idea!
     Thank you for stopping by and God bless.

Making


I Heart Nap Time


Friday, April 13, 2012

Easy Memo Board DIY

     Hi Everybody! Hope you all are having a nice Friday. I'm just popping in today to show you a quick project I made using a cookie sheet to make a memo board.
     
I started with this cookie sheet that I picked up at the thrift store some time ago. The short ends are raised, but there aren't any sides on the long edges.

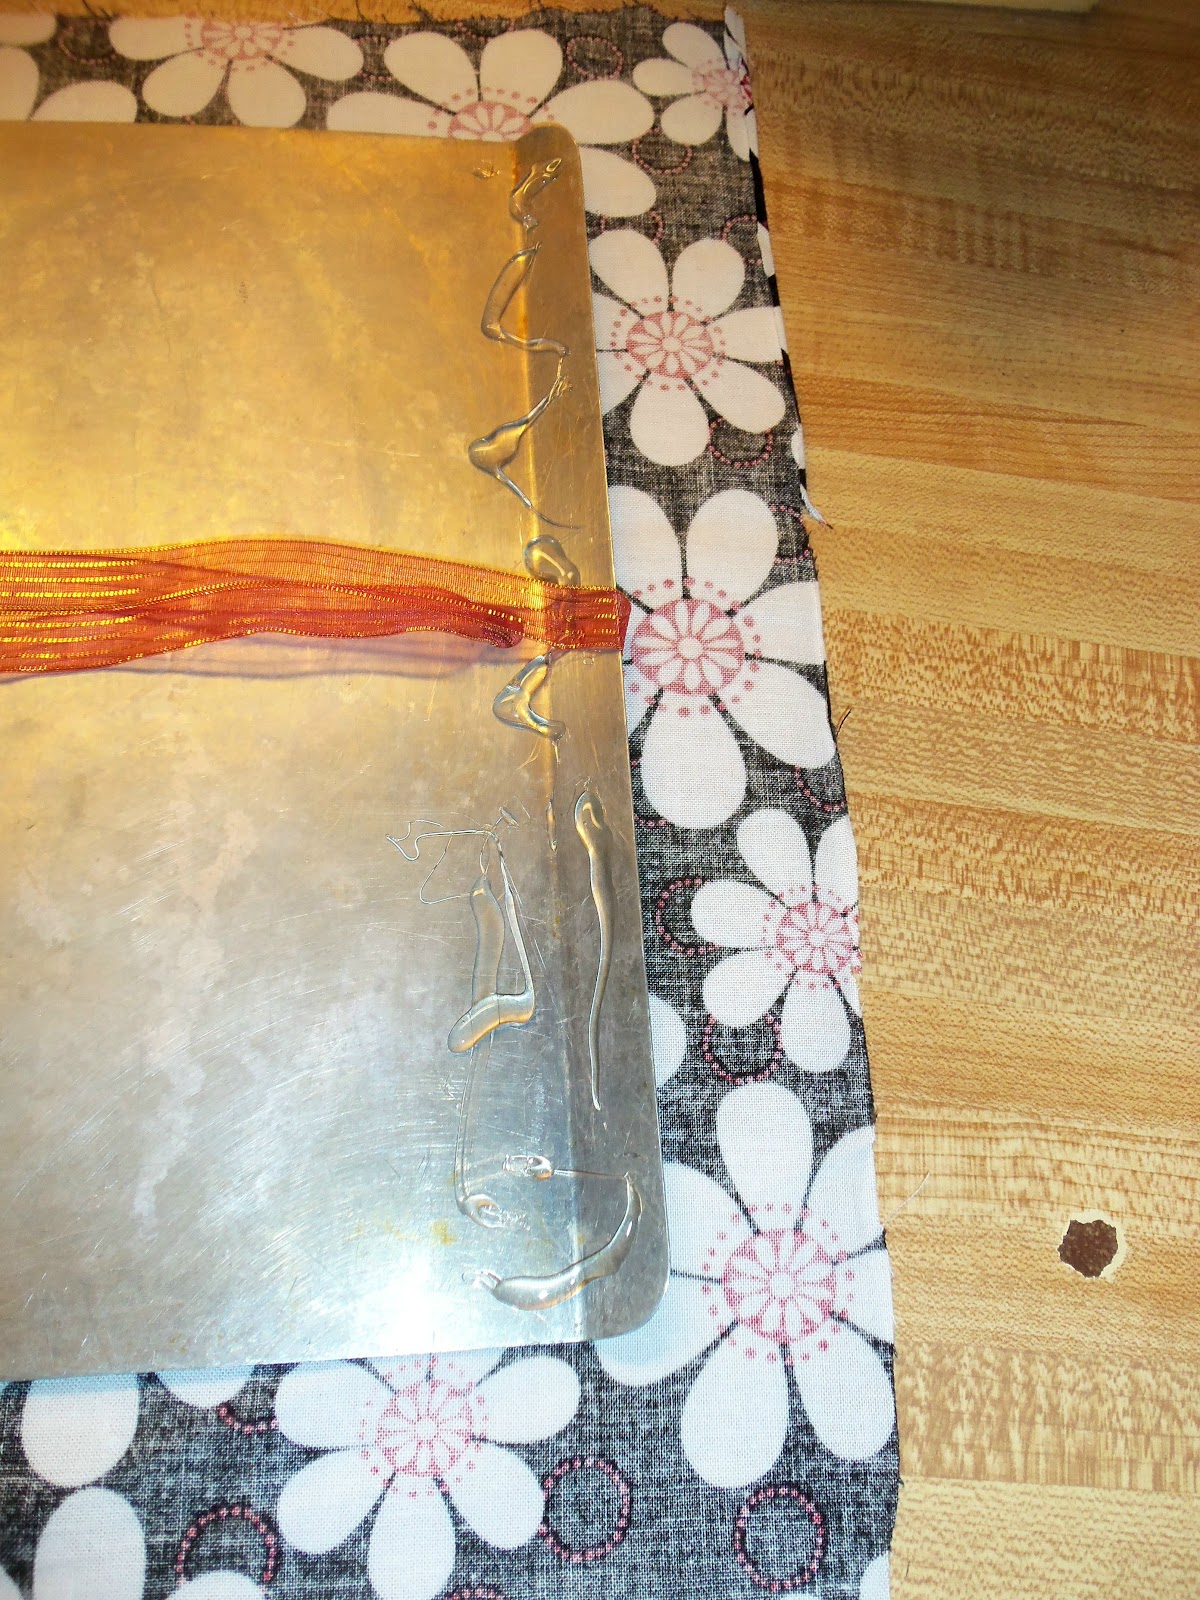
I cut a piece of fabric large enough to cover the board and slightly wrap around the back.

I placed a ribbon (for hanging it) through the hole at the end and tucked it out of the way while I glued with a glue gun.

I folded the edges up and glued them before bringing up the sides.

This is what the back looks like all done. The ribbon is attached at the right side in this photo. All I had to do was flip it up and tie a bow and then it was ready to be hung.
Here's a bit of honesty here- I had intended for this to be a magnet board. So when I finished it, I went to place a magnet on it- and it wouldn't stick. I was pretty surprised. My twelve-year-old informed me that not all cookie sheets are magnetic. All I could think was, "Where were you when I started this project?!?" :)

So, I scratched my head for a moment, then thought, "Wait a minute, this can still be a memo board!" I measured and made some marks, then I got out my handy-dandy Crop-a-dile and punched some holes.

I attached this elastic ribbon with brads through the holes I made.
Voila! A memo board- version 2!

It can hold do-dads 

or photos!
     Sometimes mistakes can turn out for the better! Plus I learned a lesson- check to see if something is magnetic before assuming that it is.

     Thanks for stopping by and God bless.

This post is linked to Happy Hour Projects and


Too Much Time On My HandsPhotobucket