Showing posts with label paint chips. Show all posts

Monday, March 14, 2016

St. Patrick's Day Crafts

St. Patrick's Day is just around the corner.
Here are a few simple and fun projects. . .
 
 
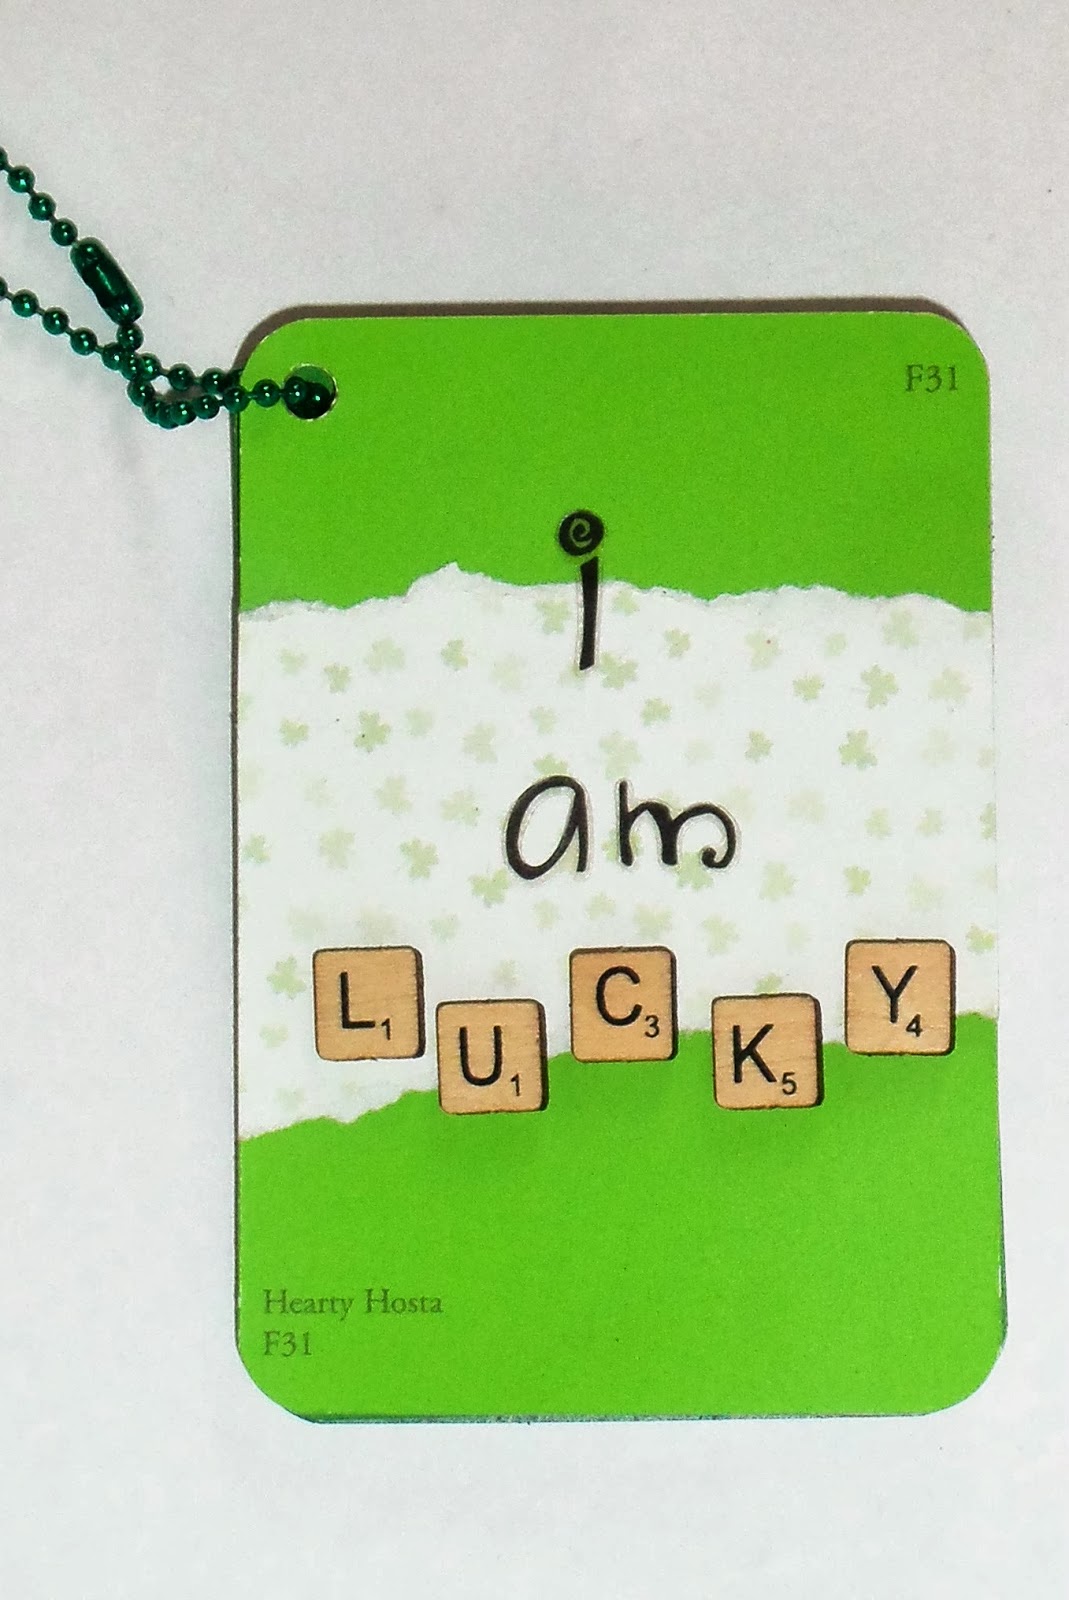
This is a mini album made of five small paint chips.
There's just enough room to add wallet size pictures of what you feel makes you lucky.
 
It would also be a great place to have everyone in your family make a list of what makes them lucky, then adhering those lists to a paint chip and binding them into an album.
 
 
Speaking of paint chips, this simple banner was made with small square paint chips in differing shades of green.
I just added gold letters that spell lucky and strung them onto some gold ribbon.
 
  
Rolos and rainbow Twizzlers make up this St. Patty's Day treat bag.
Cute and yummy.
 
Thanks for stopping by and God bless.
 
The rich and the poor have this in common,
the Lord is the maker of them all.
Proverbs 22:2
 
This post is linked to Pretty Handy Girl, Too Much Time, Lil' Luna, and USS Crafty


Monday, January 4, 2016

Mini Album Monday #68- Christmas Card Album

I know I've done this type of album before,
but I like it so much, I make one every year.

It's an album of the Christmas cards we received this year.


I started with two paint chips.
They measure 5"x 6". I got them from the paint sample section at Home Depot.
I cut a 2"x 6" strip of pattern paper and adhered it about 1" from the right edge of the first card.
Then I added a title.
For my title, I used an old vellum tag and stamped on it with Staz On ink.


Then I flipped the paint chips over and covered the backs with pattern paper.
I punched holes along the outer edges.
I used those to measure out holes on all my Christmas cards.


Finally I bound the cards and the paint chips with two office rings.
 
Yes, some of my cards peek out from around the paint chip cover, but I like that random look.
I love keeping my cards from past years.


As a matter of fact, this is my sixth year to do this.
Here are the other albums I've made.

Can't get any easier than that, my friends!

Thanks for stopping by and God bless.

Be exalted, O God, above the heavens; 
let Your glory be above all the earth.
Psalm 57:5

Monday, November 16, 2015

Mini Album Monday #66- Gratitude Album Made From Paint Chips

Today I'm going to show you how to make a very simple and cheap mini album.
It's so cheap because it's made from paint chips- and they're free at home improvement stores!

Isn't it cute?
One of my favorite hymns is "Count Your Blessings."
That's exactly what we'll be doing with this album- with each member of our family.
I think it's so important to think about what we're grateful for.


I started with six paint chips that measure 3"x 5".
I used letter stickers for the title.


Then I covered the backs of each of them with harvest colored pattern papers.
I used two different patterns and alternated them.


It's important to cover the backs because they're quite visible when flipping through the book.


Then I printed the names of all my family members at the top of each paint chip.
I used letter stamps and Staz On ink.

I had each person make a list of their blessings.
  We used a Sharpie marker so the ink wouldn't smear.


I stayed with fall colors and chose paint chips in green, gold, and brown. 


I wrote everyone's ages in small print in the bottom right corner.
That way when we read this years from now, we'll know when in our lives we did this.


I even added a page for our dog because she's such a big part of our family.

I also added this year's date in the lower corner.


Finally I bound the pages together with a piece of twine.

That's it!
Make one of your own.
It will become a family treasure- I promise!

Thanks for stopping by and God bless.

But the salvation of the righteous is from the Lord; 
He is their strength in the time of trouble.
Psalm 37:39

This post is linked to Between Naps on the PorchTip Junkie,
Tatertots and Jello, and The Dedicated House.

Monday, March 16, 2015

St. Patrick's Day Garland

Tomorrow is St. Patty's Day-
here's a ten minute project that you can do if you're feeling lucky. . . 


It's a paint chip garland.


 To make one, you'll need:
gold ribbon
7 small paint chips- mine are 3" squares by Behr- I got them at Home Depot
gold stickers
hole punch


 To start, punch holes in the top two corners of each paint chip.
I left mine in a stack and punched them all at once so the holes would all be in the same place.

Then add the letter stickers spelling lucky.
I left the outer two paint chips blank and placed the letters on the middle five.


String each paint chip onto your gold ribbon.
Voila! That's it!!


Another cute an quick garland idea is to use green tickets and make a chain like this.
I used light green and dark green tickets. 

Hope you all have the luck of the Irish tomorrow!
Thanks for stopping by and God bless.

The Lord is my strength and song,
 and He has become my salvation.
Psalm 118:14

Monday, April 21, 2014

Mini Album Monday #28- "Happy" Paint Chip Album

Not only do I love making mini albums, but I also love using unusual items to make them.
Things like. . .
 
 
paint chips!
 
Today I'm going to walk you through the steps to make a mini album out of paint chips.
 
 
You'll only need a few things to make this album- and only a little time!
6 paint chips (Mine measure 5"x 6". I chose red, orange, yellow, green, blue, purple.)
3 pieces of 12"x 12" pattern paper in black and white prints
1 piece of 12"x 12" pattern paper in colorful print
small letter stickers for the title
office ring or ribbon for binding the album
optional: colorful tickets to use as page tabs- you could also use small scraps of paper
 
I got all the papers and the letter stickers at Hobby Lobby.
I got my paint chips at Home Depot.

 
Start by adhering the paint chips to the back sides of the black and white papers.
I used double sided tape to do this- a glue stick would also work.
I made sure that I alternated patterns so that the same print wouldn't end up back to back in my album
Example: red and green, orange and blue, yellow and purple

 
Then trim around the edges of the paint chips.
When you're done, each paint chip should be backed with black and white pattern paper.


Now we're going to use the leftover pattern paper to place strips on the paint chips.
Start with the orange page- wait to do the red one which will be the cover.
Trim the colorful paper into a three 1"x 12" strips
and the black and white papers into three 1/2"x 12" strips.
 Use small portions of the strips to add a little color to your paint chips.


I alternated with vertical strips and horizontal strips.


I placed them in different areas on each paint chip.

 
These strips can be adhered with glue stick, double sided tape, or any other adhesive.

 
Easy, so far, huh?

 
For the cover, you need to cut a strip of black and white pattern paper to 1 1/2"x 3 1/2".
Adhere it in the lower right corner.

 
Now trim another strip of black and white pattern paper to 1 1/4"x 3".
Adhere it so that it overlaps the first strip.

 
Using your letter stickers, place the word "Happy" on the colorful paper.
Trim around that word and adhere it across the strips of black and white strips.

 
Using letter stickers, adhere the rest of the title, "Things that make me".

 
Now you should have six cute paint chips.
Optional: adhere tickets or small scraps of paper as paper tabs on each paint chip.
 
 
Now place the pages in order.
The red paint chip is the cover.

 
Then the orange, and so on.
 
 
Isn't the black and white pattern paper cute with all this color?

 
To finish it off, you need to punch a hole in the upper left corner of all the paint chips.

 
Bind them with an office ring or ribbon.

 
I used an office ring and tied a piece of colorful ribbon to it.

 
Voila! Now you have a cute book where you can place photos of things that make you happy.
 
It sure will make me happy to add my photos and finish this book off! :)
 
 
Thanks for stopping by and God bless.
 
Delight yourself also in the Lord,
and He shall give you the desires of your heart.
Psalm 37:4
 

Wednesday, July 3, 2013

Layout of the Week # 59- Patriotic Layout

     I thought it would be fun to do a patriotic layout this week with tomorrow being the Fourth. Hopefully, you'll get some photos tomorrow that you can use in this tutorial. Or, like me, you can break out some older photos!

 
Here's the layout we'll be creating.

 
To make it, you'll need:
one piece of white 12"x12" cardstock
three blue paint chips measuring 5" x 3 1/4"
three red paint chips measuring 5" x 3 1/4"
(my paint chips are the Glidden chips from Home Depot)
one small flag measuring about 4" x 6"
few strips of ribbon or decorative tape
letter stickers for the title
pen for journaling
adhesive
photo trimmer
 
Note: if you don't want to use paint chips or a small flag, feel free to replace them with
blue and red pattern papers
 
 
Leaving a 1/2" border at the left and right sides, lay down you paint chips alternating colors. Two paint chips should butt up to one another making a long vertical strip for a total of three long strips. There should be 1/2" in between each vertical strip.
 
 
Now, using two or three horizontal photos, trim them so they form one long strip across the center of the paint chips.

 
Trim your flag in half horizontally. Adhere the top half centered above the photos and the bottom half centered below the photos. I used double sided tape to adhere mine. Glue Dots would work as well.

 
Write your journaling around the outer edges of the paint chips.
 
 
Place your title below the right photo. Part of my title overlapped the flag.
Place two strips of ribbon or decorative tape along the top left edge of the photos and one piece along the bottom right edge of the photo above the title.
That's it! You can't beat a six step layout tutorial!
 
I actually used the supplies I had left over from the patriotic bunting I made on Monday!
 
Thank you for stopping by and God bless.
 
 
Now therefore, our God, we thank You and praise Your glorious name.
1 Chron. 29:13