Showing posts with label rubber stamps. Show all posts

Wednesday, November 28, 2012

Layout of the Week #35- Using Journaling Stamps

     I don't know about any of you, but I cannot resist a cute set of stamps. I have a basket full of them on a shelf. Many of them are journaling stamps. I always think that a cute journaling stamp may help me come up with something to say on my layout (hasn't yet, but I'm still hoping!).
     If you have a set, get it out and give this layout a try.


You can create a layout similar to this using your own pattern paper and embellishments. Just follow these easy steps.


To create this layout, you'll need:
one piece of cardstock for the background
one piece of pattern paper measuring 5" x 12"
one strip of pattern paper measuring 1/2" x 12"
journaling stamp(s)
ink
letter stickers for the title
pen
trimmer
adhesive


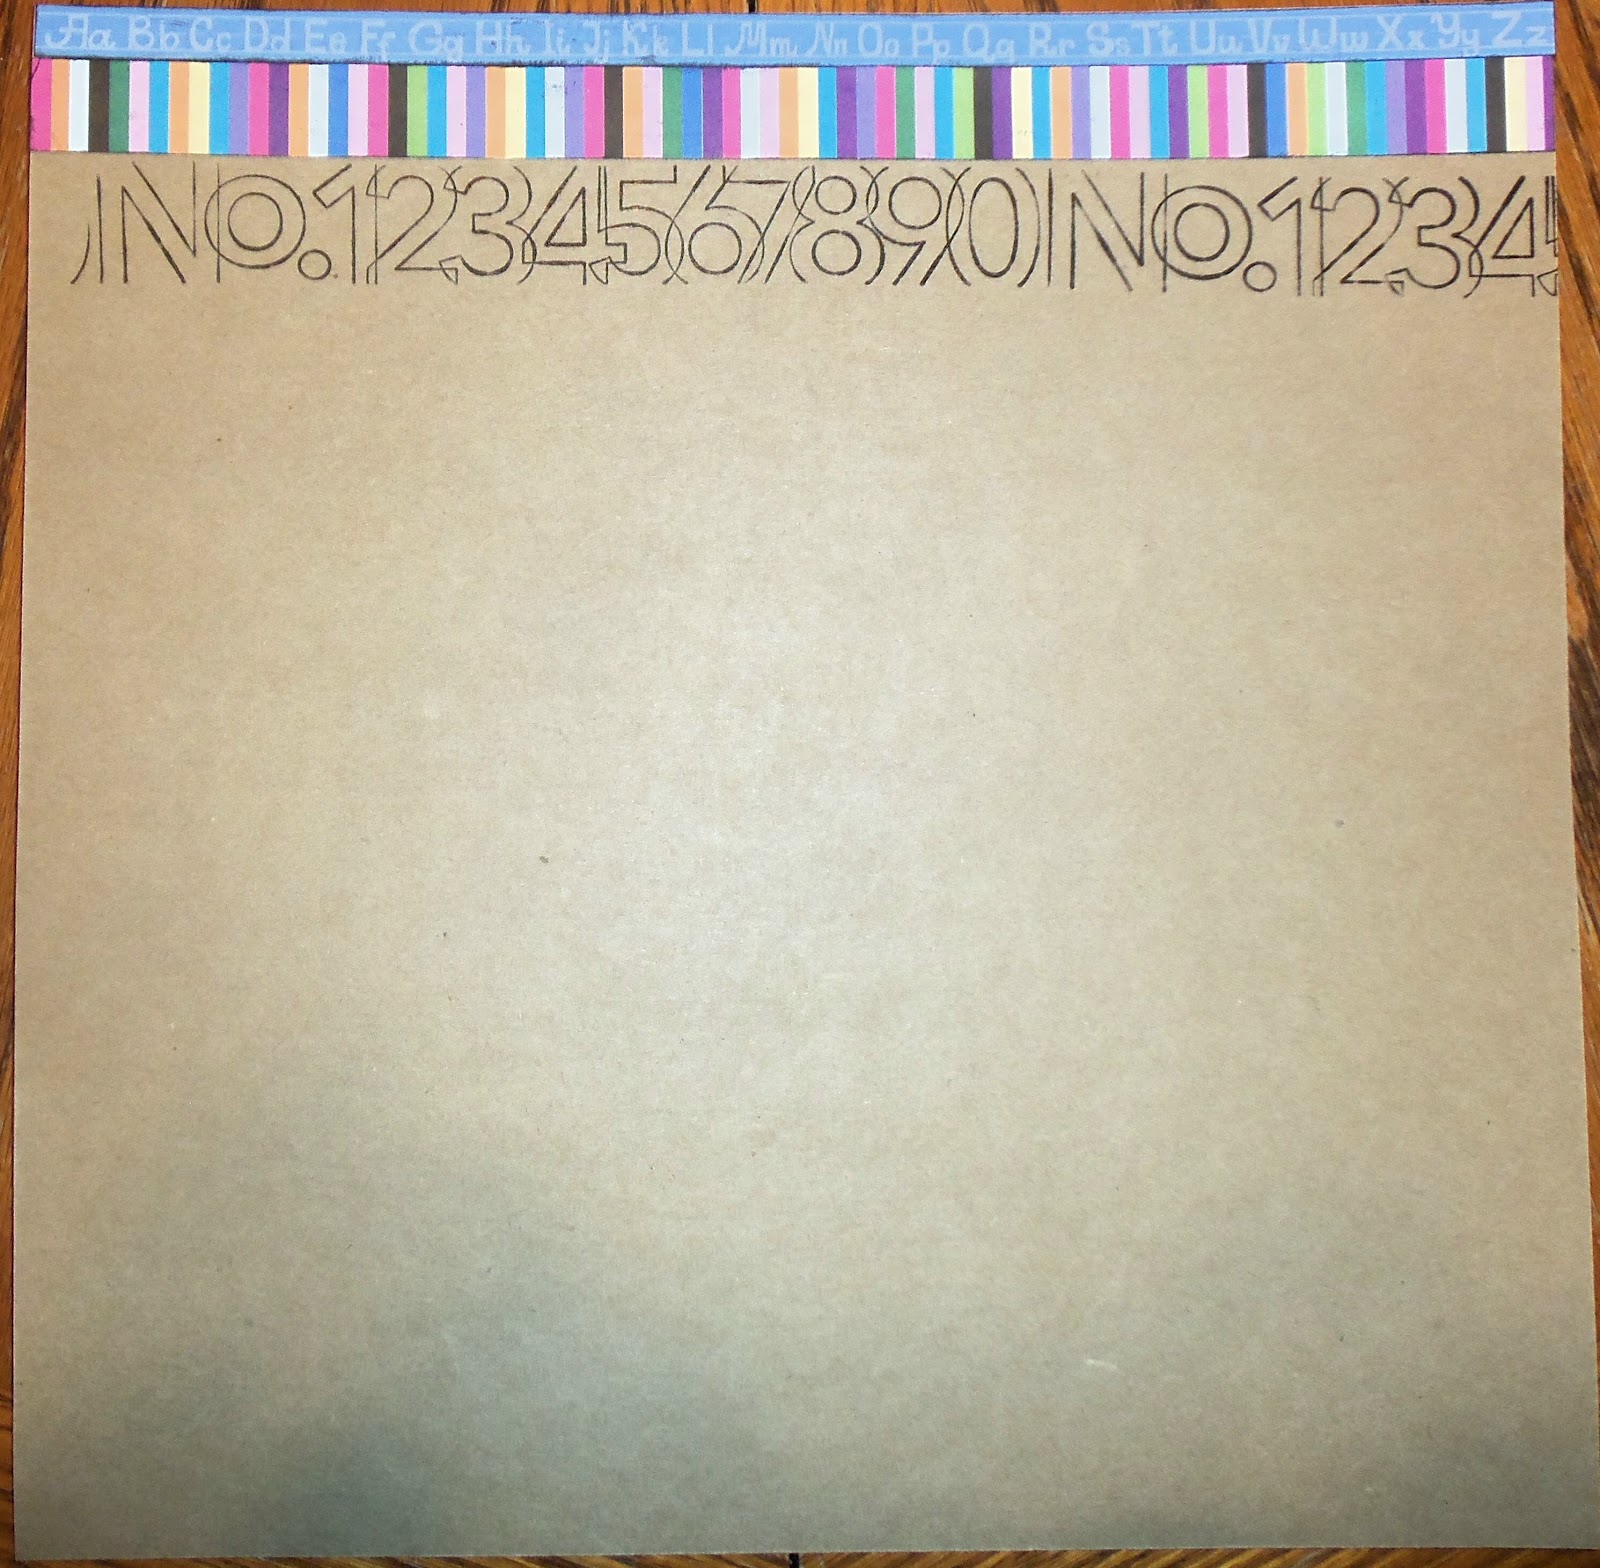
First place the paper measuring 5" x 12" along the bottom edge of the cardstock.


Next place the strip measuring 1/2" x 12" along the top of the pattern paper.


Now place 2-3 photos in a column about 1" from the left edge of the cardstock.


Use your journaling stamp to stamp along the right edge of the photos. You can use the same stamp for this or alternate with 2 or 3 different ones.


Now add your title at the bottom right corner.

 
Add your journaling on the stamped lines. Feel free to add a few embellishments.
Ta-da! We're done!

 
Here is another example where I used circular journaling stamps around the paper which I then highlighted with some paint. I also used a square and rectangle stamp in the lower right corner for more journaling.


     For my Layout of the Week series, I try to come up with simple layouts using directions that are easy to follow. I usually post a tutorial every Wednesday. If you have gotten into a scrapbooking slump or simply just fallen behind, try my tutorial. You could complete one page a week!

     Thanks for stopping by and God bless.

Casting all your care upon Him, for He cares for you.
1 Peter 5:7
This post is linked to Happy Hour Projects, Todays Creative Blog, Craft-O-Maniac,  and 52 Mantles.

Wednesday, September 5, 2012

Layout of the Week #27- Using Stamped Images Along the Edges of Your Layouts


     Well, break out your stamps, My Scrapping Friends, because we're going to be using them today in our Layout of the Week. A few weeks ago we used them to create images on pattern paper, but today we'll be using them along the edges of our layouts to create . . .

this project.


You'll need:

one piece of 12"x12" card stock (a lighter color so the stamps will be visible)
two strips of coordinating pattern paper- one 1/4"x12" and one 3/4" x 12"
stamps that coordinate with the theme of your layout
coordinating letter stickers for the title
ink
trimmer
adhesive


First you'll attach your two strips of pattern paper along the top edge of the layout. (Disregard the stamped image- that is the next step as seen below.)


Now use your stamps and stamp across the bottom edge of the card stock. Then stamp along the bottom edge of the paper strips located at the top of the page. Your stamping does not have to be perfect. It's hard to stamp perfectly. So, practice a couple of times on a piece of scratch paper, then let 'er rip.

I used a Stampin' Up roller stamp for both strips. If you don't have a roller stamp, you can use regular stamps and make a pattern along the edges like this.

Adhere your photos in a strip above the stamped images at the bottom of the layout.

Add journaling just above the photos. I stretched mine across the full 12".


Finally, you need to add your title right above the journaling. I used different colored letter stickers to coordinate with my striped paper at the top of the layout.


Here is another layout where I stamped smaller portions along the edges. See in the upper right corner and bottom left corner. My stamping is not perfect- I say that adds to the charm:) The stamp in the bottom left corner was stamped twice- and not lined up very well. I could've gotten upset and started over. Instead I shrugged my shoulders and finished the layout.


     Thanks for stopping by and God bless.

Do not sorrow for the joy of the Lord is your strength.
Nehemiah 8:10


     This post is linked to Be Different. . .Act Normal and
shabby creek cottage