Showing posts with label letters. Show all posts

Friday, July 8, 2016

Alphabet Wall

Well, I've been talking about it forever, and I finally have it. . 


my alphabet wall!!!


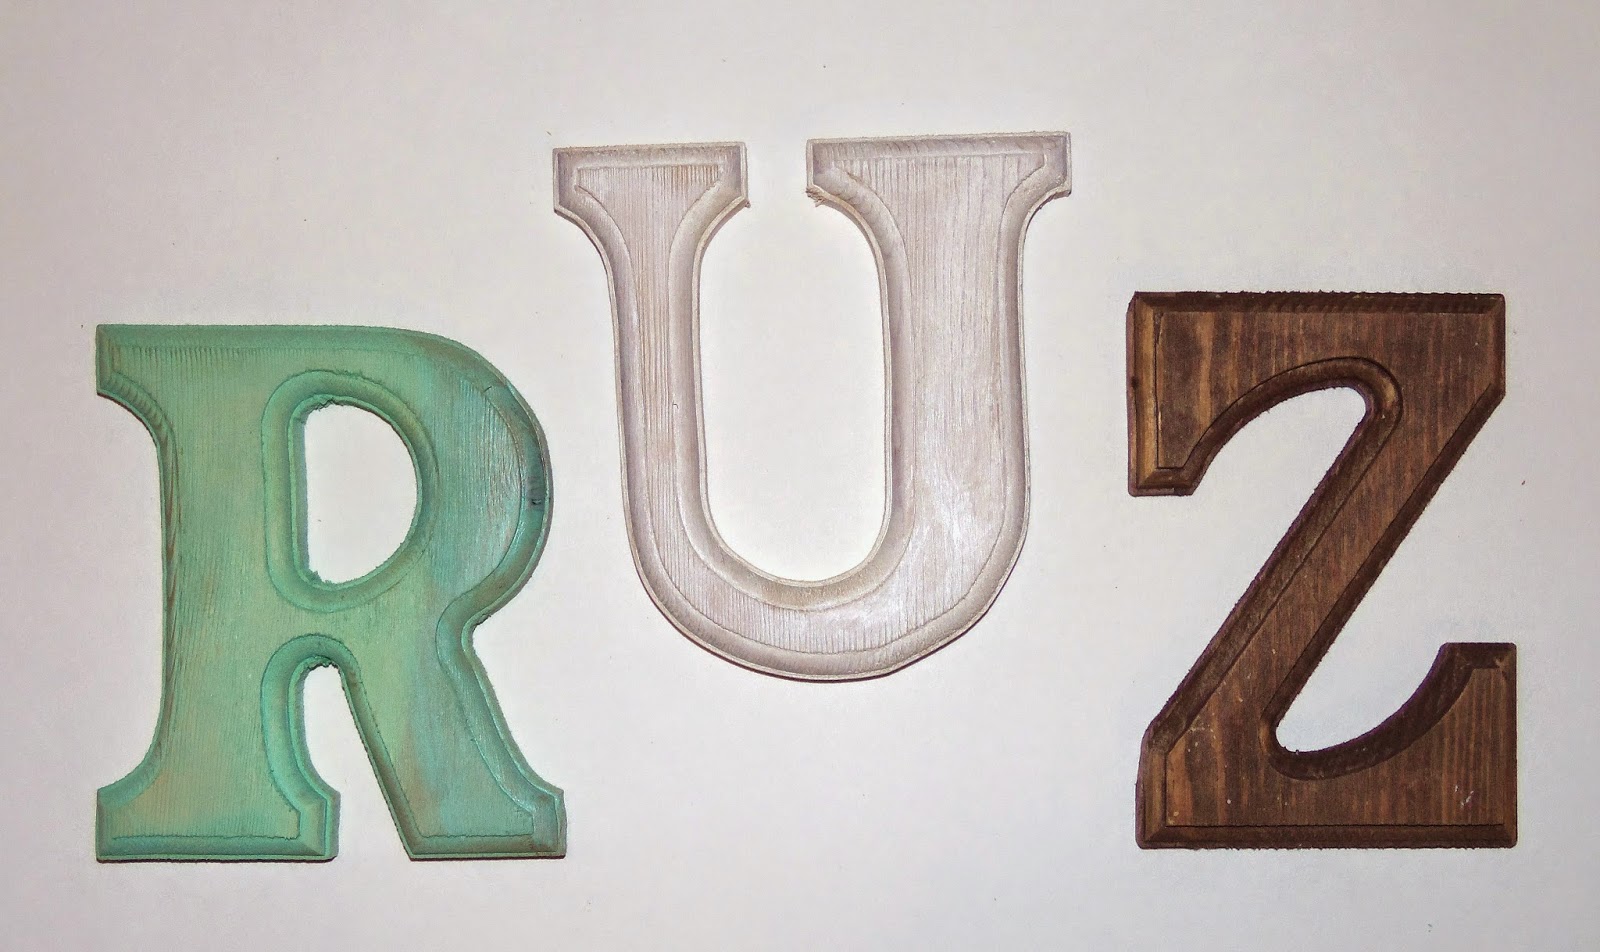
I gathered all my letters- some I crafted, some I bought.
Then I talked my hubby into hanging them up for me.


Yes, my hubby always hangs things on our walls.
Years ago, when we were first married, I tried to surprise my hubby by hanging a large picture on our living room wall. He was pretty pleased until I showed him the wall behind the picture.
There was a large part of the wall that was missing.
My hubby decided then that he would be the all time picture hanger.
No problem with me!

Anyway, take a look at my wall. . . 


Definitely worth the wait!!!

Thanks for stopping by and God bless.

For who is God, except the Lord?
And who is a rock, except our God?
Psalm 18:31

Friday, November 27, 2015

Vintage Children's Book Page Letters

I have quite a collection of vintage books.
Some of my favorites are vintage children's books.
I just love the graphics in them.

A friend of mine, who also loves vintage things, has a baby boy due in December.
I thought I'd make her a vintage themed gift. . .


so I used some children's book pages to cover paper mache letters.


The letters are about 8" tall and are about 1" thick.


I covered the fronts, backs, and along the sides.


As I decided which graphic to use, I set each letter on the page to make sure the pictures 
would align with the shape of the letter.


Then I attached them by painting Mod Podge onto the letter and setting the page onto the glue.
I rubbed all along the surface- especially the edges- to make sure the paper adhered.
I let them dry for about 30 minutes.
Then I rubbed a small piece of sandpaper along all the edges to get rid of the excess paper.


I just love those old book pages!

Thanks so much for stopping by and God bless.

Do not fear or be discouraged.
Deut. 1:21

This post is linked to Too Much Time, Lil' Luna, and Funky Junk.

Friday, August 7, 2015

Decorative Letter DIY

In this day and age it's easy to get overwhelmed with all that's on our to-do lists.
Taking a little time for ourselves is refreshing- so that we can get back to do what we need to do.:)
I find that I like to use my "me" time doing something crafty. 
I suggest that you try to take some time to be creative.
Here's a simple project to get you started.


Try your hand at making a decorative letter.


To make one, you need:
paper mache letter (mine is 8" tall)
large piece of pattern paper
paint
Mod Podge
2 paint brushes
sandpaper
fabric flower or ribbon


To start, paint the edges of the letter.


Once the paint dries, put your letter on the back of the pattern paper
 and trace around it leaving plenty of space. Then cut around those lines.
I lined mine up up at the top right corner to make it easier 
to get my paper on straight for the next step. 


 Cover the front of the letter with Mod Podge.


Lay the paper on top of the letter. 
I lined my paper up at the top left corner to make sure it was straight.
Press along the entire letter paying close attention to the edges to make sure all the paper adheres.


This is what it looks like from behind.
I feel working with a little extra paper around the edges allows me to cover the entire letter.
If I cut it exactly to size, I have to be sure to line it up exactly which is difficult to do on wet glue.


Carefully use your sandpaper along the edges to remove the excess paper.


Finally, add a flower or ribbon to your letter.


Here's a side view to show how painting the edges gives it a more finished look.

One of these would be a great gift for a teacher (with school themed paper),
for a baby shower or even for a house warming gift.

I hope you have an awesome- and creative- weekend!
Thanks for stopping by and God bless.

Charm is deceitful and beauty is passing, 
but a woman who fears the Lord, she shall be praised.
Proverbs 31:30

Friday, January 9, 2015

Map Covered Monogram

I know I've said this before, but I just love maps.
I especially love using maps on things that you wouldn't ordinarily think that maps belong on.
When I spotted the giant paper mache letters at Hobby Lobby, I knew just what to do with one.

cover it with maps!
To make a map covered monogram, you need:
a paper mache letter (this one is about 15 1/2" tall)
large map
Mod Podge
foam brush
paper towel.
scissors
small piece of sandpaper.

I started by flipping my letter upside down on the map and drawing around the edges. I left about a two inch space between the letter and my hand-drawn lines.

Then I cut along my lines.
I covered the front of my letter with Mod Podge making sure I got all the way to the edges.
Then I pressed my map along the surface of the letter.
When using Mod Podge, I always run a paper towel all along the surface making sure that the paper adheres. The paper towel is there to wipe up any excess that seeps out of the edges.
After about 20 minutes, I used a small piece of sandpaper to sand the extra map off the edges.
This gives a nice smooth edge. 

Because the letter was about 1 1/2" thick, I felt that it needed some map along the edges.
I trimmed 1 1/4" strips and adhered them to the edges using the same method as above.

Ta-da! How cute is that?
Thanks for stopping by and God bless.
Sing to the Lord a new song,
and His praise from the ends of the earth
Isaiah 41:10

Monday, December 29, 2014

Top 10 DIY's of 2014

I appreciate each and every one of you who stop by to see what creative endeavor
 I've been up to in my little part of the world.
 
Here are my top 10 viewed DIY's of 2014. . .


If you haven't already, please follow me via Facebook, Pinterest, and Google Friend Connect.
 
If you'd like to see the top 10 DIY's from 2013, you can go here.

Thanks so much for stopping by today and everyday!
God bless.

Become complete. Be of good comfort, be of one mind,
live in peace; and the God of love and peace will be with you.
2 Cor. 13:11

This post is linked to Skip to My Lou, Tip Junkie, Plucky's Second Thought,
Funky Junk, Today's Creative Blog, and Between Naps on the Porch.


Friday, November 21, 2014

Twine Covered Letter

I've been collecting all different kinds of letters in plans of having
 an alphabet wall in my living room.
Some of the letters that I bought are ready to be hung,
while a few need some work-like this one did.

 
I started with a plain wood letter that I picked up at a thrift store.
If you'd like to make one, you can find wood letters at your local craft store.
Then, you just need to start winding jute around the letter.
I used my glue gun to apply a line of glue along the front and back to adhere the jute.


At the top and the bottom, I wound the jute until the entire letter was covered.

 
That's it!
Jute makes anything look cute, doesn't it?
Wouldn't it look cute to spell out a whole word like this?
 
Have a lovely weekend!
 
Thanks so much for stopping by and God bless.
 
Serve the Lord with gladness;
come before His presence with singing.
Psalm 100:2


Friday, October 3, 2014

Testing Out Wood Stains. . .

On my last trip to Michael's, I picked up three different color wood stains.
 I decided to try them on a small project, before using them on bigger pieces.
 
Let me start off by saying, I am not affiliated with this company.
I'm just trying out a new product that piqued my interest.
 
 
Here's what I ended up with.
 
Let's rewind, and I'll show you what I started with.

 
I used Martha Stewart's wood stain in three different colors:
wedding cake
beach glass
chestnut

 
I also used three wood letters.
 
I just painted on the stain, let it sit for a moment, then wiped it off with a rag.
 
I started off using a rag to apply the stain,
but I found that the paintbrush was more effective at spreading it.
 
 
This is the beach glass color.
I did two coats of the stain allowing for a little dry time between each coat.

 
This is the wedding cake color.
This one, too, has two coats.

 
And lastly, here's the chestnut color.
It went on so smooth and dark, that it only needed one coat.

 
I liked this wood stain. I'm not for sure which color is my favorite.
I'm actually glad that I have all three- I'll use them all on different projects.
 
If you're wondering about the randomness of my letters,
I'm collecting letters for an alphabet wall. These are three letters that needed some color.
 
What do you think?
Do you prefer one color over another?
 
Thanks so much for stopping by and God bless.
 
I will say to the Lord, "He is my refuge and my fortress;
my God, in Him I will trust."
Psalm 91:2
 

Friday, September 12, 2014

Chipboard Letter Covered With Tickets DIY

Who doesn't love monograms?
Especially one. . . 

 
covered in tickets!
Isn't this fun?!?

 
If you'd like to make one, all you need is:
a chipboard letter (I got mine at Hobby Lobby)
tickets (any color)
paint (in the color of your tickets)
Mod Podge
foam brush
sandpaper

 
Start by painting the edges of the letter.
After painting, I washed out my foam brush so I could use it for the next step.
 
 
Once the paint is dry, start adhering the tickets using Mod Podge.
Make sure you get glue all along the edges so they won't peel up.
When you apply one, press it tightly especially along the edges.

 
After about an hour, use a small piece of sandpaper along the edges to get rid of the excess tickets.
See how the painted edges add to the finished look?
 
 
 I think turned out cute and unique.
Mine is for my alphabet wall, but this idea would be fun as decor for a birthday party, too.
 
Thanks for stopping by and God bless.
 
O Lord of hosts, blessed is the man who trusts in You!
Psalm 84:12