Showing posts with label jute. Show all posts

Friday, March 6, 2015

Wreath Review

After two days of temperatures that reached 80 degrees,
we had a cold front come through dropping the temperature to 47 today.
Yipes!
I can't complain though. . . I know many people are getting snow with their cold weather.
As I'm staying in and trying to stay warm, I thought we'd take a look back at some wreaths.

It's just about time for me to get it back out.
I just love the bright colors- I think it looks so happy!
Would you believe that I spent less than $10 making it?


This wreath is made from a vintage rug beater that I got at a thrift store.
The wire rings worked great for holding photos.
You can go here to read more about it.


The best thing about this jute wreath is that the fabric rosettes are on clips and are removable,
 so I can change out the different color rosettes with the seasons!


This vinyl record wreath is one of my favorites!
I think it's so unique and retro.


This final wreath is made from an embroidery hoop and holds photos and memorabilia.
It's super easy to make, lightweight, and so cute.
You can read all about it here.
I think this one would make a great teacher gift or grandparent gift.

That's it for now. . . I'm off to make a cup of hot cocoa.
 I hope you all stay toasty warm this weekend!

Thanks for stopping by and God bless.

Do not boast about tomorrow, 
for you do not know what a day may bring forth.
Proverbs 27:1


Monday, February 4, 2013

Framed!

     I am always on the lookout for cute ways to display photos. So I dug in my stash of frames, pulled one out and made something that I've been wanting to make for awhile.

 
That's just two pieces of jute tied to the frame and clothespins holding the photos.
Can you get any simpler than that?
 
I've made frames and placed chickenwire in the center which is darling, too, but I really like how this turned out.

 
If you'd like to make one of these, all it takes is:
a large frame
jute
four nails
hammer
optional: spray paint
 
Start by spray painting your frame whatever color you like. Once it's dry, you need to decide where you want your nails. To do this, I got out some 4"x6" photos and eyeballed it so I could make sure that I would have enough room to hang them both vertically and horizontally.
Then hammer the first set of nails across from each other. My top row is about 2-3" from the top of the frame opening.
Then place your second set of nails- about 6-6 1/2" below the other set.
Now tie on some jute.
Ta-da! How cute will your photos look on a frame like this?!
 
If you like this idea, you can look here and here for other ideas for displaying photos.
 
You can go here to see the cute clothespins that I altered to use with this frame.
 
Thanks for stopping by and God bless.
 
You have also given me the shield of Your salvation;
Your right hand has held me up,
Your gentleness has made me great.
Psalm 18:35


This post is linked to Today's Creative Blog, Craft-O-Maniac, Skip to My Lou, Making the World Cuter, and Between Naps on the Porch.

Friday, October 26, 2012

My Fall Wreath

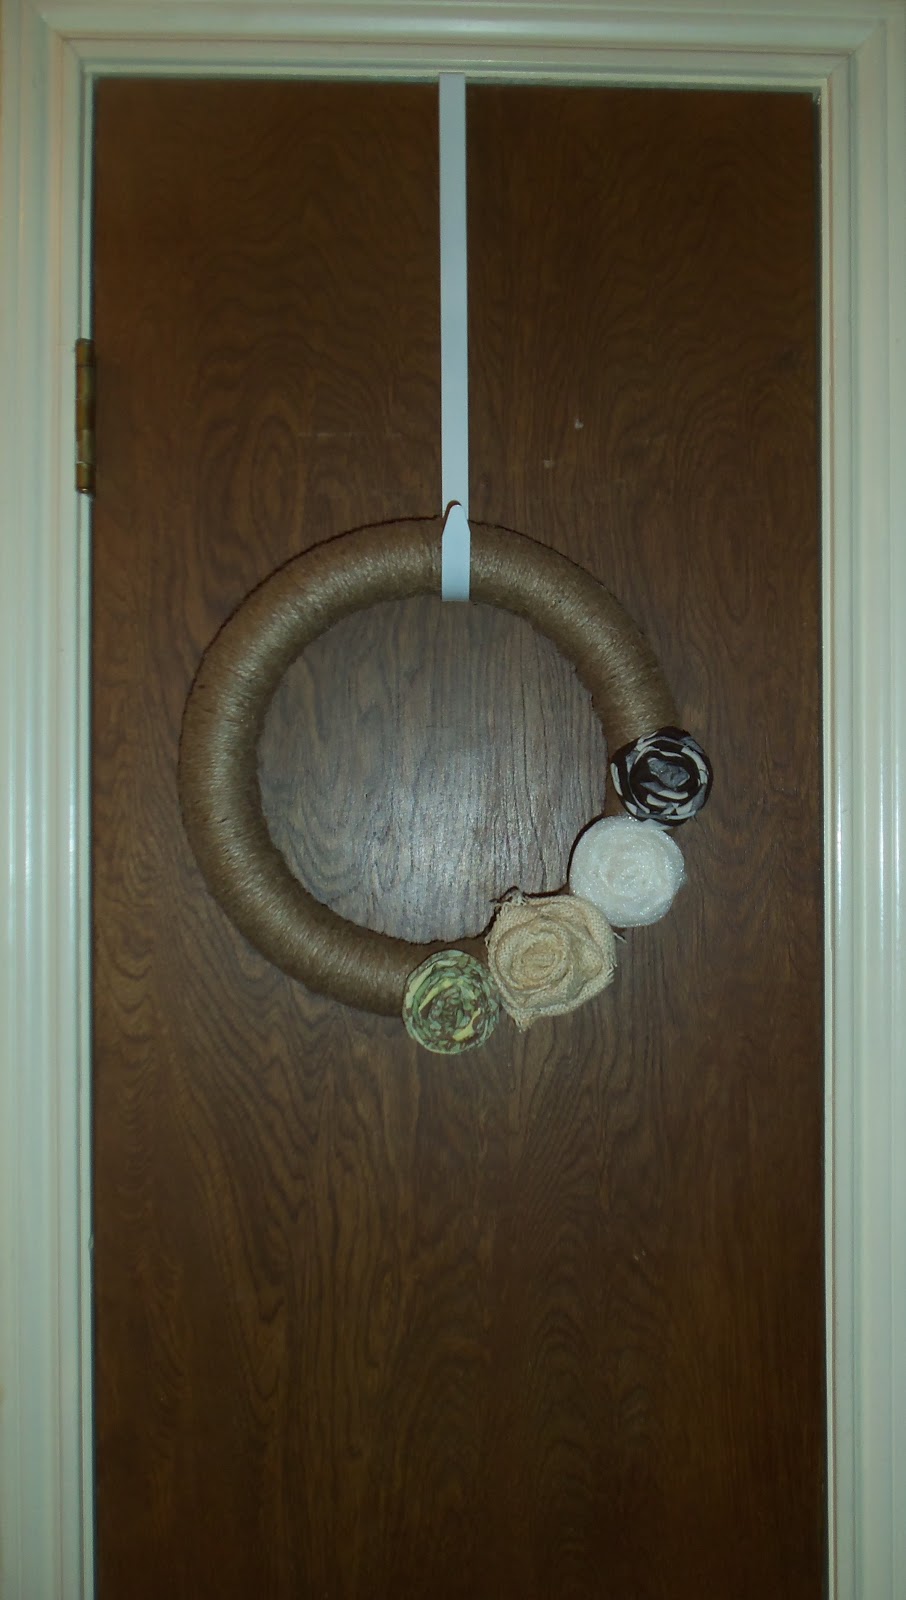
     Recently, I made this jute wreath with interchangeable rosettes so I could change the rosettes with the seasons. This way I always have a pretty wreath to hang on my door.

     I wanted to share my fall version with you.

 
I dug through my material looking for fabric with natural colors to use on the rosettes.

 
The green one is fabric from an old McCoy's handkerchief, the next one is made from burlap (who doesn't love burlap?), the third one is made from tulle, and the last one is brown fabric with off white dots (who doesn't love polka dots?).
I attached these to alligator clips so they will come off easily when I replace them with Christmas themed rosettes. . .

 
If you'd like to make a simple wreath like this for yourself, you can go here for a tutorial.
 
 
Thanks for stopping by and God bless.
 
For you yourselves are taught by God to love one another.
1 Thel.4:9


Monday, September 10, 2012

Jute Wreath with Fabric Rosettes

     Happy Monday to you all.

     Today I have a tutorial for a simple jute wreath with fabric rosettes. I love the natural look of jute and the colorful fabric flowers seem to pop on the brown background.

     My favorite part of  this project is that the rosettes are removable so you can change them with the seasons!

     To make this, all you need is:
     one foam wreath that you can find at any craft store (I used a 12" wreath that I got at a thrift store)
     a roll of jute
     fabric scraps for your flowers
     glue gun
     fabric glue
     alligator hair clips (mine are 1 3/4")


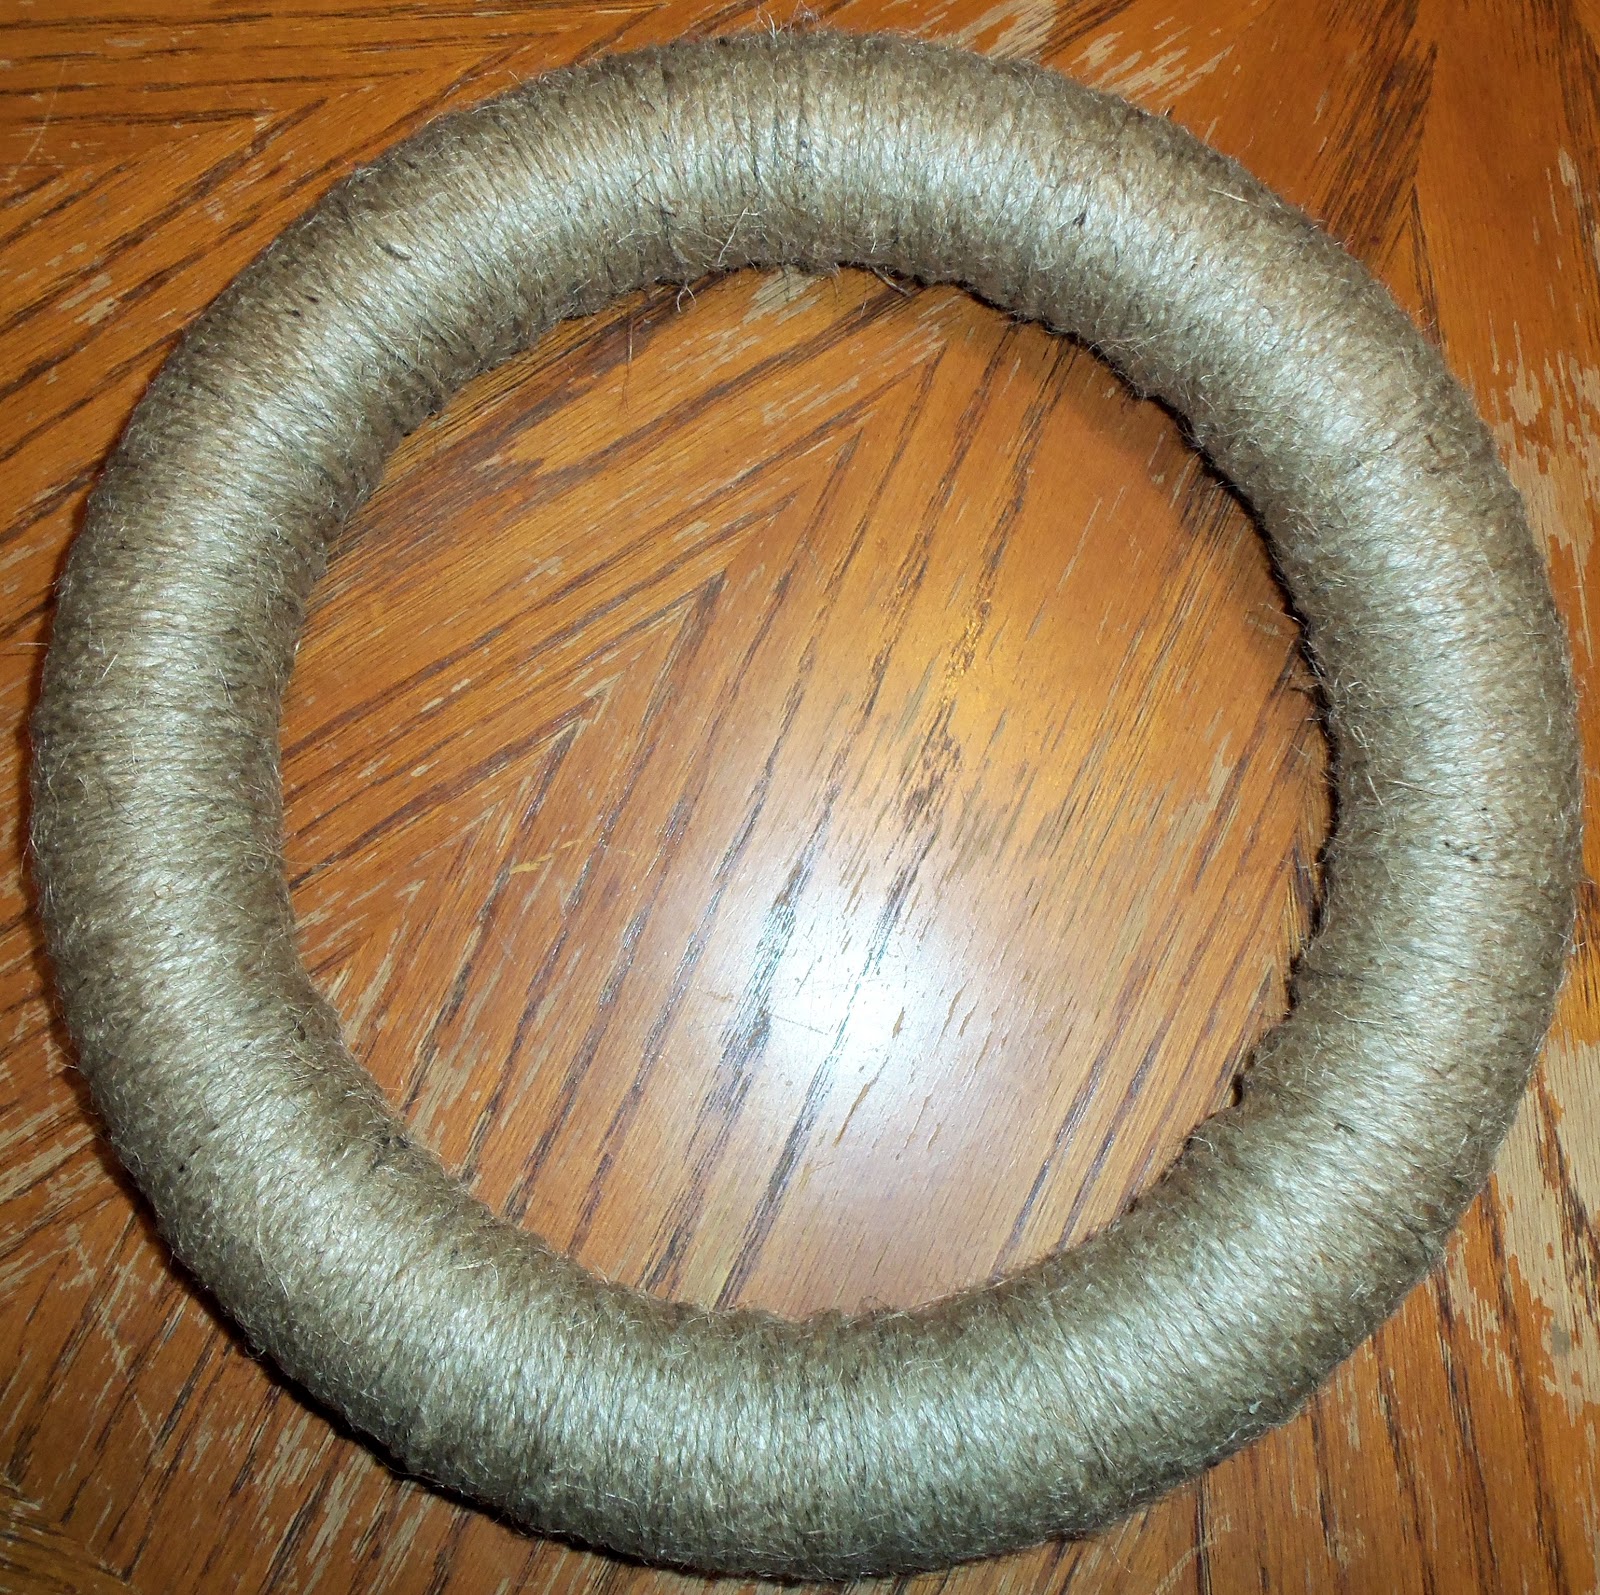
I started off by wrapping my wreath with jute. I cut the jute into strings of about two feet then used a little bit of hot glue along the back. I feel the shorter lengths are easier to manage than using the whole roll.
Wrap it until the entire wreath is covered.
Then make four fabric rosettes. This is where the fabric scraps and fabric glue come in. If you don't know how to make a rosette, you may go here for directions.
Use your glue gun to attach an alligator hair clip to the back of each rosette.
Then using the clips, slide your flowers onto the wreath. This is a side view of the flowers on the wreath. The clips are not visible from the front.

TA-DA!
You now have a pretty wreath that you'll be able to keep out all year. As each new season begins, you can switch out your rosettes.


     This would make a good gift for a teacher or perhaps even for a mother-in-law with a box of rosettes that she could change out every few months. It would also make a great housewarming present.
     Thanks for stopping by and God bless.
For God so loved the world that He gave His only
begotten Son, that whoever believes in Him
should not perish but have everlasting life.
John 3:16

Monday, August 27, 2012

Vintage Photo Mobile

     Hi Guys, I am so excited about today's project! I've had the idea on my mind for awhile, so I finally sat down and made it.

     It's a vintage photo mobile!


     I got these photos at a couple of different estate sales. I hate to see that they weren't kept by the families.

     When I told my son where I got them, I mentioned how much I treasure old stuff. He responded with, "Almost too much." He does not share this fondness with me. :)

     Look at some of these pictures. . .


 Aren't they amazing?

    We don't have much for heirlooms in our family, so I think it's such a shame when other people don't appreciate theirs.

     My hubby hung the mobile over my piano- I think that's the perfect place for it.

     This photo mobile idea would look great with baby photos, too. How cute would one of these be in a nursery? Or for a wedding? Or for a birthday or anniversary party?

     If you'd like to make one, determine how many photos you want to use. I used twenty-three with four quotes and one piece of pattern paper (I had one odd size photo and didn't want a plain mat on the back).

     Mat all the photos on black card stock with photos on both sides of the mat. This means you will have two pictures back to back. I attached mine with photo corners. This way the photos are able to be removed in the future, and it adds to the vintage look.

     Using short pieces of jute, tie photos into four columns. I used separate pieces of jute to attach each photo to the next one. I used the small hole punch side of my Cropadile to make the holes through which to tie the jute.

     I placed my quotes in two of the columns.

     Once you have four columns of photos tied together, space them out evenly and tie them to an embroidery hoop (I used a 10" hoop). I then covered my hoop with jute. This was time consuming, but was worth it. I just used about a foot of jute at a time wrapping it tightly around the hoop applying hot glue every so often.

     Now you just use lace or tulle (I stacked both together) and place three 18" strands spaced evenly around the hoop. Then tie them together at the top making a loop to hang the mobile.

     Ta-da! Worth the effort, huh? If you make one, I'd love for you to e-mail me some photos!

     Thanks for stopping by and God bless.

Serve the Lord with gladness;
come before His presence with singing.
Psalm 100:2


    This post is linked to I Heart Naptime, Brassy Apple, Craft-O-Maniac, Today's Creative Blog, Skip to My Lou, Too Much Time On My Hands, Funky Junk Interiors, 52 Mantles, and Between Naps on the Porch
As seen on CraftGossip.com