Showing posts with label year in review. Show all posts

Friday, January 15, 2016

6 Ways to Document Your Year

I frequently mention how important it is to make memories.
An important part of making memories is taking pictures.
Instead of letting those pictures sit on your computer, print them off.

Here are six ways that you can keep memories from this year.
Follow the links to see tutorials on how to make them.
 

1. month by month scrapbook
You can put together a scrapbook or buy a pre-made one. You just need one layout per month.
Add photos and other tokens from the month.

At the beginning of every year, I put together a simple album that I use throughout the year.
At the end of the month, I list the things we did that month and try to add a picture for each event.
It actually makes me take more photos.
This picture shows all of them that I've done.
I love going back through the old ones.
It's surprising how much I forget until I'm reminded by these pictures:)
 

This is a super simple idea. Get a cute jar and add mementos throughout the year.

I do this every year. You'd think it would overlap with the album, but it doesn't.
I add things like business cards from places we've gone, small souvenirs from trips (like smashed pennies), used gift cards, movie stubs-that sort of thing.
 
This is the same idea as the jar, you'd just use a shadowbox instead.
 
 
4. index cards and office rings
Buy a set of the index card organizers, and add holes and office rings.
Then just add pictures and mementos throughout the year.

 
Use a large office ring and keep your birthday cards and other important keepsakes.
A simple cover will do. This one shows a large index card divider as a cover.

I have one of these for each member of my family.
This is mostly to keep up with cards and certificates from the year.
I made a cute cover for each of ours.
 

6. photo albums
A plain and simple photo album is so easy to keep up with.
Just print off your photos each month and slip them into the pages.

I keep one of these for each year. I can't fit all my photos into my month by month scrapbook,
so I have a photo album for all the good pictures I take.

See how easy it can be to document your life?
Give one of these ideas a try.
I promise you'll be creating a treasure.

Thanks for stopping by and God bless.

Make a joyful shout to God, all the earth!
Psalm 66:1

 This post is linked to Life With Lorelai, Too Much Time,
Tatertots and Jello, and My Salvaged Treasures.

Monday, January 11, 2016

I'm Doing Project Life!

This is the first time I've decided to do Project Life.
When the concept first came out, I felt that I couldn't commit to not only taking a photo a day, but also printing said photo and placing it into a page. Now it's much free-er. You can use it to scrap your life however you want to. I decided to use mine for my annual month-by-month album.

I got the album, some journaling cards, and some blank pocket pages.


Here's my cover. I added this large metal camera charm with hot glue (I got this sometime ago in the cheap bins at Michaels).
Then I added three strings of ribbon and lace. On the center one, I placed a charm that I stamped 2016 onto and added an S charm (for our last name).


This is what it looks like when it's opened.


I used this large "Here and Now" card thinking that it is a good intro for a our monthly album.


My album measures about 9"x 9 1/4".
It's a binder which is nice because extra pages can be added.


For my interior, I have one journaling card for each month that looks like a small calendar page.
I punched holes in them. They won't be in a page pocket.


Each month has clear pocket pages for my photos.
I have lots of extra at the back of the book to add as needed.


I also added half a large envelope for each month to hold my large mementos.


I set up every month the same.
Once photos and embellishment are added, they won't look so uniform.

I love keeping a Year In Review album.
I basically make a list of what went on during the month,
then add a photo from each big thing we did.
It allows me to record our lives without feeling like I get behind on scrapbooking.

How about you-- do any of you do Project Life?

Thanks for stopping by and God bless.

Teach me Your way O Lord;
 I will walk in Your Truth.
Psalm 86:11

This post is linked to It's OverflowingTip Junkie, Today's Creative Life,
and Between Naps on the Porch.  

Monday, January 19, 2015

Mini Album Monday #46- Easy Month by Month Album DIY

A project that's near and dear to my heart is keeping a month by month scrapbook.

Every January, I prepare an album that has a layout for each month of the year.
That way I can print the photos I take for the month and put them right into this 
already prepared book.


Here's my 2015 album.
The cover is an old book cover.


Each layout has a journaling card that says what month it is,


 a piece of double sided pattern paper with lots of room for photos,


and an envelope to hold little mementos that I pick up throughout the month.

 
Here is February's layout.


The beauty of binding it with office rings is that I can always add to it.
If I take lots of photos one month, then I can add another piece of pattern paper or cardstock to hold the pictures.


 If I get a large memento that won't fit into my envelope, I can just punch holes
and add it to the book.


Here is the March layout.
See how they're all similar?


That's what allows me to put it together quickly.


After photos are added, each layout will be very unique.

If you would like to make an album like this, here's how.
It's really not hard at all.


Get a large book that you won't feel bad about cutting up.
My book measures 8"x 11 1/4".
I found it at the thrift store.
I went with one that has a simple cover- you could use a cover with an image on it.
An old children's book would be great.


Use a ruler and a box cutter and cut off the front and back covers.


You should end up with something like this.


You need 12 pieces of double sided pattern paper.
I used this coordinating line from Maggie Holmes.

Trim each piece of pattern paper to fit in your book.
It's always good to go about 1/4" smaller than the size of the covers.
I trimmed my pages to 7 3/4"x 11.

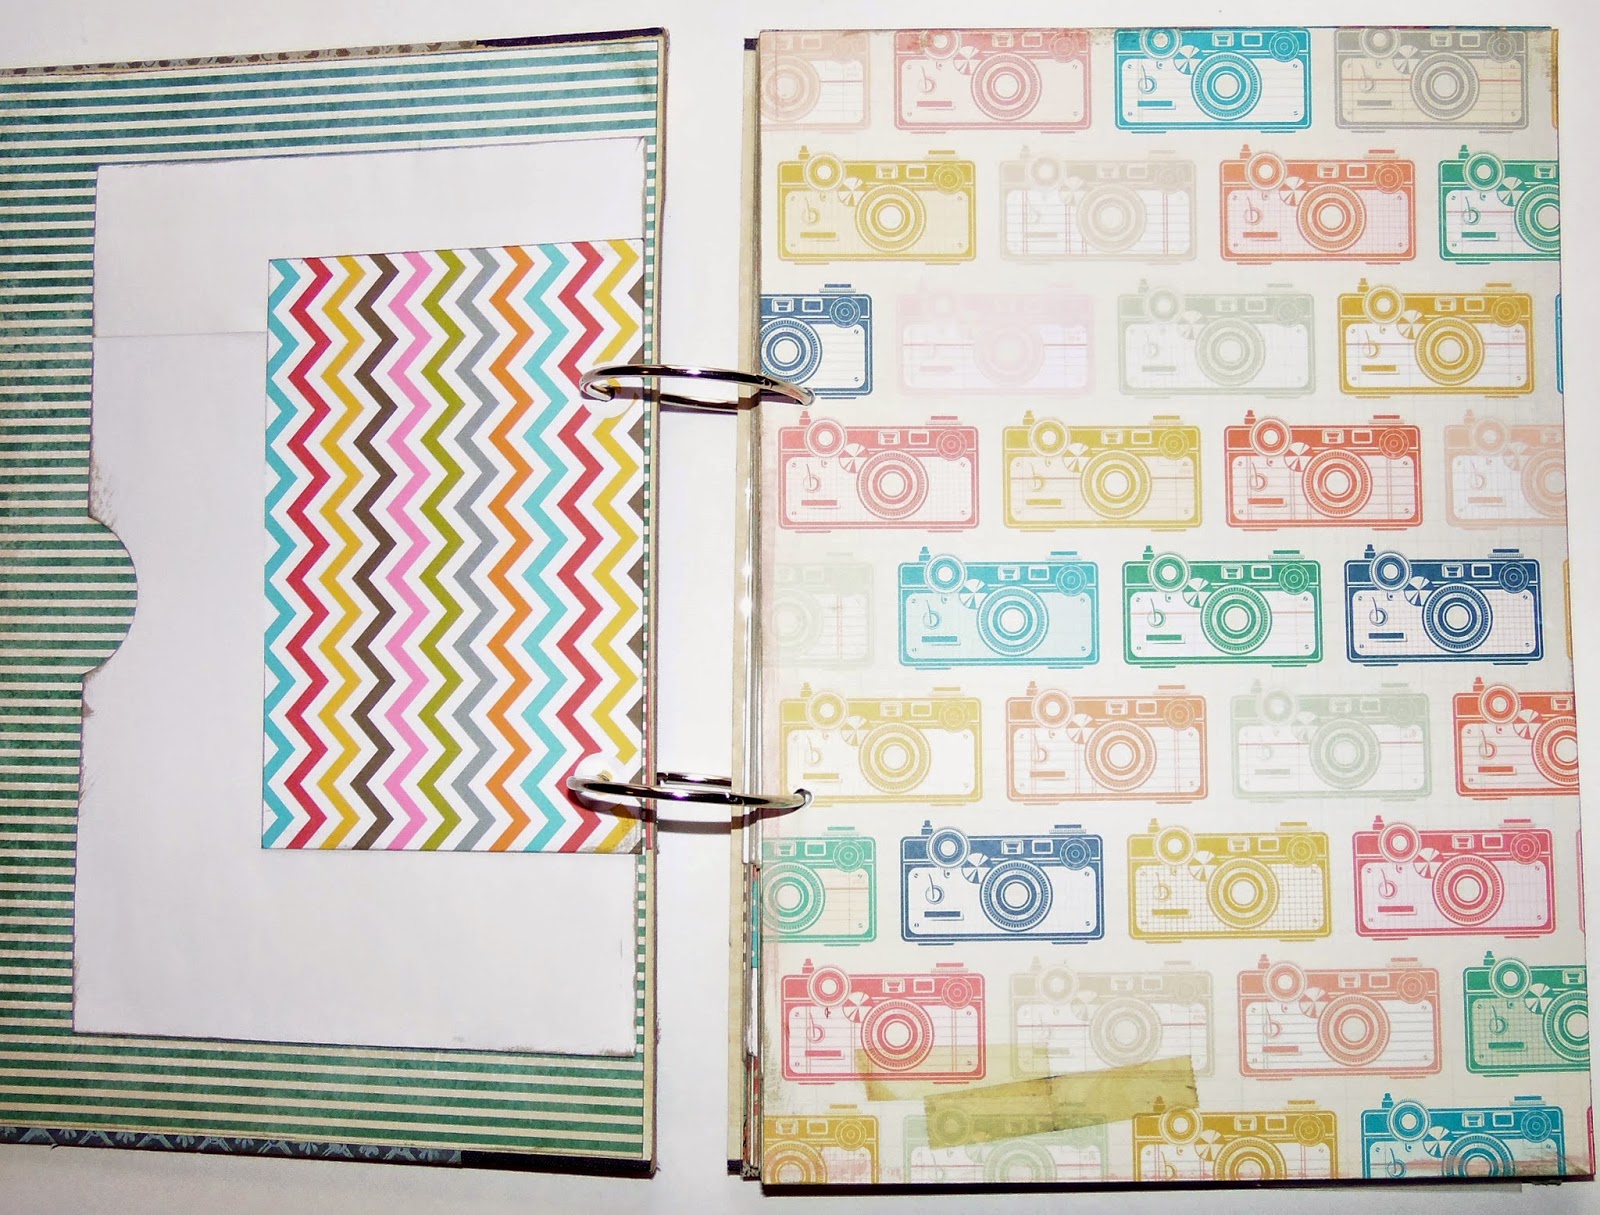
You'll need 6 envelopes that measure 9"x 12".
You could use the large manilla envelopes; I happened to have these white ones on hand, 
so that's what I used.


Cut each envelope in half. This way you'll have one for each month.
Depending on what type of envelope you use, your opening may be at the top.
Either top opening or side opening will work. You just want to have a place to put extra stuff.

I used a circle punch to cut a notch out of my openings.
I also used my scraps and placed a strip of pattern paper near the bottom of each envelope.


Finally, you'll need two office rings (they should measure 1 1/2" or 2").
I bought a set of Snap cards that have two cards for each month.
If you'd rather, you can use index cards and stamp the month onto each one.

Now you have your cover, your pages, your envelopes, your month cards, and your office rings.
Punch holes in all the pages and bind with the office rings.
One thing I always do when I bind an album with rings is place hole reinforcers on the holes
 on the backs of each page.

Add all your pages, then you'll be ready to add photos at the end of every month!


I find that keeping an album like this is such a fun way to document our year.
It also lessens the need I feel to scrapbook all the photos I take.

You can go here and here to see past month by month albums that I've made.

Thanks so much for stopping by and God bless.

I will praise the Lord with my whole heart
Psalm 111:1

Friday, January 16, 2015

Save Your Memories In A Jar

Today I'd like to revisit a project that I've done before
but I think it's so fantastic that I have to show you again.


It's a Memory Jar.
I believe it's the quickest way that you can store memories for the year.
You don't have to be crafty to do this.


Just get a jar.


Place a recent family photo in it.

Add the year to the front or the top of the jar.
I used rub-ons to place my numbers.

Then place things in it throughout the year.


This is our jar from last year.


It has lots of different items like:
movie stubs
souvenir pennies
armbands from event entrance
concert tickets
baseball tickets
fortune card
business cards- from where we ate for our anniversary and from my nail salon

Before dropping each item in my jar, I wrote a quick note on the back explaining a little about the event the item came from.


Here's my collection of Memory Jars.
This will be my fifth year to make such a treasure.


What do you think? Wouldn't it be fun to go through one of these at the end of the year?
You could make it part of your Christmas or New Year's celebration.


Thanks so much for stopping by and God bless.

But the fruit of the Spirit is love, joy, peace, longsuffering,
kindness, goodness, faithfulness, gentleness, self-control.
Gal. 5:22-23

This post is linked to The Handmade Hangout, Tatertots and Jello,
Be Different, Act Normal, and The Crafted Sparrow 

Monday, April 7, 2014

Mini Album Monday #27- Month by Month Album

Every year I make a month by month scrapbook to document what my family does during the year.
 I prepare the book at the beginning of January so that at the end of every month,
I can print off the photos I took and put them in this album.
 
I'll be honest. . . sometimes I get a month or two behind, although I always catch up!:)
Here's a look at my 2014 album. . .
 
 
I cut a file folder in half on the fold line for the front and back covers.
Then I used some papers from the Simple Stories Snap Life Collection.
This line worked great as it has all kinds of products
for documenting the year- and I love the color scheme!

 
I used a pack of page fillers that are actually made for a smaller album. I like the pop of color and randomness that they add to the album.
Doesn't it look fun?!? :)

 
Each month has a clear refill page (originally made for a photo album)
that fits two horizontal 4"x 6" pictures.
I placed two cards in each pocket: the top pocket contains the card that names the month.
The backs of these cards contain a quote.
The card in the bottom pocket is a journaling card for the month. I place this part to the back and let the pattern paper face out so it acts as a mat for a photo.

 
See the page on the left- it's the back of the photo filler page with the quote at the top and the journaling card at the bottom.
On the journaling card, I write what went on during our month.
(All I do is copy down this info. from our family calendar.)

 
For each month, I added a piece of kraft cardstock measuring 6"x 11 1/2" so that 
I have lots of room for photos.
I also added an envelope which is a 8 1/2" x 11" manilla envelope cut in half.
I always like to have lots of room to add extra mementos.

 
I followed the same scheme for every month.
I add as many photos as I can- usually just one photo per event though.

 
See how nice and full it gets?

 
When I add the photos, I try to add captions for each.

 
Here are some photos of the upcoming months so you can get the idea without my family photos getting in the way.
This is the intro page for April.

 
As you turn the page, you can see on the bottom left that I have a card to write the goings on for the month. Next, there's a decorative page just waiting for photos.

 
After that page, there's the blank kraft cardstock ready for photos.
That page turns and there's a large envelope to place fun stuff in.
 
That's it.
I find that when I prepare an album like this, it's easy if I just follow a pattern throughout each month. Notice that there's nothing really fancy about it either- just a file folder, some photo album refills, kraft cardstock, and a few pieces of pattern paper.
I try to keep things simple:)
 
If you like this idea, you can go here and see some of my past year in review albums.
 
Thanks for stopping by and God bless.
 
And my soul shall be joyful in the Lord; it shall rejoice in His salvation.
Psalm 35:9
 
 This post is linked to Skip to My Lou, Plucky's Second Thought, and The Dedicated House