Showing posts with label mini albums. Show all posts

Monday, August 15, 2016

Mini Album Monday #79- Family Album

Today for Mini Album Monday, I have a fun family-themed album to share.
It showcases my mom's parents and siblings.


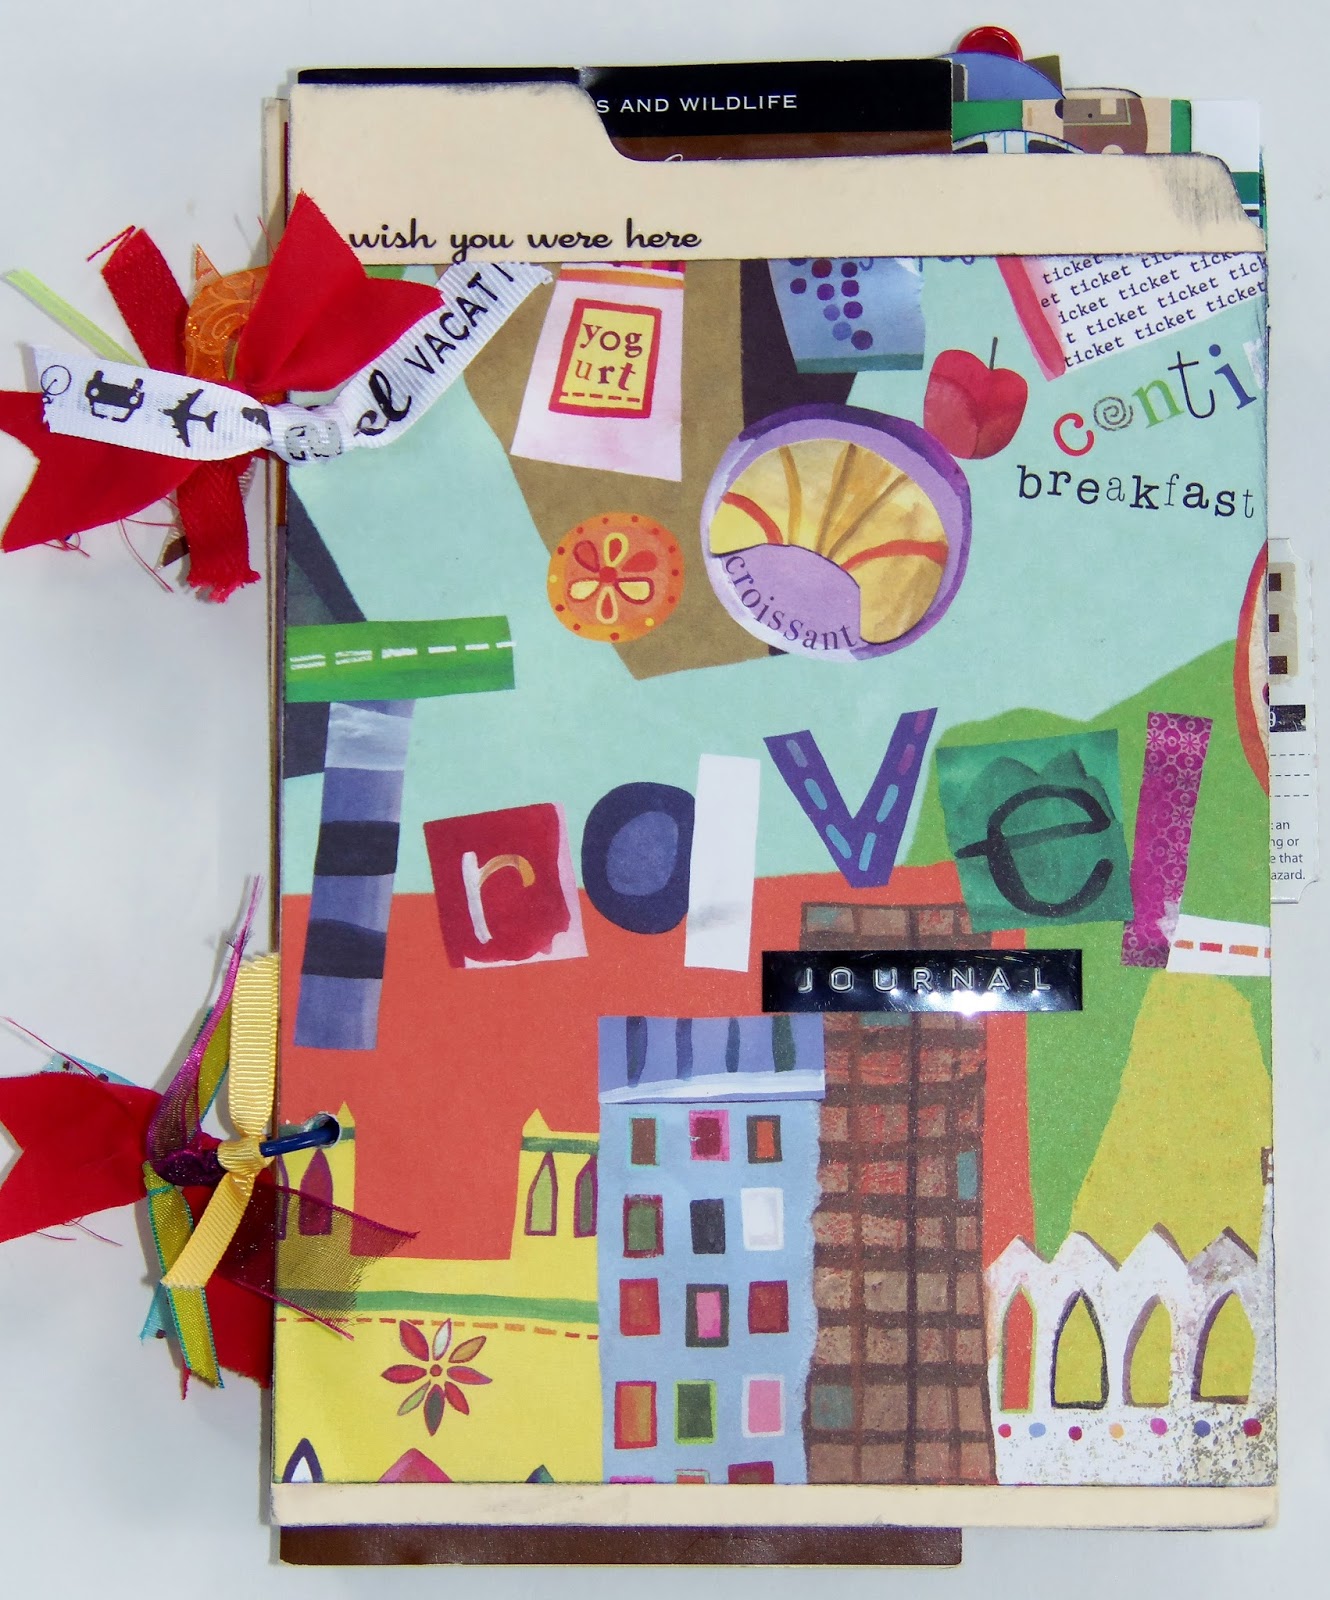
I chose green pattern paper with family themed words on it for the covers.
I also used some coordinating green paisley paper throughout the rest of the album.


The interior pages are actually one large piece of cardstock that measured 18"x 26".
I folded it in half, then folded up the bottom 2 1/4" on each side to make the pockets.
I then accordion folded every three inches to make the pages.


I started with an old family photo on the first page
and a bit of information about the family on the second page.
I had my mom write the journaling so that her handwriting would be documented in this book.


Each page has a pocket.
I left the very first pocket empty, but in the second one, I put a recent family photo.


The next two pages feature my grandparents.
You'll notice that the only pattern paper I used was small pieces to cover the fronts of each pocket.


In each pocket is a tag with information about every family member.
Here are the prompts I used:
Name
Born
Married to
Children
Known for
My mom filled in the info on each of the tags.
On every tag (except my grandfather's), I included a small photo of that family member when they were young. I couldn't find a photo of my grandpa as a boy.


The next two pages feature my mom's older brother and sister.


Here is the backside as the album is pulled open.


The first two pages on the back feature my mom and her younger sister.


The last sibling, her younger brother, is here on the left with a quote about family on the right.


I adhered the folded cardstock to two pieces of chipboard for the covers
 and used a ribbon for closure.
The only embellishments I used in this album are different brads and ribbons at the top of each tag.
I am so glad to have this album with photo and details about aunts and uncles who I unfortunately don't get to see very often.
Do you have any photographic records of your family?
If you're a mini album lover like me, swing by here every other Monday
to see a new and different mini album.
Thanks for stopping by and God bless.
I have chosen the way of truth
Psalm 119:30

Monday, August 1, 2016

Mini Album Monday #78- Large Envelope Album

Oftentimes I come across different office supplies in my second hand shopping
and I always pick them up.
I especially love to find envelopes in different sizes.
I recently went to an estate sale and bought some large 10"x 13" white envelopes.
I couldn't wait to turn them into a mini album.

Here's the cover.
I got the Hello Life card out of a package of Tim Holtz journaling cards.

I used three envelopes and cut them in half which gave me six pages.
The outside two are my covers. I cut a piece of chipboard to fit inside them
to give the covers some stability.


I placed the open sides of those envelopes to the left so that the open side would be in the binding.


The rest of the envelopes have the open sides to the right, so they can act as pocket pages.


I added a strip of decorative pattern paper to the outside edge of each white page.
In between the pages I added smaller pages.
 

Each smaller page flips over to reveal the opposite side envelope.


Each envelope has a piece of cardstock in it which gives more room to add memories.


I bound it with my Bind-It-All machine.

I had such a good time making this album. It was easy and went together very quickly.

Have you ever created an album out of office supplies?

Thanks for stopping by and God bless.
 
 But the Lord is with me as a mighty, awesome One.
Jeremiah 20:11

This post is linked to That DIY Party, Sugar Bee Crafts,
I Gotta Create, and The Crafty Blog Stalker.

Monday, July 18, 2016

Mini Album Monday #77- Travel Album

Last month I showed you a mini album that I made using half of a file folder.
Today I'd like to show it to you stuffed full of photos and memories.

Warning: this post is very photo heavy!


The pattern paper that I used on the cover had the word travel printed on it.
I added the word journal that I had printed off from a label maker.

I used this album to document a summer's worth of travel memories.


At the very beginning of the book, I added a pamphlet.
That's the beauty of having an album that is bound with office rings: you just have to punch holes in whatever you want to add.

I actually added quite a bit to this album as I was putting in the photos.

 
It's always nice to pre-make an album before I need it
 so that all I need to do is add photos and journaling.


For the next page, I added a park map and put photos on it.


I like to get pressed pennies when we take trips.
This book includes several. The first one is in the lower right corner of the pamphlet.


Here is another park map.
It worked out adding the extra pages because it gave me lots more room for photos.


I always keep tickets when we go places.
Here I stapled a ticket to a pamphlet.

 
The page on the right was originally the second page in the book.
But I added so many extra pages that it is now the seventh page.


I like adding pamphlets to my albums. That way they're right next to our photos from that place. 


I used this photo as a pocket and placed tickets behind it.


The tiny green card contains a pressed penny on the front. . . 


and another on the back.
The next page is a piece of ledger paper. I used it to add stories about our trips.


The next page is a paint chip. I used a photo as a pocket here, too.


The next two pages are just pieces of plain cardstock with a few embellishments added.


You can see how many photos I was able to include in this album.


Here's a second piece of ledger paper.


When we're on trips, I always try to keep a notebook handy so that I can jot down funny or memorable things that happen on our trip.


I use random items like tickets as page tabs
which I like to have when I make an album with different size pages.


I love going back and reading the journaling.
It's surprising show much of that stuff I would forget if I hadn't written it down


The final page is half a manila envelope which gave me room to add extras.
I put more pamphlets in here.


On the inside of the back cover, I added an envelope so that I could include a photo CD of pictures from this summer.


The back cover matches the front.

That's it, folks.
Have you ever done a summer album to document your activities?

Thanks for stopping by and God bless.

And let the peace of God rule in your hearts,
to which also you were called in one body; and be thankful.
Col. 3:15

 This post is linked to Between Naps on the PorchThe Dedicated House,
I Gotta Create, I Heart Naptime, and Plucky's Second Thought.
 

Monday, June 20, 2016

Mini Album Monday #76- Travel Album Made From File Folder

In the midst of this already hot summer, I thought we could take a look at
 a travel themed mini album.
We've always done most of our traveling during the summers which is kind of crazy when you consider how hot it gets here!


The cover is half of a file folder cut in half.
(I just love making albums out of office supplies!)


The inside cover has a strip of pattern paper and a label sticker stamped with the phrase
"This belongs to".
The first page is just a piece of 8 1/2"x 11" piece of cardstock cut in half
with a strip of pattern paper along the long edge.


The next page is part of a pattern paper with a map design.
I cut out a bracket on the outside edge.
The tab towards the bottom is actually a stamp sticker folded in half around the page.

I always like to add tabs to my pages to make them easier to turn.
 

On the back of the map paper, I added a stamp that has the definition of travel.
The next page is another half sheet of cardstock with a bit of pattern paper.
I added a ticket folded over the edge. You'll notice that I use tickets quite a bit.


In between the next two pages, I added this tiny pink card that says, "Remember."
It just gives a bit of space to add a story.


The next full page is a sheet of ledger paper turned sideways.
I added a stamp at the top that says, "Notes".
The embellishment is just a circle punch with a stamp on it.


The next page is another small one: it's an old postcard.
I can leave the photo that's printed on it or just cover it with my own photo.


I thought the backside of the postcard would be a cool place to add journaling.
The next page is another piece of cardstock with a strip from an old map.


To give this cardstock a bit of a different look, I used a scalloped border punch
 along the outside edge.


Here's another piece of ledger paper.
I figure this will leave lots of room for journaling or can be covered with photos.


What mini album would be complete without a paint chip?
The embellishment is part of a map punched out with a circle punch.


I covered the back of the paint chip with pattern paper.
The next page is taken from a French travel guide. I adhered it to a piece of cardstock.
I added a ticket at the bottom corner with a clip at the top to add mementos.


The last page has a notebook page border compliments of another punch.


The final page is half of a manilla envelope added to hold mementos from our trip.


I also added an envelope on the inside of the back cover which could hold mementos or a photo cd.


Here's the back cover. (I just love this travel themed paper.)

The beauty of binding this book with office rings is that extra pages/pamphlets/other memorabilia
 can be hole punched and added right into the book.

Stop back by on the next Mini Album Monday to see this book full of photos and memories!
Thanks for stopping by and God bless.
Giving thanks always for all things to God the Father
in the name of our Lord Jesus Christ.
Eph. 5:20