Friday, September 12, 2014

Chipboard Letter Covered With Tickets DIY

Who doesn't love monograms?
Especially one. . . 

 
covered in tickets!
Isn't this fun?!?

 
If you'd like to make one, all you need is:
a chipboard letter (I got mine at Hobby Lobby)
tickets (any color)
paint (in the color of your tickets)
Mod Podge
foam brush
sandpaper

 
Start by painting the edges of the letter.
After painting, I washed out my foam brush so I could use it for the next step.
 
 
Once the paint is dry, start adhering the tickets using Mod Podge.
Make sure you get glue all along the edges so they won't peel up.
When you apply one, press it tightly especially along the edges.

 
After about an hour, use a small piece of sandpaper along the edges to get rid of the excess tickets.
See how the painted edges add to the finished look?
 
 
 I think turned out cute and unique.
Mine is for my alphabet wall, but this idea would be fun as decor for a birthday party, too.
 
Thanks for stopping by and God bless.
 
O Lord of hosts, blessed is the man who trusts in You!
Psalm 84:12


Thursday, September 11, 2014

Thrifty Thursday #134

My thrifty finds are short and sweet today. . .
 
 
I got these three pretty saucers for a quarter apiece.
I just love serving dessert on cute mismatched plates.
My boys and hubby don't find it as cute as I do, but it makes me happy:)

 
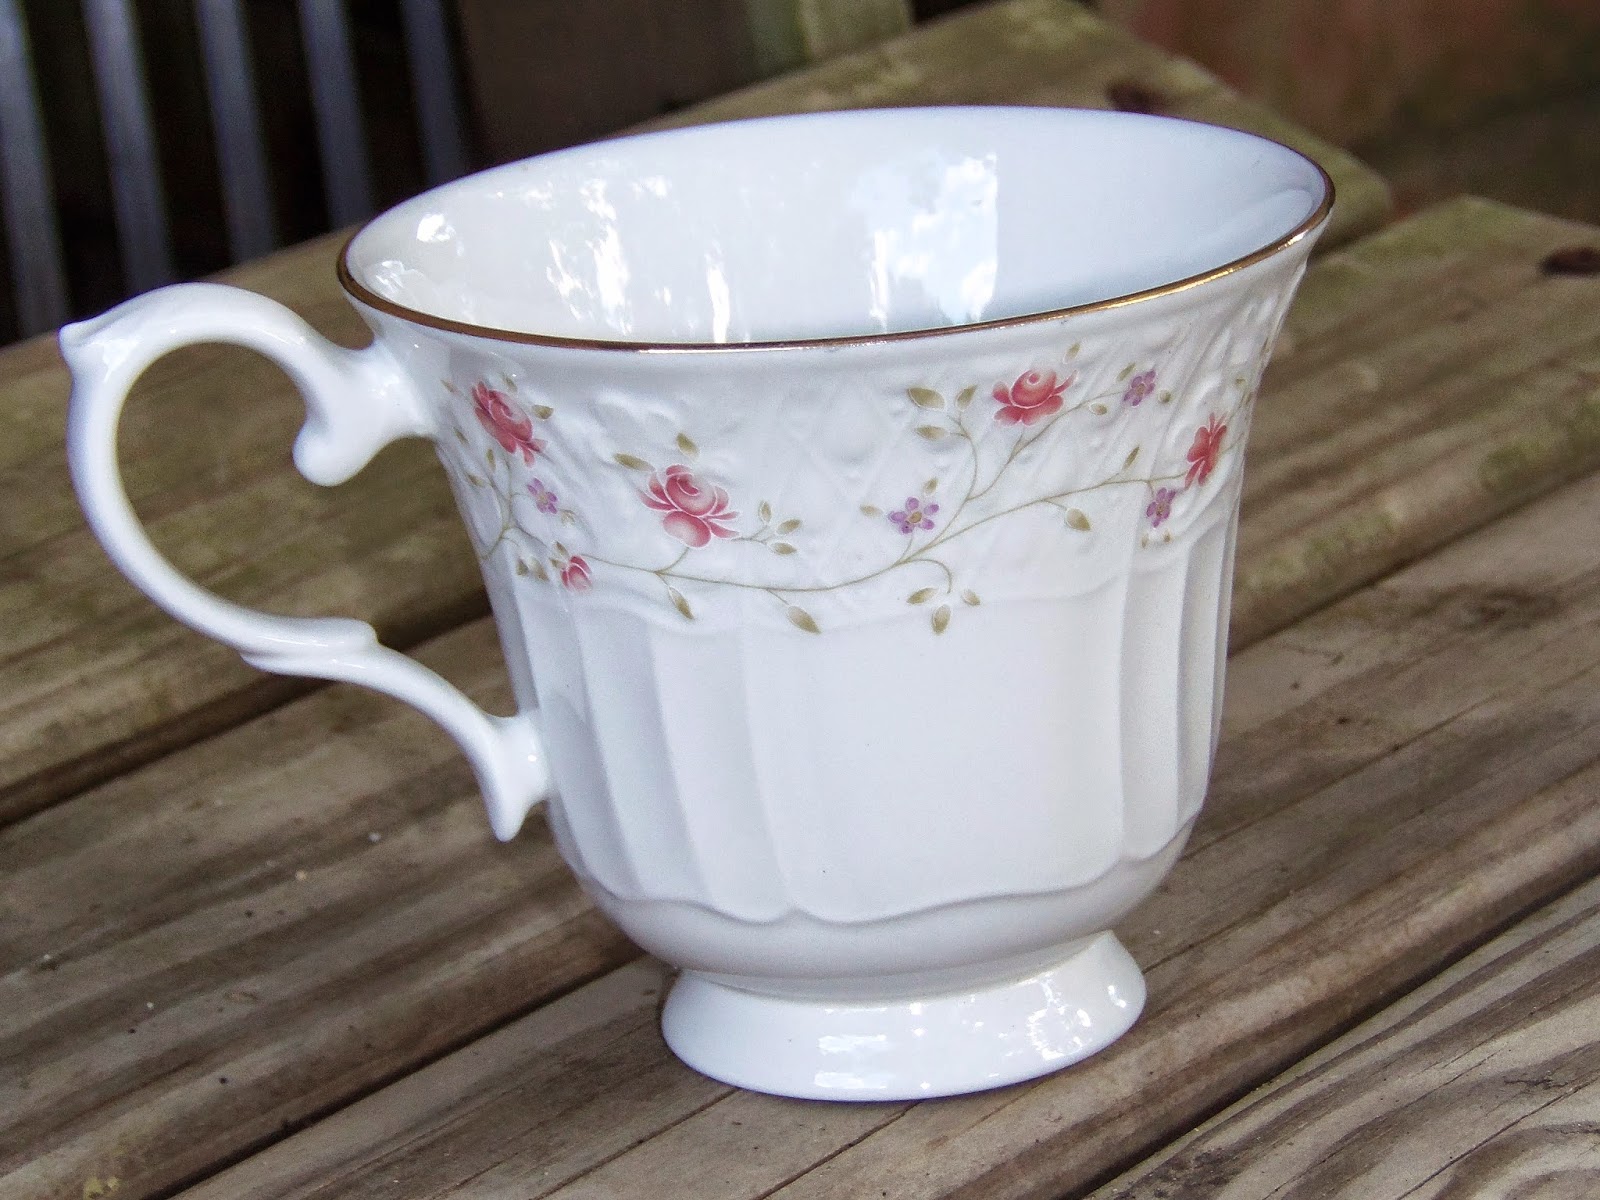
This little teacup was only a quarter too.
I'd like to learn how to make my own candles in teacups.
 
 
I found these three cookbooks and immediately thought of a friend who collects vintage cookbooks.
Two of them are the Joy of Cooking and the third one is Ladies Home Journal Cookbook.
They are copyrighted 1954, 1963, and 1964.
My friend was thrilled to add these to her collection for $1 apiece.
Won't they look awesome sitting on a shelf in a kitchen? 
 
 
This metal embroidery hoop was only a quarter.
I don't find these very often, so I pick them up when I do.
I think they are great to use when making mobiles.

 
My final find was the Deal of the Day!
My son recently got into archery. He bought a nice bow and bow case, but was still shopping around for a target- they're so expensive!
I spotted this one for $10. My son happened to be waiting for me in the car, so he was able to come in and get it. He was thrilled. He said that this size and brand of target brand new costs around $100.
I just love finding a good deal- especially at the thrift store!
 
That's all, Folks!
 
Happy treasure hunting!
Thanks for stopping by and God bless.
 
Righteousness will go before Him,
and shall make His footsteps our pathway.
Psalm 85:13
 

Wednesday, September 10, 2014

Layout of the Week #94

I sure wish that I had more time to scrapbook.
Unfortunately, with everything else going on around here, I don't get to do it very often.
So it sure is a good feeling when I get a layout done.
Know what I mean?
If you have an hour on your hands and would like to whip up a quick scrapbook page, you're in the right place! Just follow these steps and you'll complete this layout before you know it.
 
 
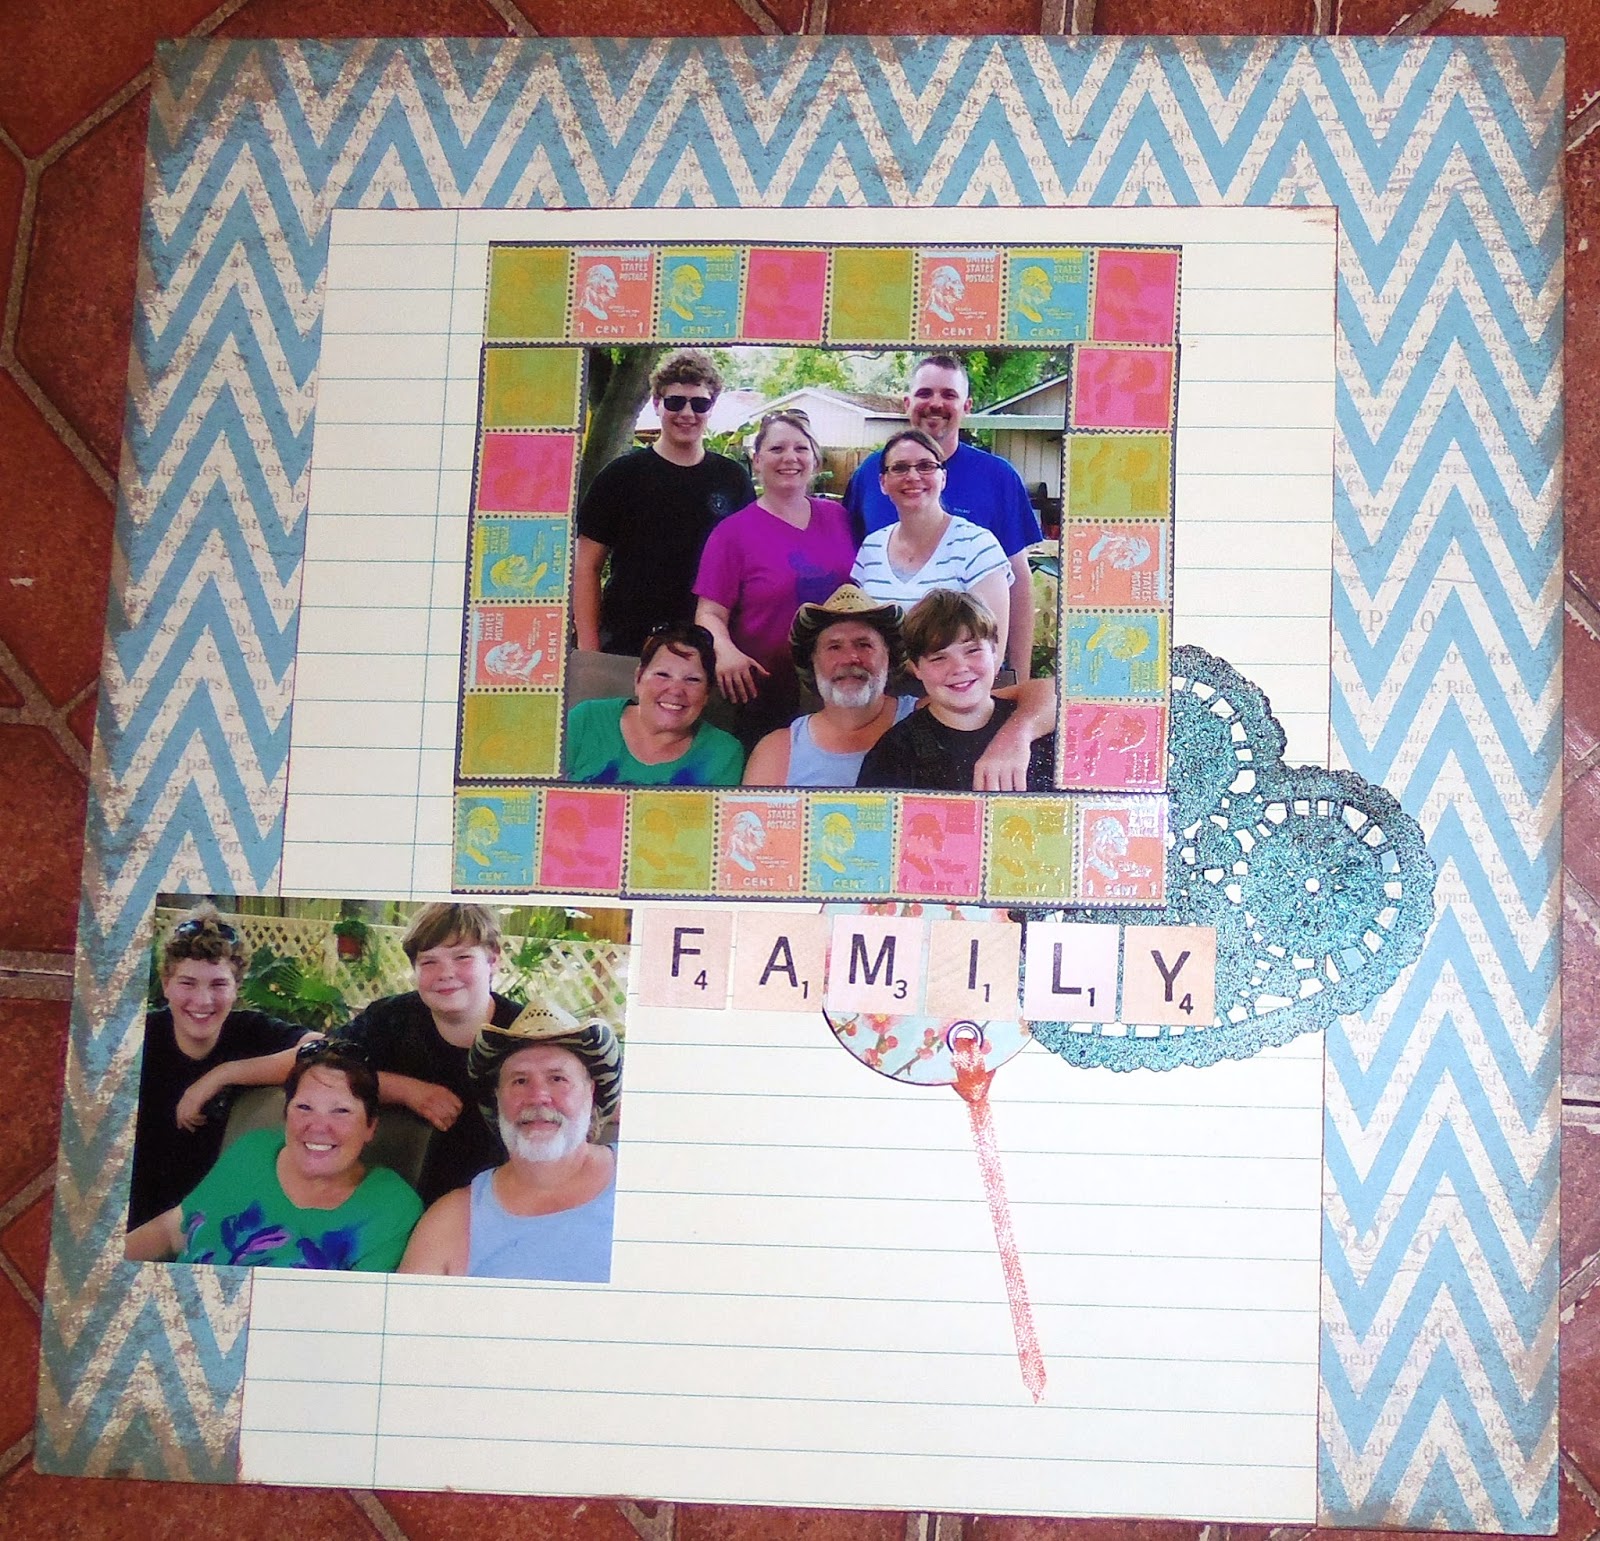
Here's the layout we'll be making.

 
To create it, you'll need:
one piece of 12"x 12" pattern paper
one piece of 8 1/2"x 10 1/2" pattern paper
two 1"x 12" sticker strips or strips of pattern paper
letter stickers for the title
decorative tape (I used masking tape)
8 embellishments of different sizes
adhesive
paper trimmer

 
To start, adhere the smaller piece of pattern paper to the larger one along the bottom leaving equal amounts of space on the left and right sides.

 
Now, place a 4"x 6" photo about 1" from the top of the smaller paper.

 
Place two of your larger embellishments below the right corner of the photo.
Trim your sticker strip or 1" paper strip to act as a photo mat.
I cut mine into four strips to go around the photo.
The bottom strip should slightly overlap the two embellishments.

 
Using your letter stickers, place your title overlapping your two embellishments.

 
Trim a photo to 2 1/2"x 4 1/2".
Place it below the lower left corner of the first photo.

 
Place one strip of decorative tape along the top left corner of the smaller pattern paper.
Place two more strips overlapping the bottom right corner.
I placed two embellishments (file tabs) along the edges of my tape.

 
Place one more embellishment along the bottom strips of tape
and one overlapping the top strip of tape.
Place two embellishments at the bottom right corner of the larger photo
and one more below the title. 

 
Write your journaling below the lower photo.
That's it!
How do you like that?
 
 
Thanks for stopping by and God bless.
 
Show us your mercy, Lord, and grant us your salvation.
Psalm 85:7


Tuesday, September 9, 2014

Recipe of the Week #135- One Pot Cheesy Chicken Taco Rice

One Pot Cheesy Chicken Taco Rice
1-1 1/2 lbs lean ground chicken
1/2 yellow onion, diced
1 Tbsp Canola oil, plus extra drizzling to cook the rice
1 1/2 cups uncooked instant brown rice
1 tsp cumin
1/2 tsp salt
1/2 tsp garlic powder
1/2 tsp chili powder
2 cups chicken broth
1 jar salsa
1 can corn, drained
1 can black beans, drained and rinsed
1 Roma tomato diced
3/4 cup shredded cheddar cheese
1 green onion
cilantro, to taste

Place oil in skillet. Add chicken and onion. Cook until chicken is no longer pink.
Scoot the chicken off to the side of the pan and drizzle oil on the empty side. Add uncooked rice and toss it to toast it.
Stir in spices, broth, salsa, corn, and black beans. Bring to a simmer, then reduce heat to low. Cover and cook for 18 minutes or until rice is tender.
Sprinkle tomato and cheese over the rice. Cover the pan until the cheese melts. Sprinkle cilantro and green onion over the top and serve.

Note: I used boneless chicken breasts cut into cubes instead of ground chicken. I also used homemade salsa instead of jar salsa.

This dish turned out pretty good! I love when I can make a whole meal in one skillet:) I served this with chips and homemade salsa. My family gobbled it up!

Thanks for stopping by and God bless.

And it shall come to pass
that whoever calls on the name of the Lord
shall be saved.
Acts 2:21

This post is linked to Skip to My Lou, My Girlish Whims, and Daisy Cottage Designs.

Monday, September 8, 2014

Old, Chippy, Chalkboard Door

Well, I didn't get as many projects done over the summer as I had hoped,
but there is one big thing that I tackled.
I sanded and painted this old door.
 
 
I just love old solid wood doors.
 
I have three in a display in my livingroom,
one in my kitchen,
and one as my headboard in the bedroom.
That's a lot of old doors!
 
 
Here's what it looked like.
I got this from my neighbor's driveway.
It had a sign on it that said, "For free."
The sign may as well have just said, "Laura, come get me!"

 
I started by painting the center panels with three coats of chalkboard paint.
Then I painted the rest of it with one coat of a lemon-y yellow.
It already had an awesome old, chippy look. There was one small area that looked like it had tape over it when it was painted with the white, so I hoped the yellow would cover that area.
It did- well enough anyway!

 
Once that dried, I sanded it, and applied a brown antiquing wax to give it this aged look.
I also conditioned the chalkboard sections.

 
What do you think?
Pretty cute, huh?
I'm thinking it would look good hung lengthwise in my kitchen as a message center.
 
Thanks for stopping by and God bless.
 
For the Lord your God is gracious and merciful,
and will not turn His face from you if you return to Him.
2 Chron. 30:9


Friday, September 5, 2014

Complete This Super Easy Necklace In One Step

This has to be the simplest piece of jewelry I've ever made.
For real.
It only took one step.
Check it out.
 
 
The pendant has a beautiful vintage-y look.
The necklace is several strands of gray ribbon.

 
I got both pieces at Hobby Lobby.
The clasp is already attached to the necklace.
The pendant is double sided.
The only other item I needed to make this was one jump ring.

 
Here's the one and only step:
Attach the pendant to the necklace with the jump ring.
 
Here's the backside of the pendant.
Pretty, huh?

 
That's it! Totally easy, don't you think?
 
Thanks for stopping by and God bless.
 
That they may set their hope in God,
and not forget the works of God,
but keep His commandments.
Psalm 78:7
 
 This post is linked to Today's Creative Blog, The Handmade Hangout,


Thursday, September 4, 2014

Thrifty Thursday #133

Welcome to another freebie edition of Thrifty Thursday!
The only thing I like better than a good deal is a free deal:)
I was recently given some items from a friend who is downsizing
due to extenuating circumstances in her life.
Here's what I got. . .
 
 
this gorgeous hand painted vase.
It was made in Bosnia.
I love all the colors!

 
I also got two microphone stands circa the sixties or seventies.
This one may not look like much, but I'm thinking it would make a rockin' floor lamp!
Don't you?

 
I also got this old music stand.
I will probably trade my older son for the music stand he has in his room.
I think I may paint it a bright red to match his drum set.
His stand, which is older and prettier, will come out to the living room
and hold a scrapbook on display.

This lovely friend of mine also has a beautiful buffet that she's letting me have to refinish,
but I don't have room for it in my garage yet. I'll show you a photo once I get it.
 
Thanks so much for stopping by and God bless.
 
Blessed is the man whose strength is in You
Psalm 84:5
 
This post is linked to My Salvaged Treasures, Junkin' Joe, Craft-O-Maniac