Wednesday, September 12, 2012

Layout of the Week #28- Using Graph Paper

     Today we're going to incorporate yet another office supply into our layouts- graph paper! I have found oodles of this paper at thrift stores and I often turn to it when papercrafting.    

Here is the layout we're going to make.
 
You'll need:
one piece of 12"x12" card stock
one piece of graph paper trimmed to 6 1/2"x10"
two strips of pattern paper 1/2" x 12"
one piece of pattern paper trimmed to 5"x5" (I used a page out of an old book)
a couple of embellishments (I used a strip of map paper and a ticket)
white card stock for the photo mat
trimmer
adhesive
 

You'll start by adhering the 1/2"x 12" strips to the top and bottom of the cardstock. Ink the edges of them if you'd like- I did.

Then you need to tear the right edge off of the graph paper.It doesn't have to be neat- it is supposed to look rough. Ink the edges if you'd like. Adhere the graph paper about 1/2" from the left side of the card stock centered from top to bottom.
 
 
Trim your pattern paper to 5 "x5 ". Ink the edges if you'd like. Adhere it about 1/2" from the bottom of the graph paper and about 1/8" from the left side of the card stock. It should hang over the left side of the graph paper.
 
 
Now you need to trim the white card stock according to the size of your photo. I left the bottom edge longer so it would make it look like a Poloroid photo. Ink the edges if you'd like. Adhere it about 1" from the top of the graph paper centered from left to right on the graph paper.
 

Add your title in the lower right corner leaving enough room for journaling below it.
 

Add your journaling. I used my own handwriting.
Place an embellishment on the upper right corner of the photo. Place another embellishment on the upper left corner of the graph paper.
See how easy it is to use something as simple as graph paper on a scrapbooking layout? Easy-peasy.
 
 
Here's another example where I used graph paper at the top of the layout behind the photos and also for the journaling strips.

     Now go dig into your stash of graph paper and whip up a quick layout:)

     Thanks for stopping by and God bless.

So do not fear, for I am with you;
do not be dismayed, for I am your God.
I will strenghten you and help you;
I will uphold you with my righteous right hand.
Isiah 41:10

This post is linked to 52 Mantles, Shabby Creek Cottage, and My Girlish Whims.


Tuesday, September 11, 2012

Recipe of the Week #34- Mexican Chicken


Mexican Chicken
1 lb chicken breasts
1 tsp taco seasoning
salt, to taste
1/2 cup enchilada sauce
4 oz shredded cheddar cheese
3 green onions, chopped

     Sprinkle the chicken on both sides with taco seasoning; grill or sauté. Cut the chicken into cubes and place in a greased 8x8" baking dish; season with salt to taste. Add the enchilada sauce and toss to coat the chicken. Sprinkle the cheese over the chicken and bake at 350º for 10-20 minutes, until hot and bubbly. Scatter the green onions over the top.

     Serve on tortillas with a side of rice.

     My family absolutely loved this! We'll be eating it at least once a month.

     I grilled my chicken on my Wolfgang Grilling Machine which was quick and easy. Before placing it on the grill, I sprinkled taco seasoning from a packet on both sides of the breasts. I actually doubled this recipe thinking that 1 lb of chicken wouldn't be enough. It would have been- we had plenty of leftovers.
This is my hubby's version complete with spicy salsa, peppers, and refried beans.

     Thanks for stopping by and God bless.

For His merciful kindness is great toward us, and the
truth of the Lord endures forever. Praise the Lord!
Psalm 117:2

     This post is linked to Making the World Cuter.

Monday, September 10, 2012

Jute Wreath with Fabric Rosettes

     Happy Monday to you all.

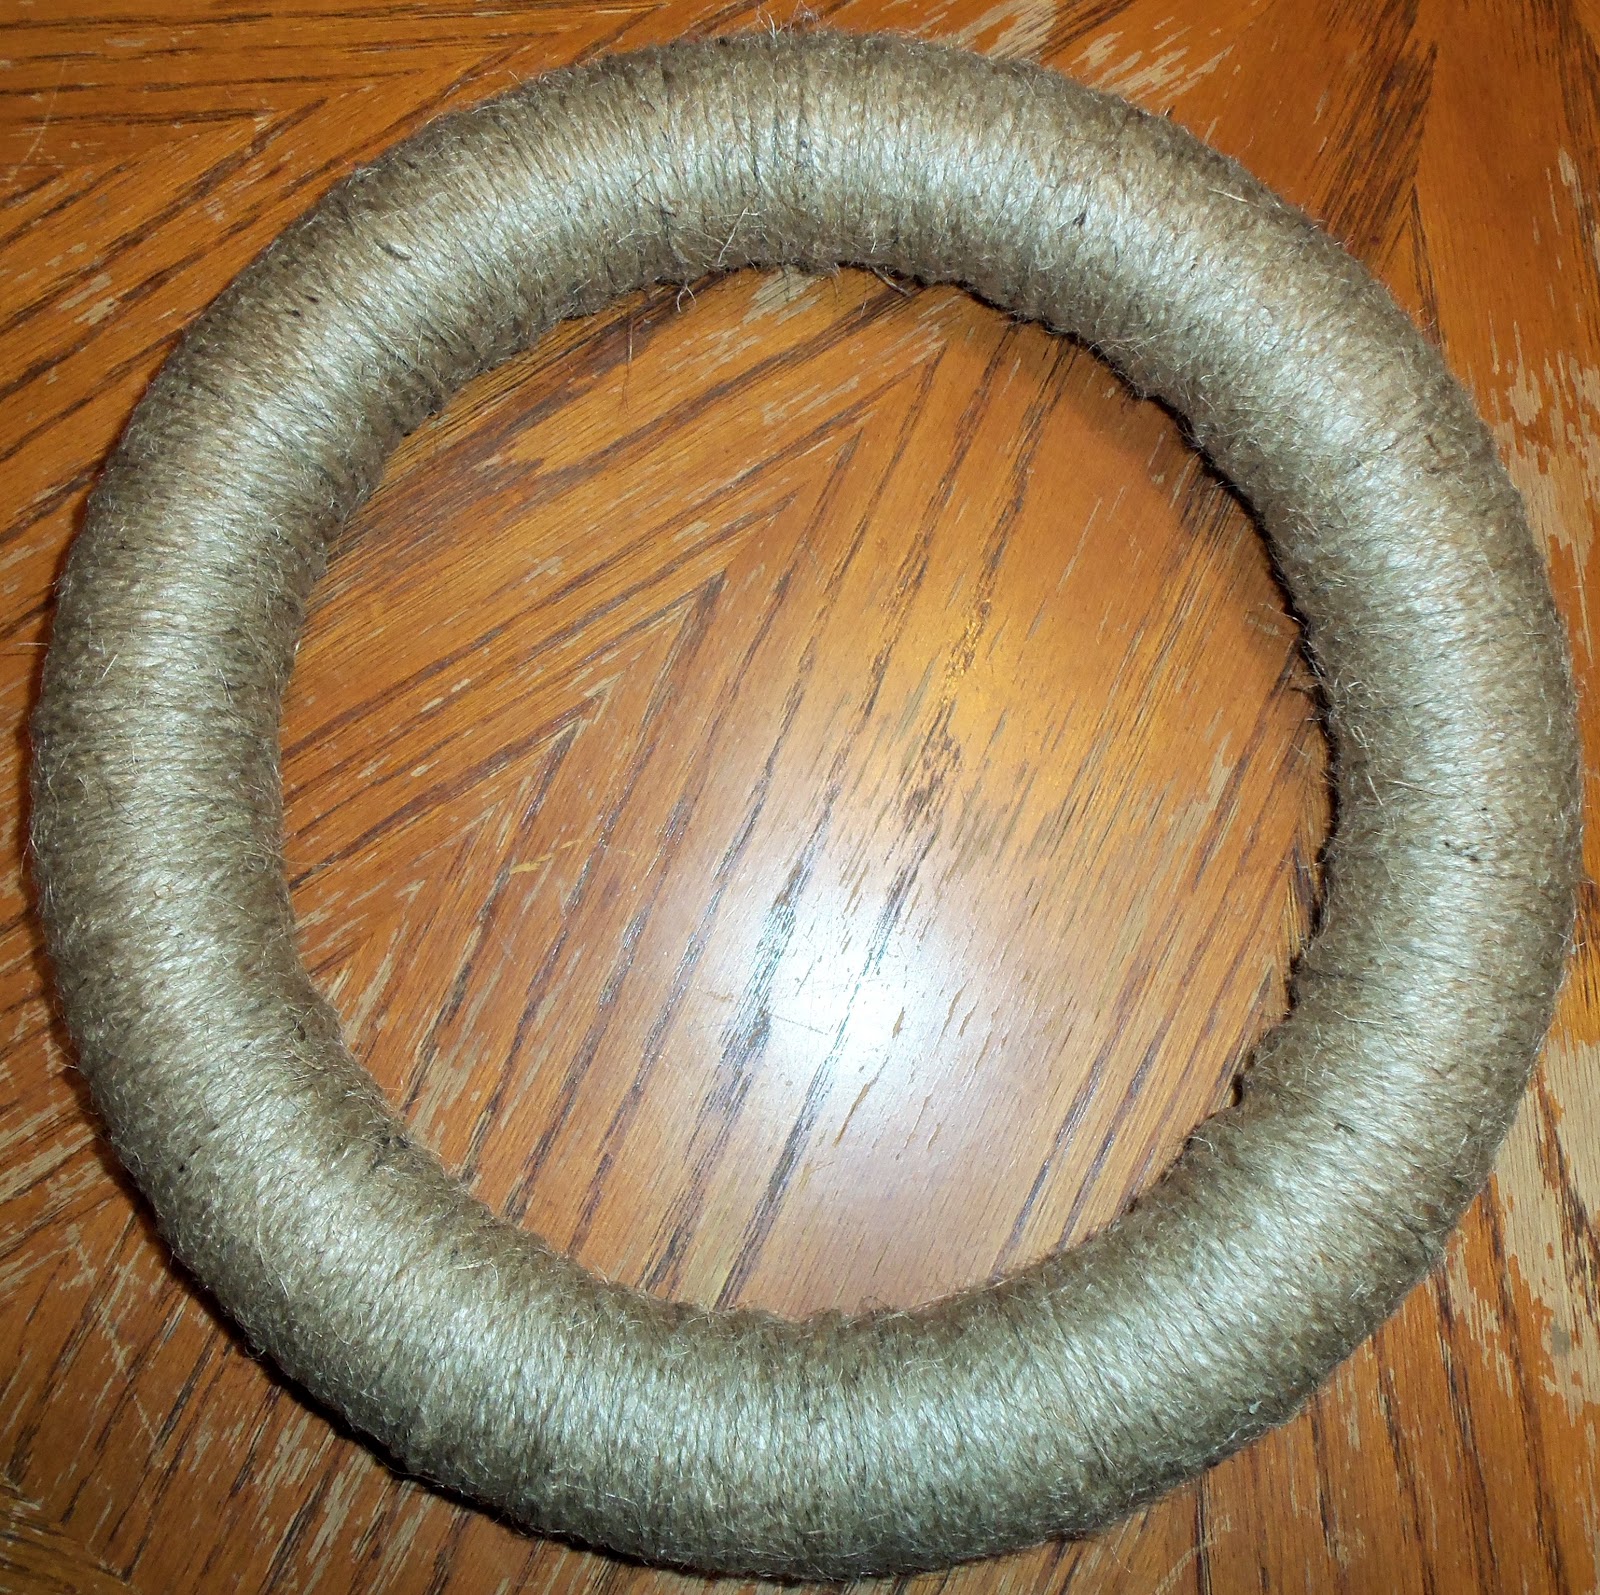
     Today I have a tutorial for a simple jute wreath with fabric rosettes. I love the natural look of jute and the colorful fabric flowers seem to pop on the brown background.

     My favorite part of  this project is that the rosettes are removable so you can change them with the seasons!

     To make this, all you need is:
     one foam wreath that you can find at any craft store (I used a 12" wreath that I got at a thrift store)
     a roll of jute
     fabric scraps for your flowers
     glue gun
     fabric glue
     alligator hair clips (mine are 1 3/4")


I started off by wrapping my wreath with jute. I cut the jute into strings of about two feet then used a little bit of hot glue along the back. I feel the shorter lengths are easier to manage than using the whole roll.
Wrap it until the entire wreath is covered.
Then make four fabric rosettes. This is where the fabric scraps and fabric glue come in. If you don't know how to make a rosette, you may go here for directions.
Use your glue gun to attach an alligator hair clip to the back of each rosette.
Then using the clips, slide your flowers onto the wreath. This is a side view of the flowers on the wreath. The clips are not visible from the front.

TA-DA!
You now have a pretty wreath that you'll be able to keep out all year. As each new season begins, you can switch out your rosettes.


     This would make a good gift for a teacher or perhaps even for a mother-in-law with a box of rosettes that she could change out every few months. It would also make a great housewarming present.
     Thanks for stopping by and God bless.
For God so loved the world that He gave His only
begotten Son, that whoever believes in Him
should not perish but have everlasting life.
John 3:16

Friday, September 7, 2012

Homemade Clorox Clean Up

     Hey Guys, we're going to veer a little off our crafty track today and talk a little about cleaning. Now, cleaning isn't my favorite thing to do, but it's far from my least favorite thing to do. (Unless you count dusting. That is on my list of least favorites.)

     I found this recipe online some time ago and it was so easy to mix up, I whipped up a batch right away. I've kept some on hand since. It's for a homemade version of Clorox Clean Up. I love this stuff. I use it in the kitchen and in the bathroom. It gets our shower stall shining!


     All you need to make it is:
1 empty and rinsed out bottle of Clorox Cleaner (or an empty spray bottle like mine)
1/4 cup bleach
1 tsp laundry detergent

     Fill the rest of the bottle with water and shake it up.  That's it. Pretty easy, huh? Too bad we can't get through with the cleaning that quickly!

     Another perk is that it's made from products that you always have at home and it's affordable. I'd give it a 10 on the frugal scale.:)

     Note: I used a 32 ounce spray bottle . The Clorox Spray only holds 27 ounces, so I only filled my bottle up to 27 ounces.

     Thanks for stopping by and God bless.


Then He said to them all, "If anyone desires to come
after Me, let him deny himself, and take
up his cross daily, and follow Me!"
Luke 9:23
     This post is linked to Happy Hour Projects, Five Days Five Ways, and My Repurposed Life.

Thursday, September 6, 2012

Thrifty Thursday #33

     Today I only have one item for this weekly post, but what a doozy it is!
     I made a quick round of my three usual thrift stores and I literally found nothing. . . until I walked through the last room of the last store and my eyes beheld this. . .

very old sewing machine!!!

      I figured I wouldn't be able to afford it because I've never seen one of these for less than $50. I sent my younger son to the front desk to ask for the price. He came back and said it was $15. Well, I couldn't believe it! I sent a photo to my hubby who happened to be on his way home from work. He swung by to take a look. Long story short- this old beauty belongs to us now!

Here it is folded up into its cabinet. I know, it needs work- but $15, People!


Here's a close up of the sewing machine. Sigh. . .

     My hubby looked it up and determined that it was made in 1936. Whew! I do believe this is my deal of the year! 

     My hubby even offered to help me fix it up. What a sweetie.

     Thanks for stopping by and God bless.


Therefore, my beloved brethren, be steadfast, immovable,
always abounding in the work of the Lord,
knowing that your labor is not in vain.
1 Cor. 15:58


This post is linked to Cap Creations, Apron Thrift Girl, and

Photobucket


Wednesday, September 5, 2012

Layout of the Week #27- Using Stamped Images Along the Edges of Your Layouts


     Well, break out your stamps, My Scrapping Friends, because we're going to be using them today in our Layout of the Week. A few weeks ago we used them to create images on pattern paper, but today we'll be using them along the edges of our layouts to create . . .

this project.


You'll need:

one piece of 12"x12" card stock (a lighter color so the stamps will be visible)
two strips of coordinating pattern paper- one 1/4"x12" and one 3/4" x 12"
stamps that coordinate with the theme of your layout
coordinating letter stickers for the title
ink
trimmer
adhesive


First you'll attach your two strips of pattern paper along the top edge of the layout. (Disregard the stamped image- that is the next step as seen below.)


Now use your stamps and stamp across the bottom edge of the card stock. Then stamp along the bottom edge of the paper strips located at the top of the page. Your stamping does not have to be perfect. It's hard to stamp perfectly. So, practice a couple of times on a piece of scratch paper, then let 'er rip.

I used a Stampin' Up roller stamp for both strips. If you don't have a roller stamp, you can use regular stamps and make a pattern along the edges like this.

Adhere your photos in a strip above the stamped images at the bottom of the layout.

Add journaling just above the photos. I stretched mine across the full 12".


Finally, you need to add your title right above the journaling. I used different colored letter stickers to coordinate with my striped paper at the top of the layout.


Here is another layout where I stamped smaller portions along the edges. See in the upper right corner and bottom left corner. My stamping is not perfect- I say that adds to the charm:) The stamp in the bottom left corner was stamped twice- and not lined up very well. I could've gotten upset and started over. Instead I shrugged my shoulders and finished the layout.


     Thanks for stopping by and God bless.

Do not sorrow for the joy of the Lord is your strength.
Nehemiah 8:10


     This post is linked to Be Different. . .Act Normal and
shabby creek cottage
 

Tuesday, September 4, 2012

Recipe of the Week #33- Magical Peanut Butter Cookies


Magical Peanut Butter Cookies
1 cup peanut butter, creamy or crunchy
1 1/3 cup sugar
1 egg
1 tsp vanilla

Preheat oven to 350.
Combine the peanut butter, 1 cup of the sugar, the egg, and the vanilla, and mix well. Roll the dough into balls the size of walnuts. Place the balls on a greased cookie sheet. With a fork, press a crisscross design on each cookie. Bake for 12 minutes, remove from the oven, and sprinkle with some of the remaining sugar. Cool slightly before removing from pan.

When I found this recipe, I couldn't believe you could make a cookie without flour. Not only is it do-able, but it's delicious! It's a repeat recipe at our house! My son was eating one and he said, "These are in my top five, Mom!"

I got this recipe from Paula Deen.

Thanks for stopping by and God bless.

This post is linked to Todays Creative Blog and At The Picket Fence.

For you created my inmost being; you knit me together in my mother's womb.
I praise you because I am fearfully and wonderfully made;
your works are wonderful, I know that full well.
Psalm 139:13-14