Thursday, January 14, 2016

Thrifty Thursday #198

I had a delightful time at the thrift stores this week.
First off, one of them was having a book sale-12 books for a dollar!
That's even better than last week's sale of 2 for a quarter (both at different stores).
There's one other reason why I was so excited.
And it's this. . .


beautifully, awesome vintage milk crate.
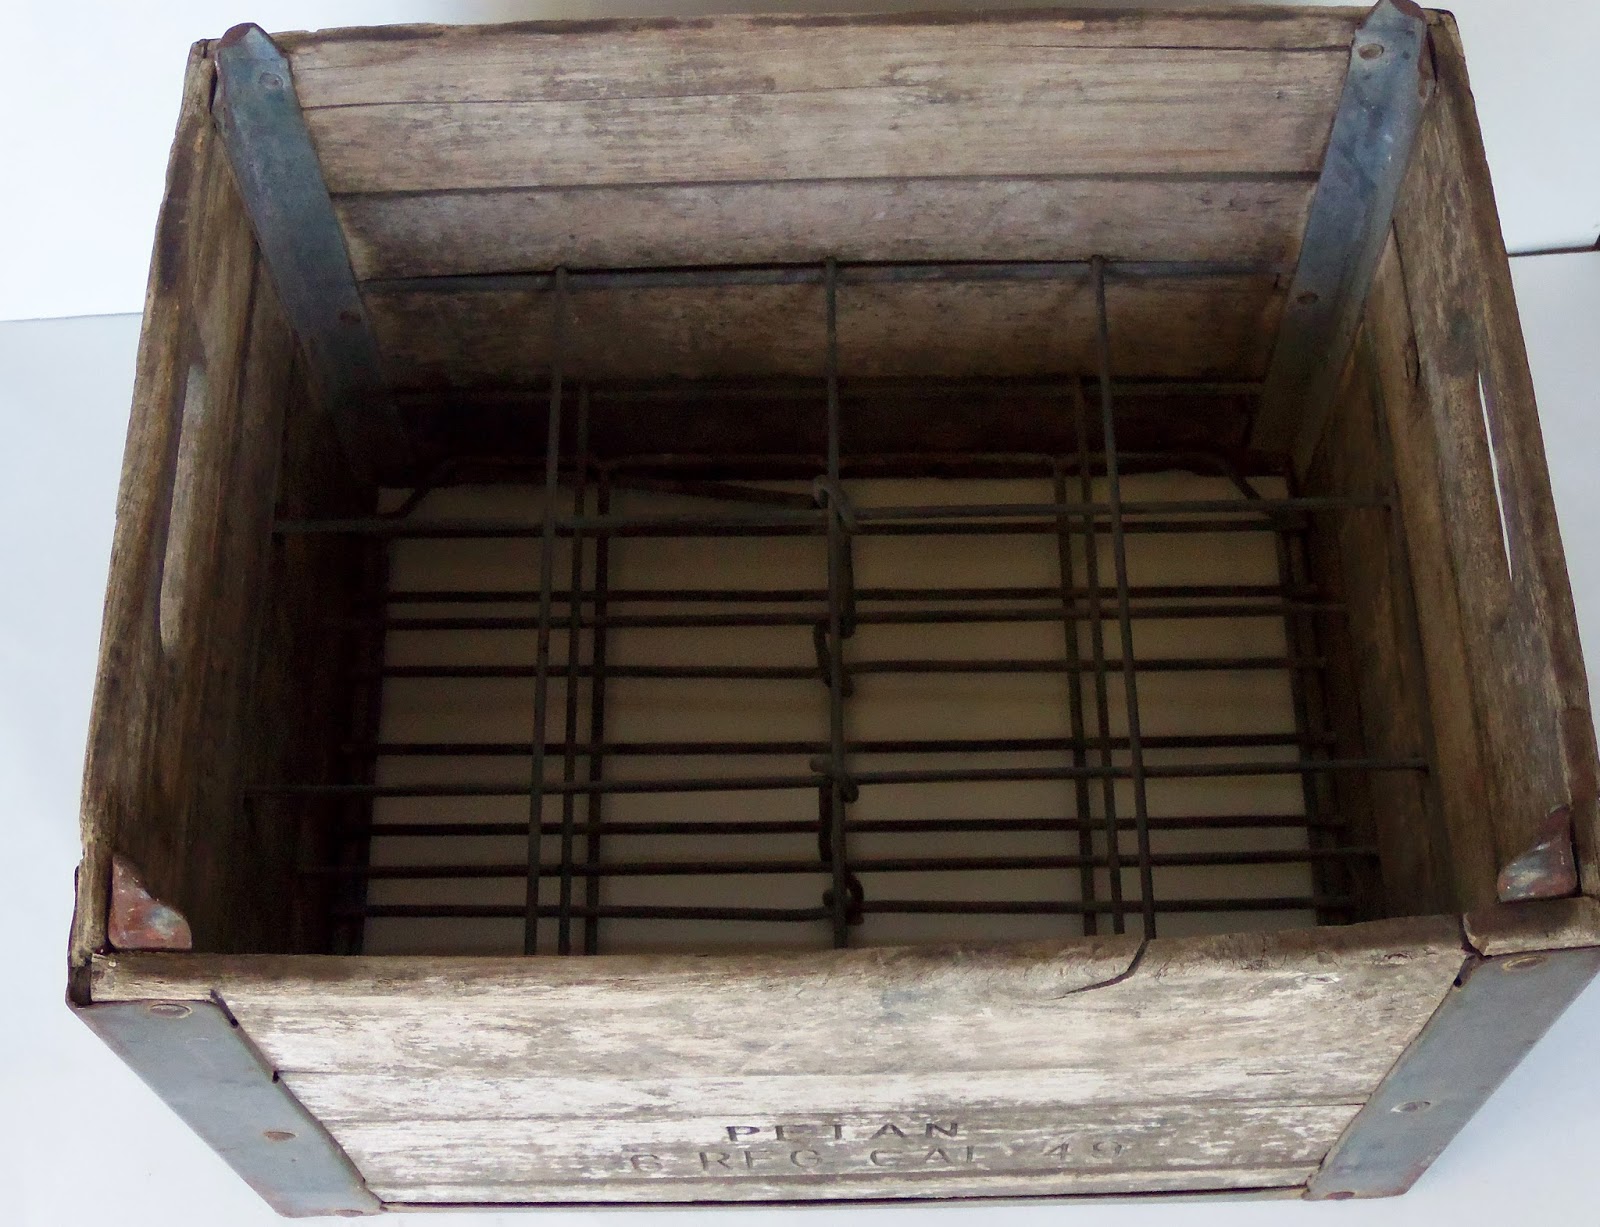

How much do you love this thing?
It was a splurge purchase as it cost $25.
That's a reasonable price for the crate, but I felt it should have been cheaper at a thrift store.

Here are the books I got. .  .


They're mostly old textbooks.


 I'll use the covers to make Junk Journals.


I also got some self help books for my brother,
a few books for my hubby,
some books for me,
some kids' books for the church nursery,
and a couple of new Bibles for my Sunday School class.
$3 for all kinds of books.
Whoo-wee!
I hope you stumble across an awesome find this weekend.
Thanks for stopping by and God bless.

Trust in Him at all times, you people;
pour out your heart before Him;
God is a refuge for us.
Psalm 62:8

Wednesday, January 13, 2016

Lovelies That I Love

The new year has started.
Welcome to the first Lovelies That I Love of 2016.
Let the browsing begin!


Oh, I cannot even tell you how much I love this necklace.


Isn't this vintage floral hankie tote just beautiful?!?


Totally love these 1" buttons.
They're so cute and unique.


I really want this arrow cuff.
I love bangle bracelets, and this one is so awesome!


How pretty is this camera strap?

I have to say that I can spend quite a bit of time perusing Etsy.

I'm not affiliated with any of these companies; I just like their stuff.

Thanks for stopping by and God bless.

Pleasant words are like a honeycomb,
sweetness to the soul and health to the bones.
Proverbs 16:24

This post is linked to The Dedicated House, A Morning Cup of Joe, and Embracing Change.

Tuesday, January 12, 2016

Recipe of the Week #203- Pretzel Rolo Bites

 Pretzel Rolo Bites
25 Rolos
50 waffle pretzels
8 oz vanilla almond bark
sprinkles

Preheat oven to 250 degrees. Place half the pretzels on a lined baking sheet. Place one Rolo on top of each pretzel. Bake for 3 minutes, then remove from the oven. Top each Rolo with another waffle pretzel to form a sandwich. Cool completely.

Melt almond bark in the microwave. Dip each pretzel sandwich halfway into melted bark. Add sprinkles. Allow to set before serving.

These don't just look darling- they taste great too! They're a great party snack.The mix of sweet and salty is wonderful.

Thanks for stopping by and God bless.

Commit your works to the Lord, 
and your thoughts will be established.
Proverbs 16:3


This post is linked to Plucky's Second Thought, Lil' Luna, and Skip to My Lou.

Monday, January 11, 2016

I'm Doing Project Life!

This is the first time I've decided to do Project Life.
When the concept first came out, I felt that I couldn't commit to not only taking a photo a day, but also printing said photo and placing it into a page. Now it's much free-er. You can use it to scrap your life however you want to. I decided to use mine for my annual month-by-month album.

I got the album, some journaling cards, and some blank pocket pages.


Here's my cover. I added this large metal camera charm with hot glue (I got this sometime ago in the cheap bins at Michaels).
Then I added three strings of ribbon and lace. On the center one, I placed a charm that I stamped 2016 onto and added an S charm (for our last name).


This is what it looks like when it's opened.


I used this large "Here and Now" card thinking that it is a good intro for a our monthly album.


My album measures about 9"x 9 1/4".
It's a binder which is nice because extra pages can be added.


For my interior, I have one journaling card for each month that looks like a small calendar page.
I punched holes in them. They won't be in a page pocket.


Each month has clear pocket pages for my photos.
I have lots of extra at the back of the book to add as needed.


I also added half a large envelope for each month to hold my large mementos.


I set up every month the same.
Once photos and embellishment are added, they won't look so uniform.

I love keeping a Year In Review album.
I basically make a list of what went on during the month,
then add a photo from each big thing we did.
It allows me to record our lives without feeling like I get behind on scrapbooking.

How about you-- do any of you do Project Life?

Thanks for stopping by and God bless.

Teach me Your way O Lord;
 I will walk in Your Truth.
Psalm 86:11

This post is linked to It's OverflowingTip Junkie, Today's Creative Life,
and Between Naps on the Porch.  

Friday, January 8, 2016

A "Box" of Memories--- Memory Shadowbox

I am a huge fan of saving memories, and although I am an avid scrapbooker,
I don't think that's the one and only way to document our lives.
I also keep photo albums and a Memory Jar for each year.

I've shown how you can keep a large office ring to keep your cards and memories in one place.
I've also shown you how to use index divider cards to do the same thing.

Today I'm going to put a different twist on this idea. . .


by turning a shadowbox into a Memory Box.


All you need is a shadowbox.
I got this 5"x 7" shadowbox at Michaels.
You don't want to go too big or it may feel a bit overwhelming.

Then you just need to start filling it with mementos: love notes, business cards from places you've been, fortune cookie notes, ticket stubs, receipts, souvenir pennies, and anything else that will fit.

If you like, you can place a title on the front- I placed a scripture.
 You could add your name and the year.


This was my inspiration.
I just looovvveeee how full it looks!

I made this one for a young friend who left home and got her first apartment.
I can't wait to see what she puts in it.
What I wouldn't give to have one of these from my first year away from home!
Or to see one from my mom or grandma's first year away.

Can you see how excited I get to document life?

Thanks for stopping by and God bless.

The Lord my God will enlighten my darkness
Psalm 18:28

This post is linked to Life With Lorelai, I Heart Naptime, and The Crafted Sparrow.

Thursday, January 7, 2016

Thrifty Thursday #197

When I stopped into the thrift stores earlier this week, 
my boys were sitting in the car waiting to go to Sonic, so I intended to hurry.
But my favorite store was having a book sale.
They do that when they're overrun with books.
I can't help but go through them all when they're two for a quarter!


I've seen this book in there before and I've been tempted to get it for the pretty cover.
I've resisted up until this visit.
I went ahead and got it since it was practically free:)
I love how the title says, "Birds," but there aren't any pictures of birds on the cover.


I looooovvvvveeeee old textbooks.
This one is a little rough around the edges, but . . .


check out its graphics!!!


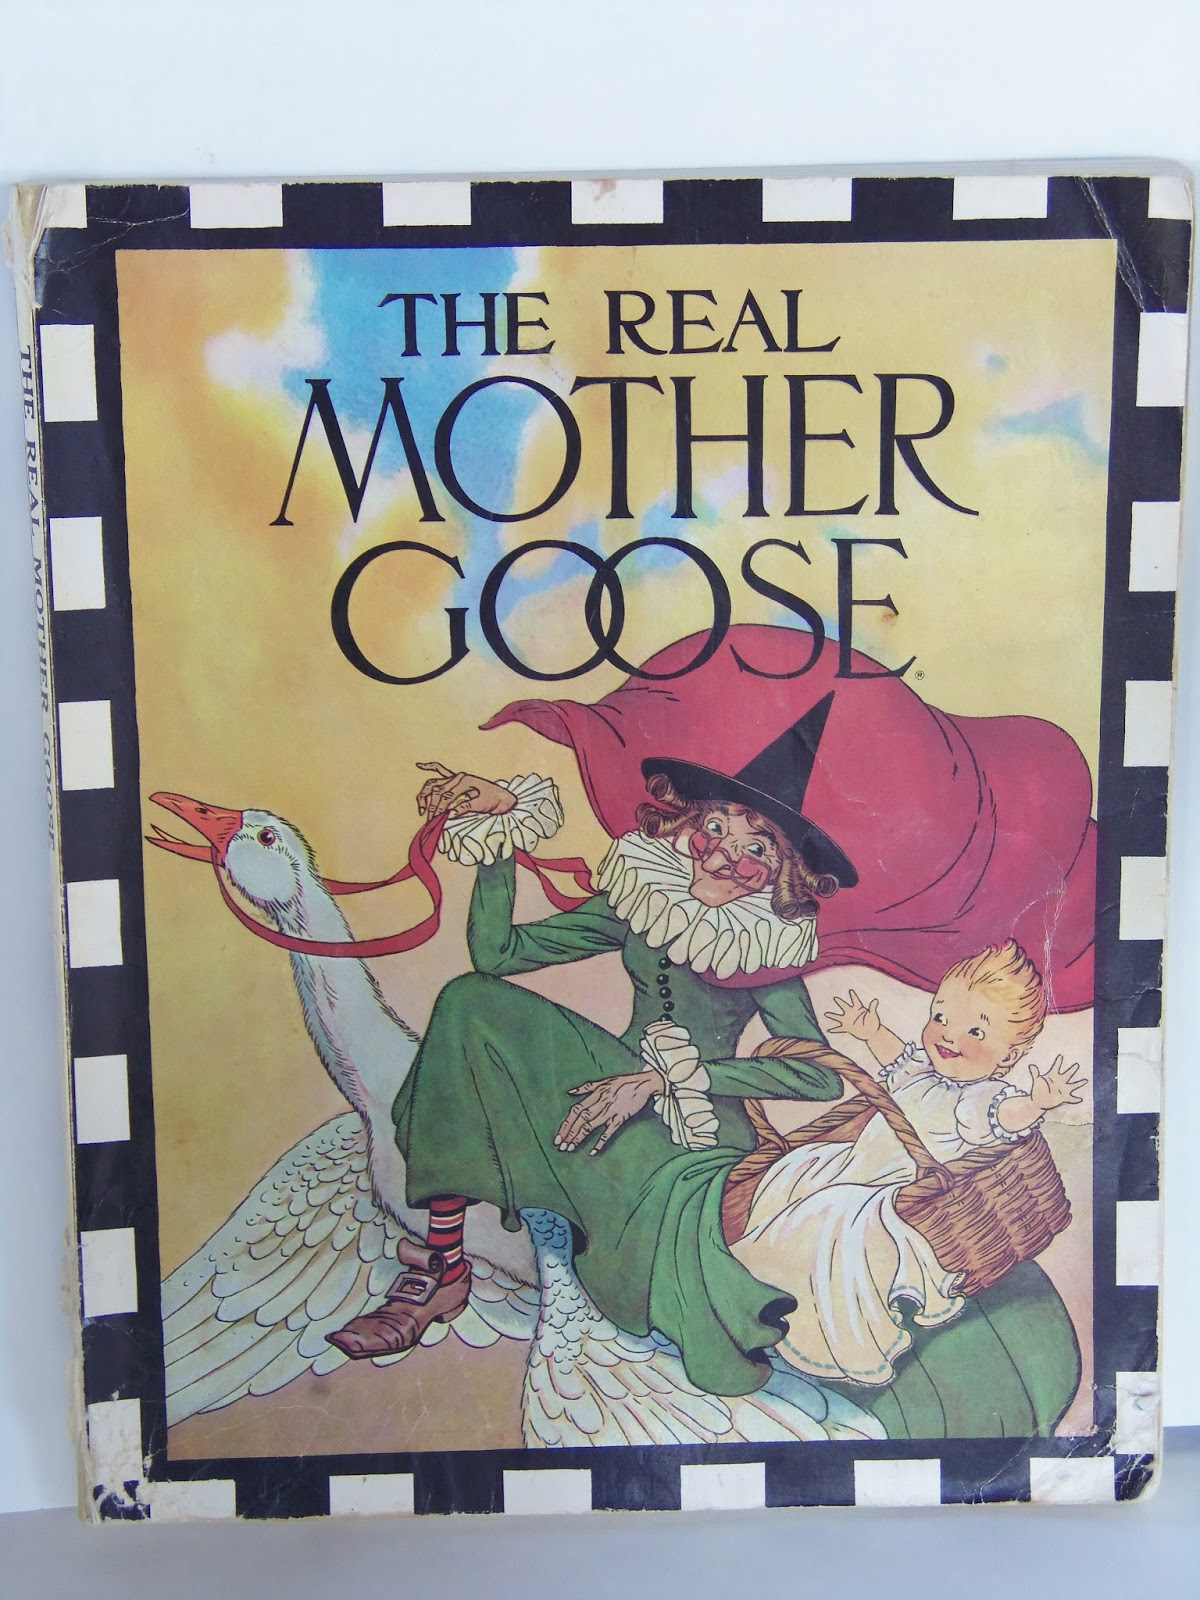
I also picked up this large Mother Goose book.
I won't feel so bad cutting this up since it's a paperback.


The images are amazing!
I'll use these pages for paper crafting and for wrapping small gifts.


My final purchase was this silver tray for $1.50.
It's hard to see, but there's a beautiful picture of a peacock engraved on it.
I love the trim around the edges, too.


These two boxes full of vintage patterns were freebies.
My neighbor was cleaning out her garage and asked if I wanted them.
Well, of course I did!

That's it for my secondhand finds this week.
I wish you luck finding a good sale this weekend.

Thanks for stopping by and God bless.

I will praise You, O Lord ,among the peoples
Psalm 57:9

This post is linked to Too Much TimeA Cup of Joe, and Embracing Change.

Wednesday, January 6, 2016

Layout of the Week #123

It's the first Wednesday of the new year and I've got a new Layout of the Week.
Grab some supplies and complete a scrapbook page with me.


Here's the layout we'll be creating.


To make it, you'll need:
one piece of 12"x 12" pattern paper
one piece of 6"x 12" pattern paper
one strip of 1"x 12" pattern paper or decorative tape
one strip of 1/2"x 1" pattern paper or decorative tape
one strip of 1"x 8" pattern paper or decorative tape 
photo mat measuring 4 1/4"x 6 1/4"
vertical photo measuring 4"x 6"
7-8 embellishments in your theme
letter stickers for title
card for journaling (index card will do)
paper trimmer
adhesive


To start, adhere the 1"x 12" strip of pattern paper or decorative tape along the left edge 
of the 12"x 12" pattern paper.
Adhere the 1/2"x 1" strip of pattern paper or decorative tape along the edge of the first strip.


Adhere the 6"x 12" piece of pattern paper on the right side of the background paper.


Adhere your photo to the photo mat, 
then adhere the photo mat about 1" from the top of the page
and overlapping the 1/2"x 12" pattern paper strip.


Place your 1"x 8" strip of pattern paper or decorative tape along the center of the page.
It should overlap the 6"x 12" pattern paper. 


 Add some embellishments below that strip.
They should go to the bottom of the page.


Write or type your journaling.
Cut it into strips and adhere it to the right side of the layout.
I have a lot of journaling. You may have less and that's ok.,


Using letter stickers, place your title below the photo.

  Place an embellishment above your journaling and 
three or four at the bottom right corner of your photo.

That's it! Cute and fun, huh?

Thanks for stopping by and God bless.

My heart is steadfast, O God, my heart is steadfast;
 I will sing and give praise.
Psalm 57:7