Tuesday, March 15, 2016

Recipe of the Week #212- Creamy Jalapeno Ranch Dip

Creamy Jalapeno Ranch Dip
1/2 cup mayo
2 cups sour cream
1/2 cup buttermilk
1/2 cup tomatilla salsa
1/3 cup pickled jalapenos
1 1/2 packets Ranch dressing mix
1 small handful cilantro
juice from 1 lime

Combine all ingredients in a bowl, then place in a food processor or blender and pulse til smooth. Refrigerate for 30 minutes. Serve with tortilla chips.

This is my family's new favorite dip. It tastes good with veggies, pretzels, and tortilla chips. Once you start eating it, you just can't stop.:)

Thanks for stopping by and God bless.

 Train up a child in the way he should go, 
and when he is old he will not depart from it.
Proverbs 22:6
 

Monday, March 14, 2016

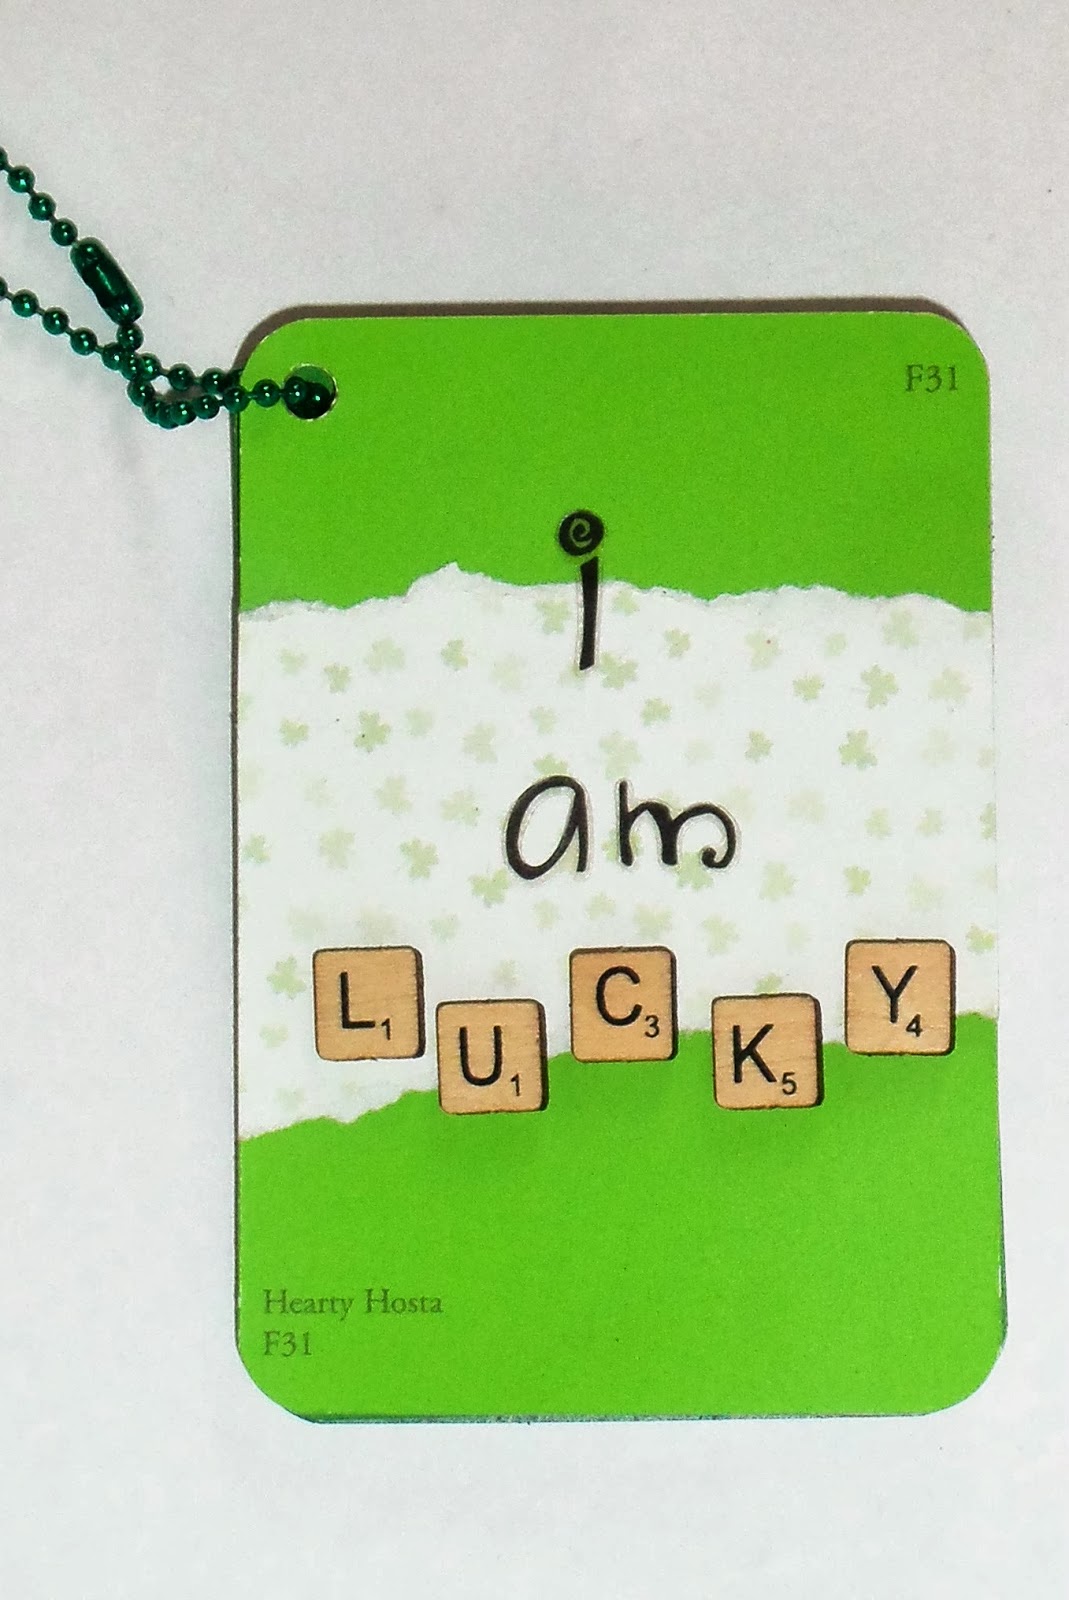
St. Patrick's Day Crafts

St. Patrick's Day is just around the corner.
Here are a few simple and fun projects. . .
 
 
This is a mini album made of five small paint chips.
There's just enough room to add wallet size pictures of what you feel makes you lucky.
 
It would also be a great place to have everyone in your family make a list of what makes them lucky, then adhering those lists to a paint chip and binding them into an album.
 
 
Speaking of paint chips, this simple banner was made with small square paint chips in differing shades of green.
I just added gold letters that spell lucky and strung them onto some gold ribbon.
 
  
Rolos and rainbow Twizzlers make up this St. Patty's Day treat bag.
Cute and yummy.
 
Thanks for stopping by and God bless.
 
The rich and the poor have this in common,
the Lord is the maker of them all.
Proverbs 22:2
 
This post is linked to Pretty Handy Girl, Too Much Time, Lil' Luna, and USS Crafty


Friday, March 11, 2016

These Bags Are Tote-ally Cute

I love cute and simple projects.
Like these totes.
 

I came across a darling new collection of tote bags at Hobby Lobby.
 They all have cute sayings printed on them. I actually had a hard time choosing one.

Anyway, I thought they'd look even cuter with flowers.
I added three flowers to this one.


I got this bag for a friend who's going on a mission trip to Paris and London.
I thought the quote was fitting for her adventure.
I added a big lace and burlap flower.

I don't know about you, but I am a sucker for cute tote bags!

Thanks for stopping by and God bless.

For the word of the Lord is right,
 and all His work is done in truth.
Psalm 33:4

Thursday, March 10, 2016

Thrifty Thursday #206

I was super excited last weekend when I saw an ad in the classifieds
for a junk sale at the local KC Hall.
My hubby and I went to it last year and it was a small sale, so we were still hoping that it would be bigger this year. When we got there, it seemed like there were a few more vendors.
We saw lots of good stuff.
We even got a few good scores. . .


Check out this old Brownie movie camera I got.
I just love it!


It was $10.


We got to the sale right after it opened. The first booth we stopped at, I spotted this awesome 
green stool. The gal in the booth was asking $25 for it.
I couldn't think of what I could do with it, so I kept moving.
She said that she didn't want to go home with anything, so she'd be glad to make a deal with me.
My hubby later told me that he was surprised she was bargaining so early in the day.


As I was looking at the other booths trying to make my mind up about the stool,
my hubby informed me that he could use it at his potting bench.
That sealed the deal for me.
I headed back to get it.
How much do you love that chippy paint?


I also picked up these two sets of metal file drawers.
The gal said she'd sell each drawer set for $10 apiece, but would let me take them with the stool for $40. They have a few scratches and dings, but no rust.
I thought I got a great price on them!
I haven't decided what I'll do with them.
The gal in the booth suggested making a base for each of them and turning them into end tables.
I kinda like that idea.
Any other suggestions?

Thanks for stopping by and God bless.

Whoever guards his mouth and tongue
 keeps his soul from troubles.
Proverbs 21:23

 This post is linked to Blue Willow House, The Crafted Sparrow, and Life With Lorelai.

Wednesday, March 9, 2016

Layout of the Week #127

It's Wednesday- let's get to scrappin'!
 

Here's the layout we'll be making.


To create it, you'll need:
one piece of 12"x 12" cardstock
three strips of pattern paper measuring 1/2"x 12" (or you could use decorative tape)
two or three pieces of pattern paper measuring 3"x 3"
three small embellishments in your theme
letter stickers for your title (I have a stamp and stickers)
journaling cards
adhesive
paper trimmer
three or four photos measuring 3"x 3"


Using your photos and pattern paper squares, make two columns of three
starting about 1 1/2" from the left edge of the background paper and about 1" from the top.

I used four photos and two squares of pattern paper.
 You can use three or four photos and fill in the rest of the columns with the pattern paper squares.


Place the three strips of pattern paper or decorative tape along the bottom of the layout
below the photos.
 

Using your letter stickers, place your title in the lower right corner 
above the pattern paper strips.


Now put three journaling cards overlapping the photos/pattern paper squares-
two on the left column and one on the right.
Then place an embellishment just under each journaling square.

For my journaling, I had pattern paper that was printed like old labels.
I just cut out three of those labels and wrote on them.

 
That's it!

Sweet, simple and quick.

Thanks for stopping by and God bless.

Do not sorrow, 
for the joy of the Lord is your strength.
Neh. 8:10

Tuesday, March 8, 2016

Recipe of the Week #211- Soft and Creamy Peanut Butter Cookies

Soft and Creamy Peanut Butter Cookies
1 cup butter, softened
1 cup creamy peanut butter
1 cup sugar
1 cup brown sugar
1 tsp vanilla
3 eggs
4 cups flour
2 tsp baking soda
1/4 tsp salt
1 cup peanut butter chips
1/4 cup sugar (save to roll the dough in)

Preheat oven to 375 degrees. In a large bowl, combine the butter sugars, butter, and peanut butter. Mix in the vanilla. Add the eggs one at a time, mixing in between each one. Mix in the flour, salt, and baking soda. Fold in peanut butter chips.
Form dough into balls, then roll through the sugar. Use a flat bottomed glass to press each dough ball down- I left mine pretty thick. Bake 9 minutes. Remove from oven and allow to cool on the baking sheet. They'll continue to set up as they cool. These cookies are supposed to be very soft, so don't over bake.

I am a big fan of peanut butter cookies- and an even bigger fan of soft cookies. These hit the mark on both counts. My hubby ate more of them than he'd like to admit. :) Even my son who claims not to like peanut butter cookies ate these up. They were a definite hit, and I'll be making them again!

Thanks for stopping by and God bless.

This being so, 
I myself always strive to have a conscience 
without offense toward God and men.
Acts 24:16

This post is linked to Simple Nature Décor, Artsy Fartsy Mama, and The Dedicated House.

Monday, March 7, 2016

How About These Hats?

I was browsing Etsy recently and spotted some cute girly ball caps,
so I thought I'd try my hand at making some.
 

For this one, I started with a black cap with a white mesh back.
Then I added some pre-made flowers from Hobby Lobby.


This hat is white with a gray mesh back.
I chose bright flowers for it.

I really like how they came out.
I'm just not sure I can pull off a ball cap.
You know how there are some people who look great in hats?
I'm not one of them. :)

Thanks for stopping by and God bless.

He who follows righteousness and mercy 
finds life, righteousness and honor.
Proverbs 21:21